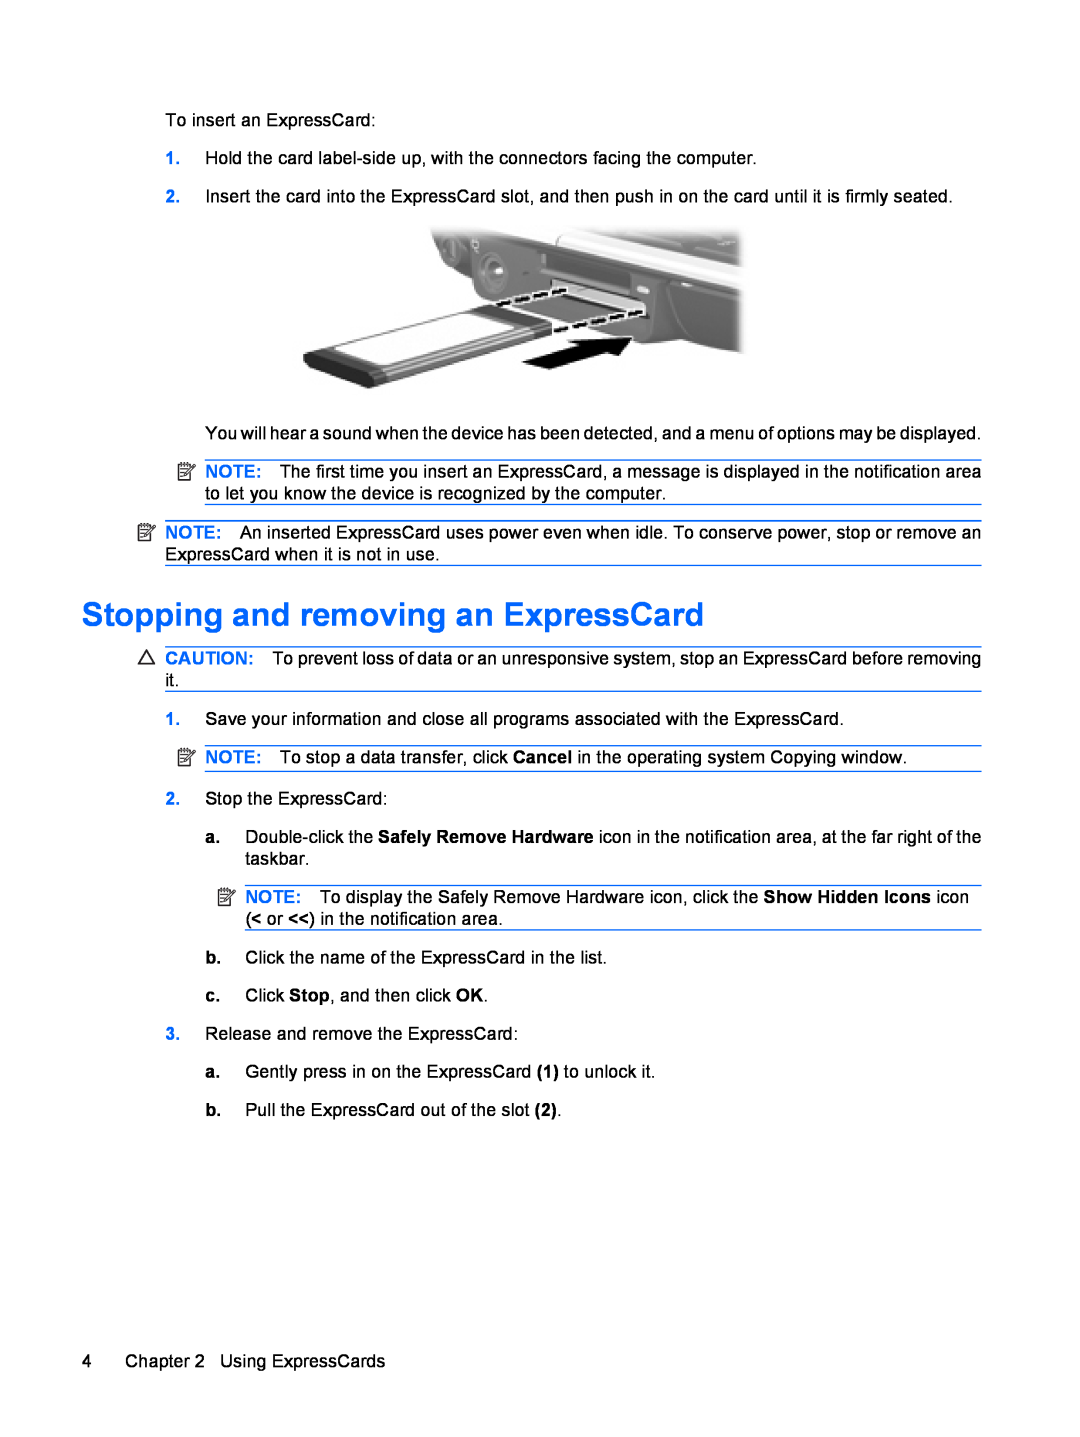
To insert an ExpressCard:
1.Hold the card
2.Insert the card into the ExpressCard slot, and then push in on the card until it is firmly seated.
You will hear a sound when the device has been detected, and a menu of options may be displayed.
![]() NOTE: The first time you insert an ExpressCard, a message is displayed in the notification area to let you know the device is recognized by the computer.
NOTE: The first time you insert an ExpressCard, a message is displayed in the notification area to let you know the device is recognized by the computer.
![]() NOTE: An inserted ExpressCard uses power even when idle. To conserve power, stop or remove an ExpressCard when it is not in use.
NOTE: An inserted ExpressCard uses power even when idle. To conserve power, stop or remove an ExpressCard when it is not in use.
Stopping and removing an ExpressCard
CAUTION: To prevent loss of data or an unresponsive system, stop an ExpressCard before removing it.
1.Save your information and close all programs associated with the ExpressCard.
NOTE: To stop a data transfer, click Cancel in the operating system Copying window.
2.Stop the ExpressCard:
a.
![]() NOTE: To display the Safely Remove Hardware icon, click the Show Hidden Icons icon (< or <<) in the notification area.
NOTE: To display the Safely Remove Hardware icon, click the Show Hidden Icons icon (< or <<) in the notification area.
b.Click the name of the ExpressCard in the list.
c.Click Stop, and then click OK.
3.Release and remove the ExpressCard:
a.Gently press in on the ExpressCard (1) to unlock it.
b.Pull the ExpressCard out of the slot (2).
4 Chapter 2 Using ExpressCards
