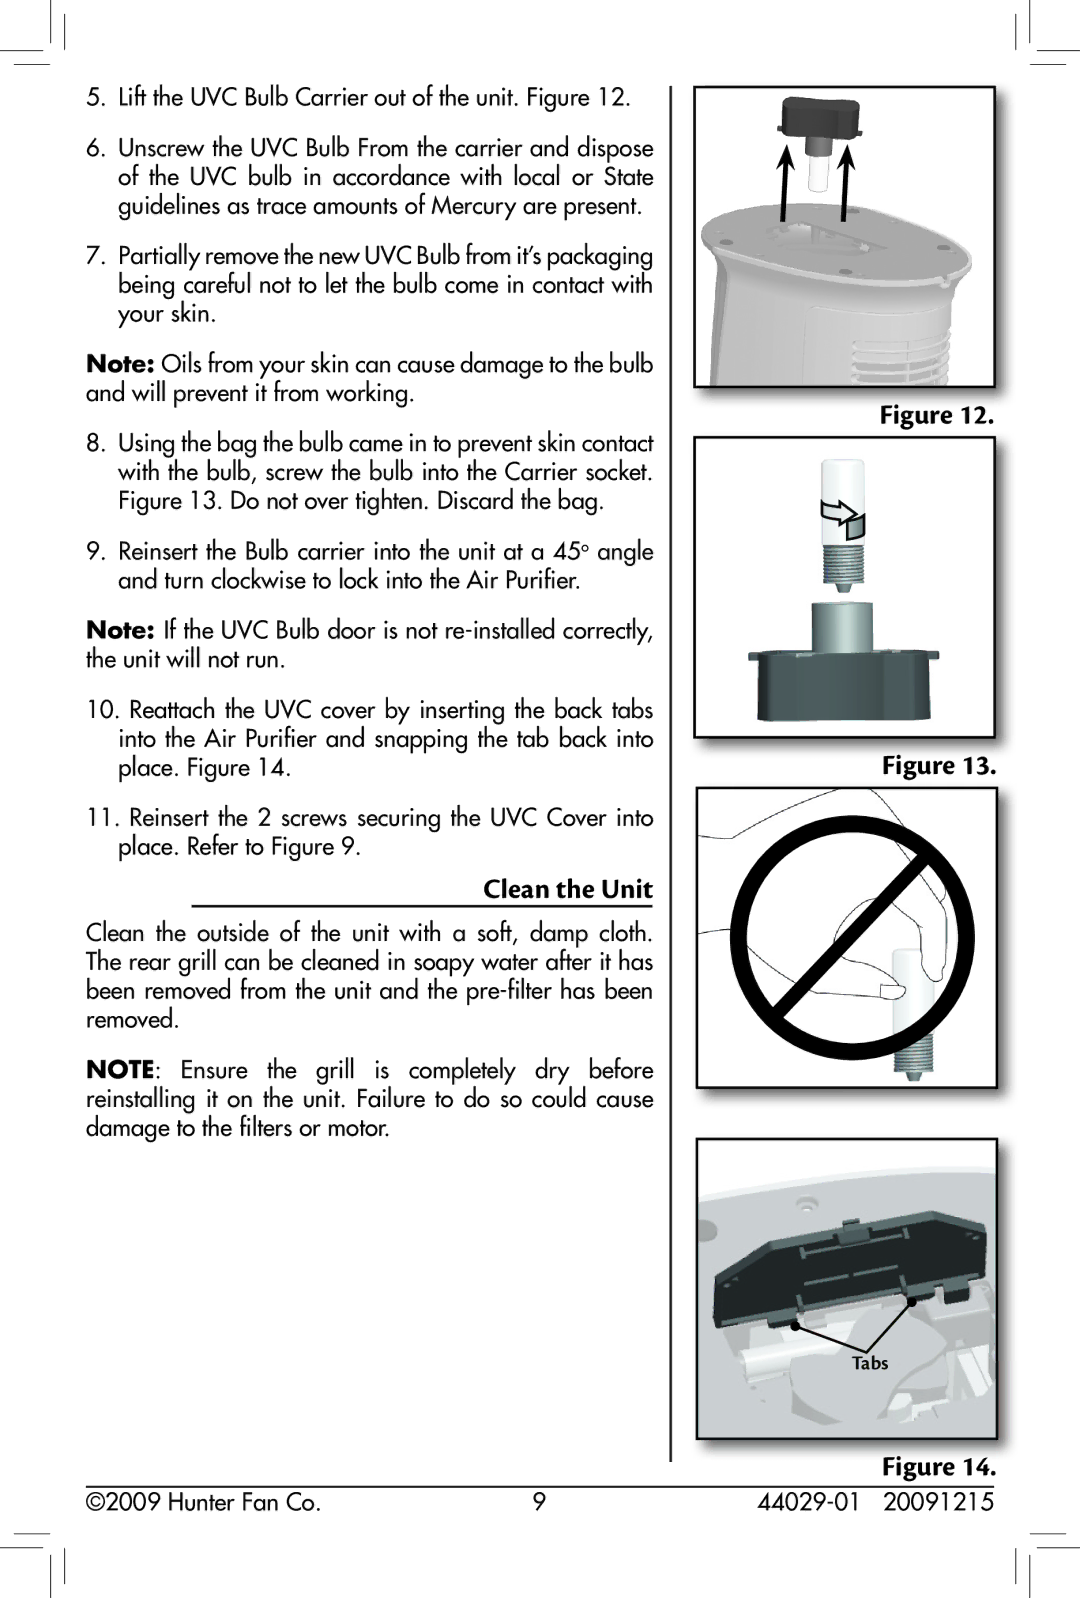
5.Lift the UVC Bulb Carrier out of the unit. Figure 12.
6.Unscrew the UVC Bulb From the carrier and dispose of the UVC bulb in accordance with local or State guidelines as trace amounts of Mercury are present.
7.Partially remove the new UVC Bulb from it’s packaging being careful not to let the bulb come in contact with your skin.
Note: Oils from your skin can cause damage to the bulb and will prevent it from working.
8.Using the bag the bulb came in to prevent skin contact with the bulb, screw the bulb into the Carrier socket. Figure 13. Do not over tighten. Discard the bag.
9.Reinsert the Bulb carrier into the unit at a 45o angle and turn clockwise to lock into the Air Purifier.
Note: If the UVC Bulb door is not
10.Reattach the UVC cover by inserting the back tabs into the Air Purifier and snapping the tab back into place. Figure 14.
11.Reinsert the 2 screws securing the UVC Cover into place. Refer to Figure 9.
Clean the Unit
Clean the outside of the unit with a soft, damp cloth. The rear grill can be cleaned in soapy water after it has been removed from the unit and the
NOTE: Ensure the grill is completely dry before reinstalling it on the unit. Failure to do so could cause damage to the filters or motor.
Figure 12.
Figure 13.
Tabs
Figure 14.
©2009 Hunter Fan Co. | 9 |
