ASSEMBLY
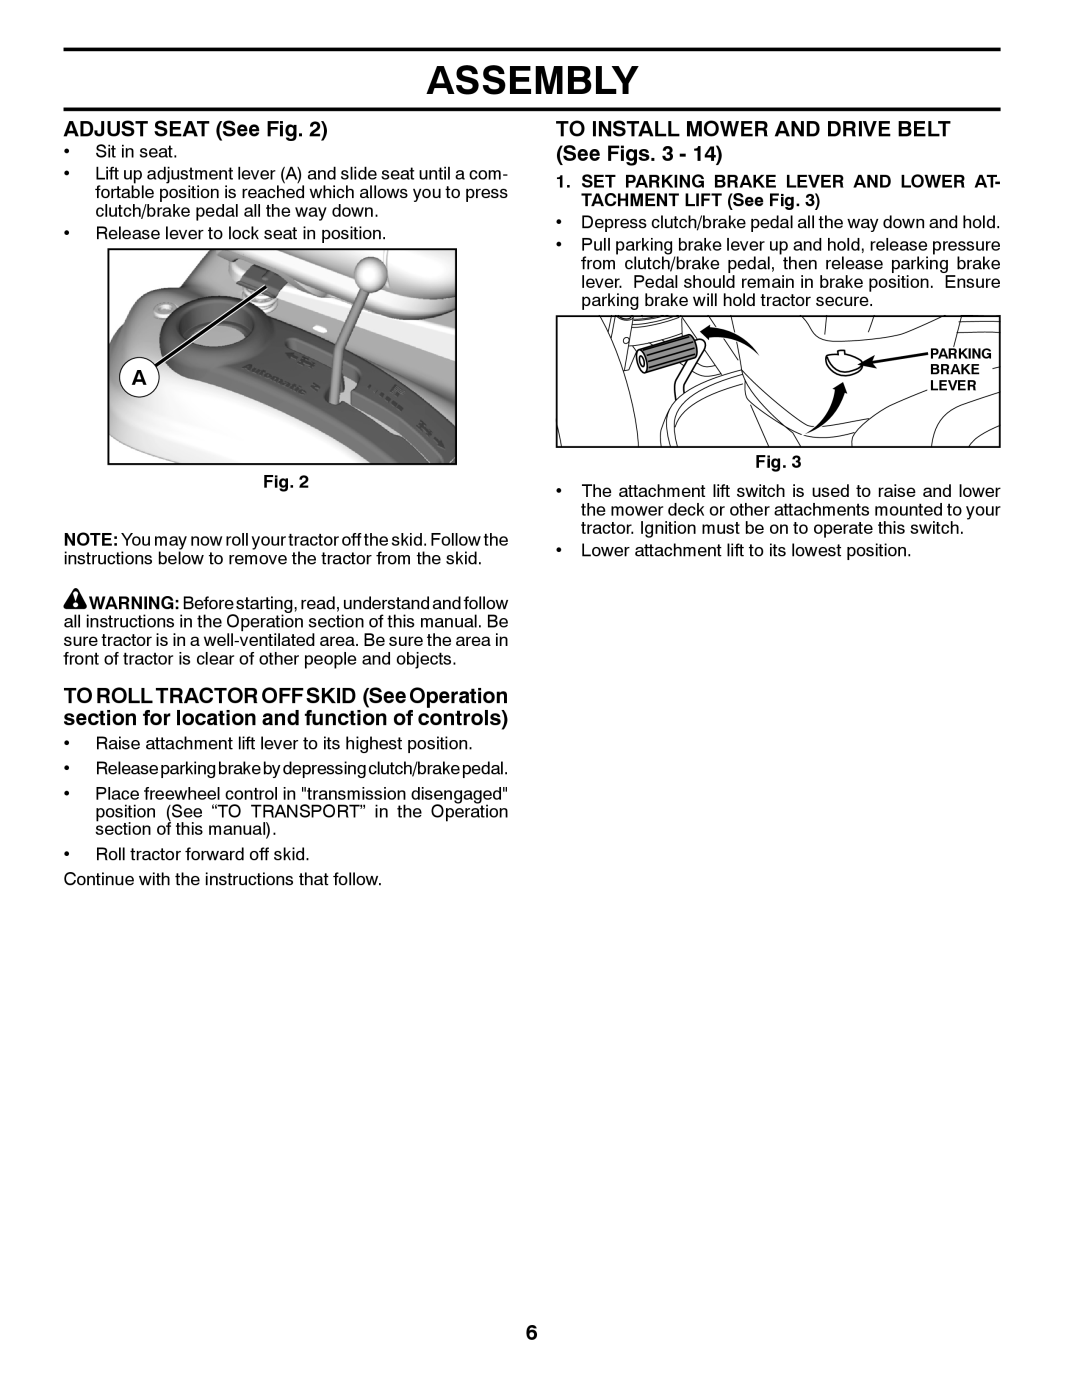
ADJUST SEAT (See Fig. 2)
•Sit in seat.
•Lift up adjustment lever (A) and slide seat until a com- fortable position is reached which allows you to press clutch/brake pedal all the way down.
•Release lever to lock seat in position.
A |
Fig. 2
NOTE: You may now roll your tractor off the skid. Follow the instructions below to remove the tractor from the skid.
![]() WARNING: Before starting, read, understand and follow all instructions in the Operation section of this manual. Be sure tractor is in a
WARNING: Before starting, read, understand and follow all instructions in the Operation section of this manual. Be sure tractor is in a
TO ROLL TRACTOR OFF SKID (See Operation section for location and function of controls)
•Raise attachment lift lever to its highest position.
•Releaseparkingbrakebydepressingclutch/brakepedal.
•Place freewheel control in "transmission disengaged" position (See “TO TRANSPORT” in the Operation section of this manual).
•Roll tractor forward off skid.
Continue with the instructions that follow.
TO INSTALL MOWER AND DRIVE BELT (See Figs. 3 - 14)
1.SET PARKING BRAKE LEVER AND LOWER AT- TACHMENT LIFT (See Fig. 3)
•Depress clutch/brake pedal all the way down and hold.
•Pull parking brake lever up and hold, release pressure from clutch/brake pedal, then release parking brake lever. Pedal should remain in brake position. Ensure parking brake will hold tractor secure.
PARKING
BRAKE
LEVER
Fig. 3
•The attachment lift switch is used to raise and lower the mower deck or other attachments mounted to your tractor. Ignition must be on to operate this switch.
•Lower attachment lift to its lowest position.
6