7
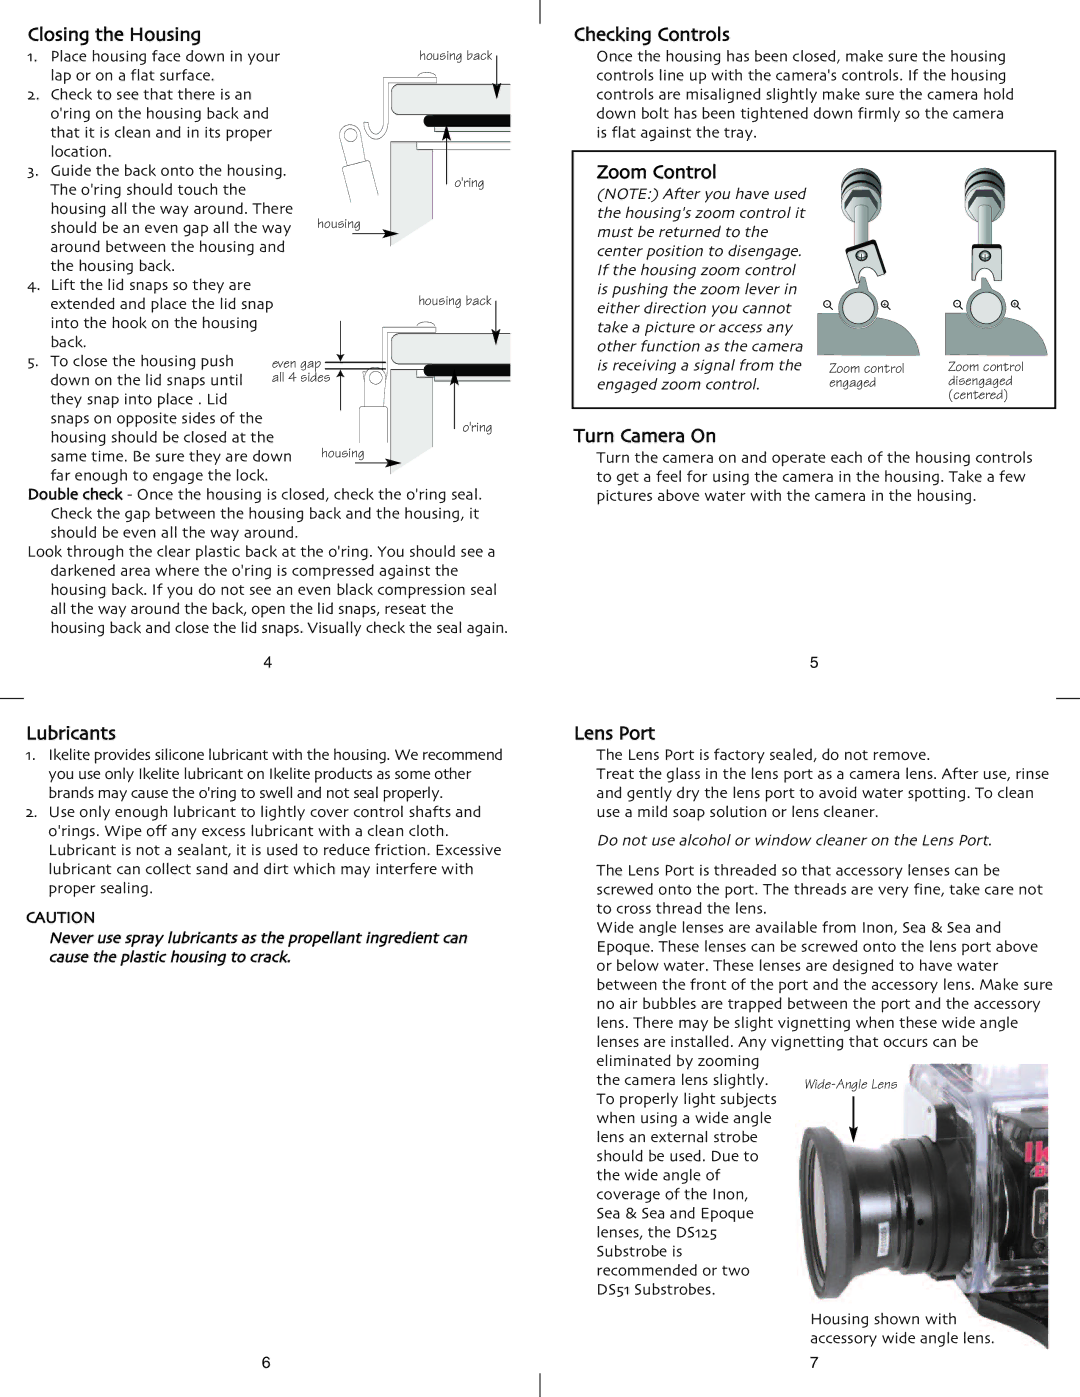
Housing shown with accessory wide angle lens.
Wide-Angle Lens
Lens Port
The Lens Port is factory sealed, do not remove.
Treat the glass in the lens port as a camera lens. After use, rinse and gently dry the lens port to avoid water spotting. To clean use a mild soap solution or lens cleaner.
Do not use alcohol or window cleaner on the Lens Port. The Lens Port is threaded so that accessory lenses can be screwed onto the port. The threads are very fine, take care not to cross thread the lens.
Wide angle lenses are available from Inon, Sea & Sea and Epoque. These lenses can be screwed onto the lens port above or below water. These lenses are designed to have water between the front of the port and the accessory lens. Make sure no air bubbles are trapped between the port and the accessory lens. There may be slight vignetting when these wide angle lenses are installed. Any vignetting that occurs can be eliminated by zooming
the camera lens slightly. To properly light subjects when using a wide angle lens an external strobe should be used. Due to the wide angle of coverage of the Inon, Sea & Sea and Epoque lenses, the DS125 Substrobe is recommended or two DS51 Substrobes.
Turn Camera On
Turn the camera on and operate each of the housing controls to get a feel for using the camera in the housing. Take a few pictures above water with the camera in the housing.
5

Closing the Housing


1.

Place housing face down in your

housing back


lap or on a flat surface.


2.

Check to see that there is an


o'ring on the housing back and


that it is clean and in its proper


Checking Controls

Once the housing has been closed, make sure the housing controls line up with the camera's controls. If the housing controls are misaligned slightly make sure the camera hold down bolt has been tightened down firmly so the camera is flat against the tray.

3.

location.


Guide the back onto the housing.


The o'ring should touch the


o'ring


housing all the way around. There


should be an even gap all the way

housing


around between the housing and


4.

the housing back.


Lift the lid snaps so they are


extended and place the lid snap


housing back


into the hook on the housing


back.


5.

To close the housing push

even gap


down on the lid snaps until

all 4 sides


they snap into place . Lid


snaps on opposite sides of the


o'ring


housing should be closed at the


same time. Be sure they are down

housing


far enough to engage the lock.


Double check - Once the housing is closed, check the o'ring seal. Check the gap between the housing back and the housing, it should be even all the way around.

Look through the clear plastic back at the o'ring. You should see a darkened area where the o'ring is compressed against the housing back. If you do not see an even black compression seal all the way around the back, open the lid snaps, reseat the housing back and close the lid snaps. Visually check the seal again.

4

Lubricants

1. Ikelite provides silicone lubricant with the housing. We recommend you use only Ikelite lubricant on Ikelite products as some other brands may cause the o'ring to swell and not seal properly.

2. Use only enough lubricant to lightly cover control shafts and o'rings. Wipe off any excess lubricant with a clean cloth. Lubricant is not a sealant, it is used to reduce friction. Excessive lubricant can collect sand and dirt which may interfere with proper sealing.

CAUTION

Never use spray lubricants as the propellant ingredient can cause the plastic housing to crack.

Zoom Control

(NOTE:) After you have used the housing's zoom control it must be returned to the center position to disengage. If the housing zoom control is pushing the zoom lever in either direction you cannot take a picture or access any other function as the camera is receiving a signal from the engaged zoom control.

-+-+

Zoom control

Zoom control

engaged

disengaged


(centered)

6

Page 3
Image 3
Ikelite A630, A640 instruction manual Closing the Housing, Checking Controls, Lubricants, Zoom Control

A630, A640 specifications

The Ikelite A640 and A630 underwater housings are specifically designed to enhance and protect Canon's popular PowerShot A-series cameras. These housings are built to withstand the unique challenges posed by underwater environments, providing photographers with a robust solution for capturing stunning images beneath the waves.

One of the standout features of the Ikelite A640 and A630 housings is their depth rating. Both models boast a remarkable depth rating of up to 200 feet (60 meters), making them suitable for a wide variety of underwater activities, from snorkeling to deep-sea diving. The housings are crafted from durable polycarbonate material, ensuring their longevity while also allowing divers to clearly see the camera's controls.

The design of the Ikelite A640 and A630 housings incorporates large, easy-to-use controls. These controls are specifically designed to mimic the layout of the camera’s buttons, enabling users to effortlessly operate the camera while wearing diving gloves. This ergonomic design ensures that photographers can concentrate on capturing images rather than fumbling with complex settings.

An appealing aspect of the Ikelite A640 and A630 is the inclusion of an integrated TTL (Through The Lens) exposure system. This technology allows for automatic flash exposure, ensuring that users can achieve balanced lighting in their images without the need for complicated manual adjustments. This feature is particularly advantageous in underwater photography, where lighting conditions can be unpredictable.

Furthermore, the housings are equipped with a built-in flash diffuser that softens the flash output, helping to reduce backscatter, which can often mar underwater photographs. The capacity to attach additional lighting systems is also a remarkable characteristic. Both housings feature an accessory port for attaching external strobes, allowing for greater flexibility and creativity in lighting setups.

The Ikelite A640 and A630 provide a clear view of the camera’s LCD screen through a large viewing window, enabling users to frame their shots accurately. This is particularly crucial in underwater photography, where visibility can be compromised by water quality and lighting conditions.

In summary, the Ikelite A640 and A630 underwater housings represent a fusion of durability, user-friendliness, and advanced technology, making them ideal companions for Canon PowerShot A-series camera users who wish to explore and capture the beauty of underwater worlds. Their reliable performance and thoughtful design features make them a must-have for enthusiasts and professionals alike.