
ID60G2 specifications
The Indesit ID60G2 is a versatile and reliable freestanding cooker that combines modern technology with practical functionality. Designed to meet the everyday cooking needs of families, this appliance is a perfect addition to any kitchen.One of the standout features of the Indesit ID60G2 is its generous cooking capacity. The cooker comes equipped with a spacious oven, offering ample space for multiple dishes to be cooked simultaneously. This is especially beneficial for busy households or those who love to entertain. The oven includes two different shelves, allowing for versatile cooking options, and a large viewing window that enables users to monitor their food without opening the door.
The ID60G2 features a conventional gas cooking system, ensuring even heat distribution for perfectly cooked meals. The oven is supported by a gas hob with four burners, providing flexibility for various cooking styles. Each burner delivers precise heat control, accommodating everything from simmering sauces to boiling pasta. The stainless steel finish not only adds a modern touch to the design but also ensures easy cleaning and maintenance.
Safety is paramount, and the Indesit ID60G2 comes with a flame failure device. This important feature automatically cuts off the gas supply if a flame is extinguished unexpectedly, offering peace of mind during cooking. Additionally, the removable glass oven door makes it easy to clean, ensuring that your cooker remains in pristine condition.
Another significant characteristic of this model is its energy efficiency. With a good energy rating, it helps to keep running costs down while still delivering excellent cooking performance. This makes the Indesit ID60G2 not only a practical choice but also an eco-friendly one.
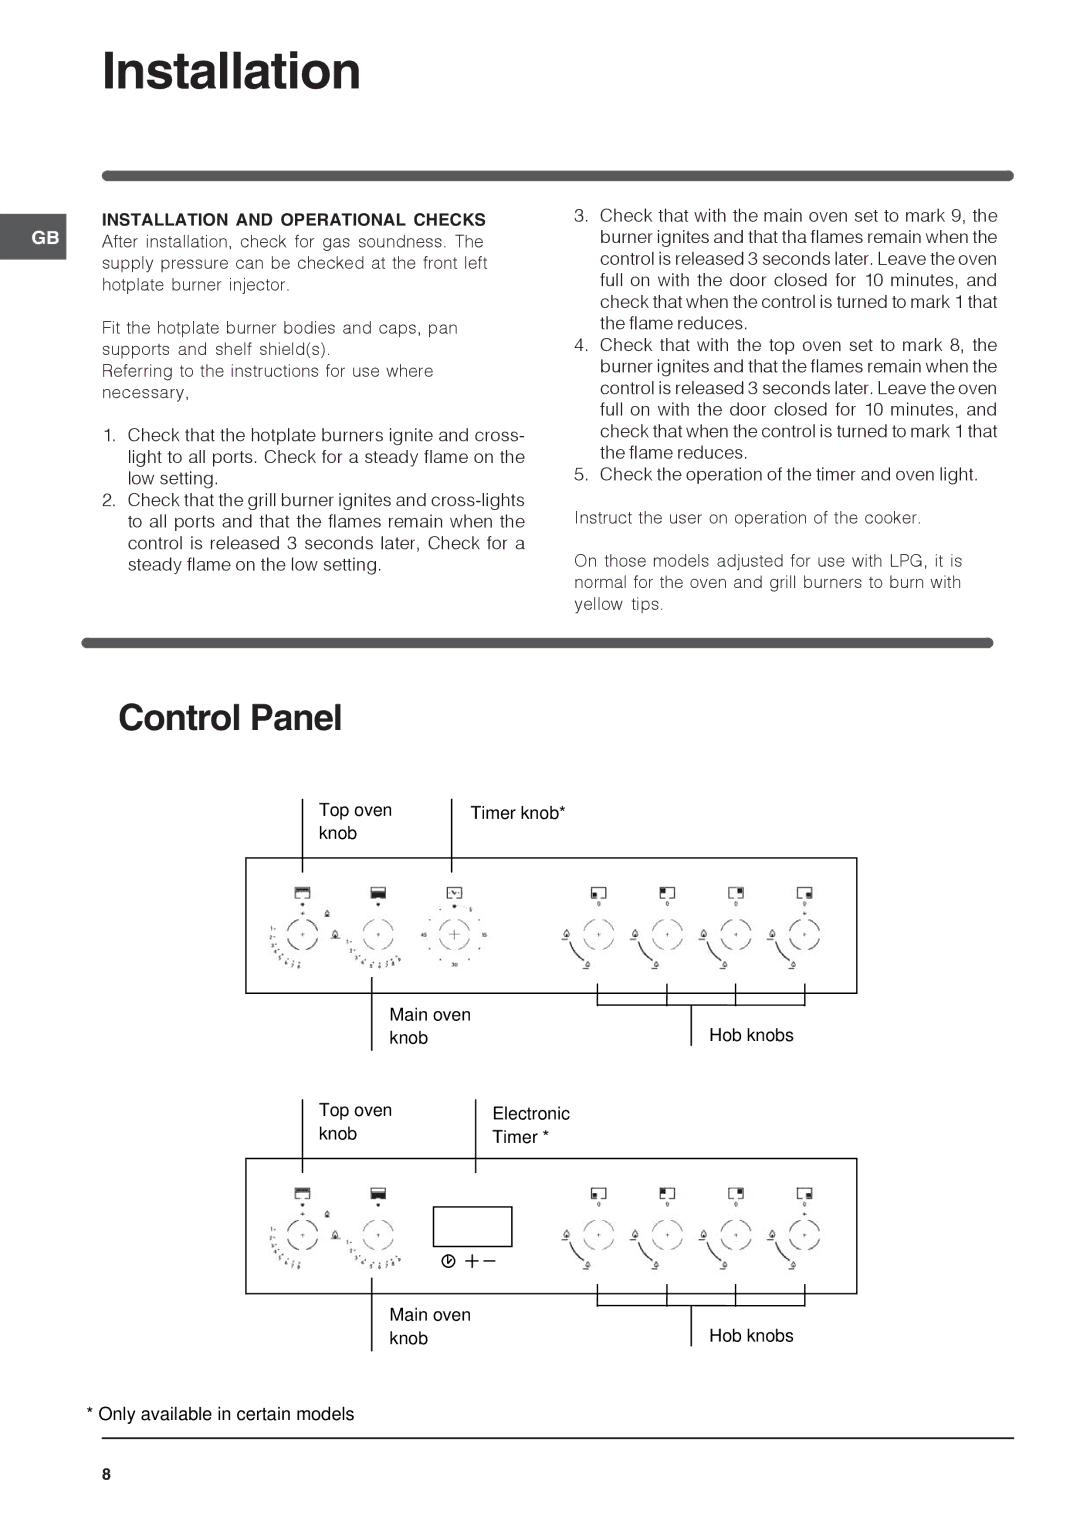
The cooker is also designed for user-friendliness with simple controls that allow for easy adjustment of temperature and cooking settings. The sleek design, combined with its functional features, makes the Indesit ID60G2 an ideal option for anyone looking to enhance their culinary experience without sacrificing style or efficiency.
In summary, the Indesit ID60G2 combines ample cooking space, advanced safety features, and energy efficiency in a user-friendly package, making it a valuable asset for any kitchen. Whether you're preparing everyday meals or hosting special occasions, this cooker is equipped to handle it all with ease.