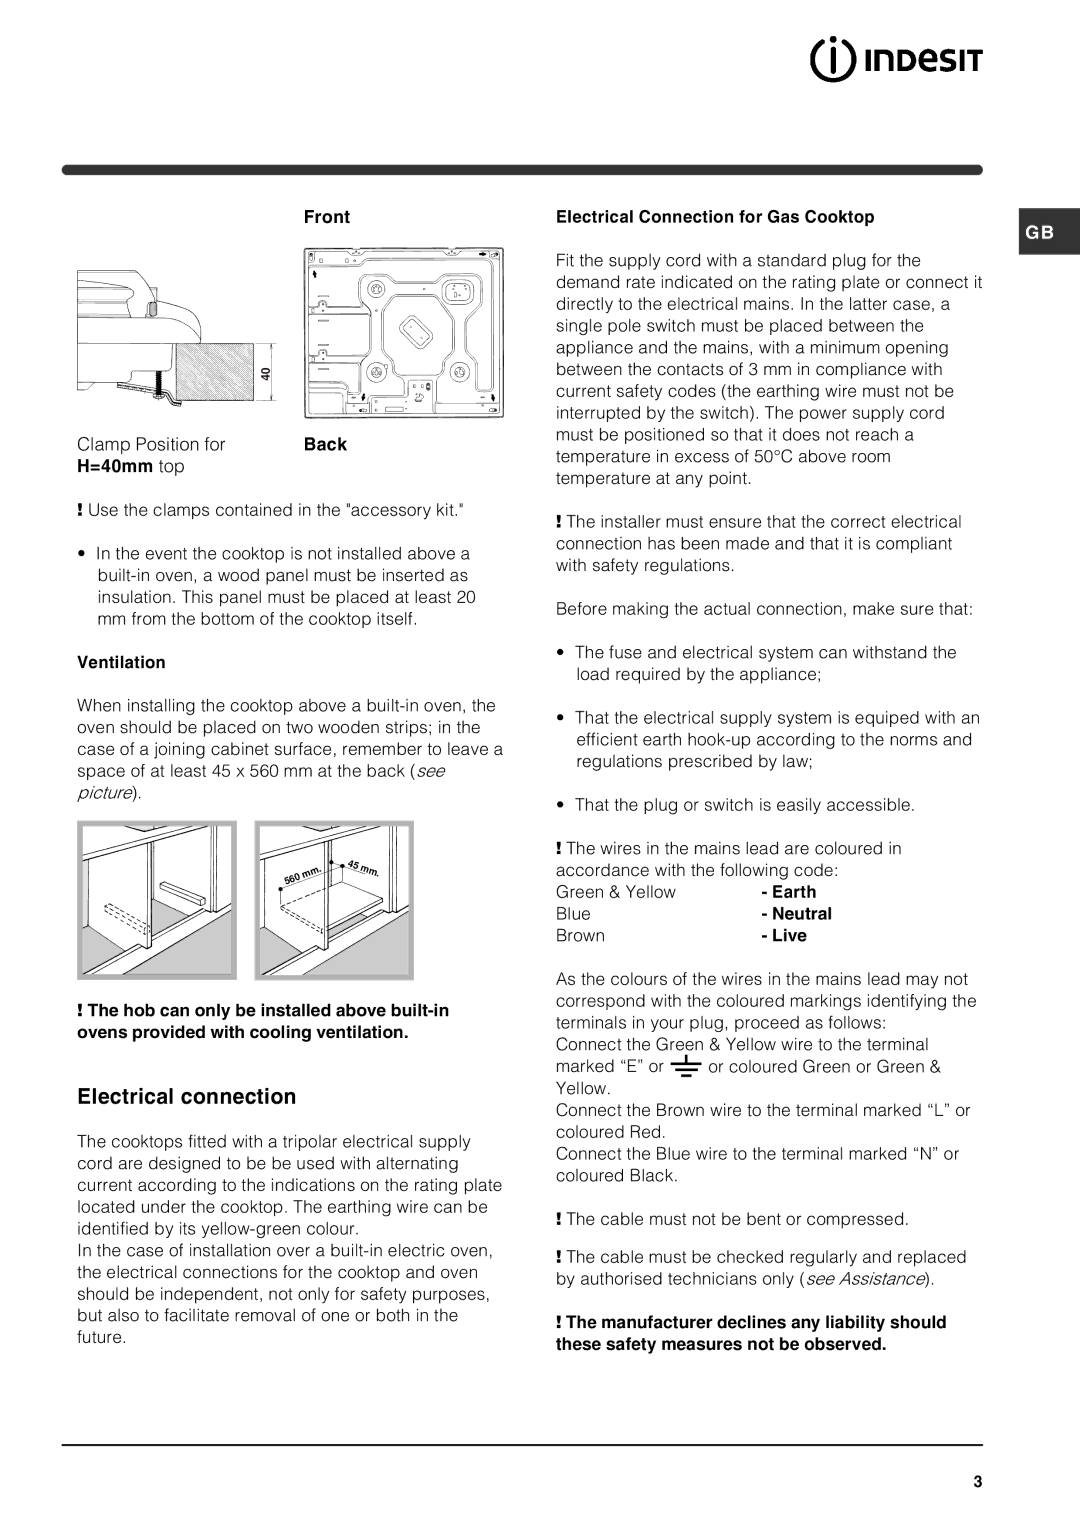
Front
| 40 |
Clamp Position for | Back |
H=40mm top |
|
!Use the clamps contained in the "accessory kit."
•In the event the cooktop is not installed above a
Ventilation
When installing the cooktop above a
. | 45 | mm | . |
mm |
| ||
560 |
|
|
|
!The hob can only be installed above
Electrical connection
The cooktops fitted with a tripolar electrical supply cord are designed to be be used with alternating current according to the indications on the rating plate located under the cooktop. The earthing wire can be identified by its
In the case of installation over a
Electrical Connection for Gas Cooktop
GB
Fit the supply cord with a standard plug for the demand rate indicated on the rating plate or connect it directly to the electrical mains. In the latter case, a single pole switch must be placed between the appliance and the mains, with a minimum opening between the contacts of 3 mm in compliance with current safety codes (the earthing wire must not be interrupted by the switch). The power supply cord must be positioned so that it does not reach a temperature in excess of 50°C above room temperature at any point.
!The installer must ensure that the correct electrical connection has been made and that it is compliant with safety regulations.
Before making the actual connection, make sure that:
•The fuse and electrical system can withstand the load required by the appliance;
•That the electrical supply system is equiped with an efficient earth
•That the plug or switch is easily accessible.
!The wires in the mains lead are coloured in accordance with the following code:
Green & Yellow
Blue
Brown
As the colours of the wires in the mains lead may not correspond with the coloured markings identifying the terminals in your plug, proceed as follows:
Connect the Green & Yellow wire to the terminal
marked “E” or ![]() or coloured Green or Green & Yellow.
or coloured Green or Green & Yellow.
Connect the Brown wire to the terminal marked “L” or coloured Red.
Connect the Blue wire to the terminal marked “N” or coloured Black.
!The cable must not be bent or compressed.
!The cable must be checked regularly and replaced by authorised technicians only (see Assistance).
!The manufacturer declines any liability should these safety measures not be observed.
3
