DP9295 specifications
The InFocus DP9295 is a state-of-the-art digital projector designed for a wide range of applications, including corporate presentations, educational environments, and large-scale events. This projector stands out due to its impressive combination of advanced features, robust technology, and user-friendly characteristics.One of the main highlights of the DP9295 is its high-resolution capability. Boasting a native resolution of 1920x1080 pixels, it delivers stunningly clear images with rich detail and vibrant colors. This level of clarity is essential for presentations that include intricate graphics or high-definition videos, ensuring that every element is visible even in large venues.
The DP9295 employs advanced DLP (Digital Light Processing) technology, which enhances image quality through improved color accuracy and consistency. DLP is known for its reliability and longevity, making the InFocus DP9295 a dependable choice for long-term use. Furthermore, the projector features a brightness rating of 5000 ANSI lumens, allowing it to perform well even in well-lit environments. This high brightness ensures that images remain sharp and legible, providing a captivating viewing experience.
In addition to its impressive imaging capabilities, the InFocus DP9295 offers a versatile range of connectivity options. It includes HDMI, VGA, and USB ports, facilitating seamless connections to various devices such as laptops, desktops, and media players. This flexibility is crucial in today’s diverse tech landscape, where users often require compatibility with multiple devices.
Another noteworthy characteristic is the projector's robust sound system. Equipped with built-in speakers, the DP9295 delivers impressive audio quality that complements its high-definition visuals. This is particularly advantageous for presentations and multimedia displays, reducing the need for additional sound equipment.
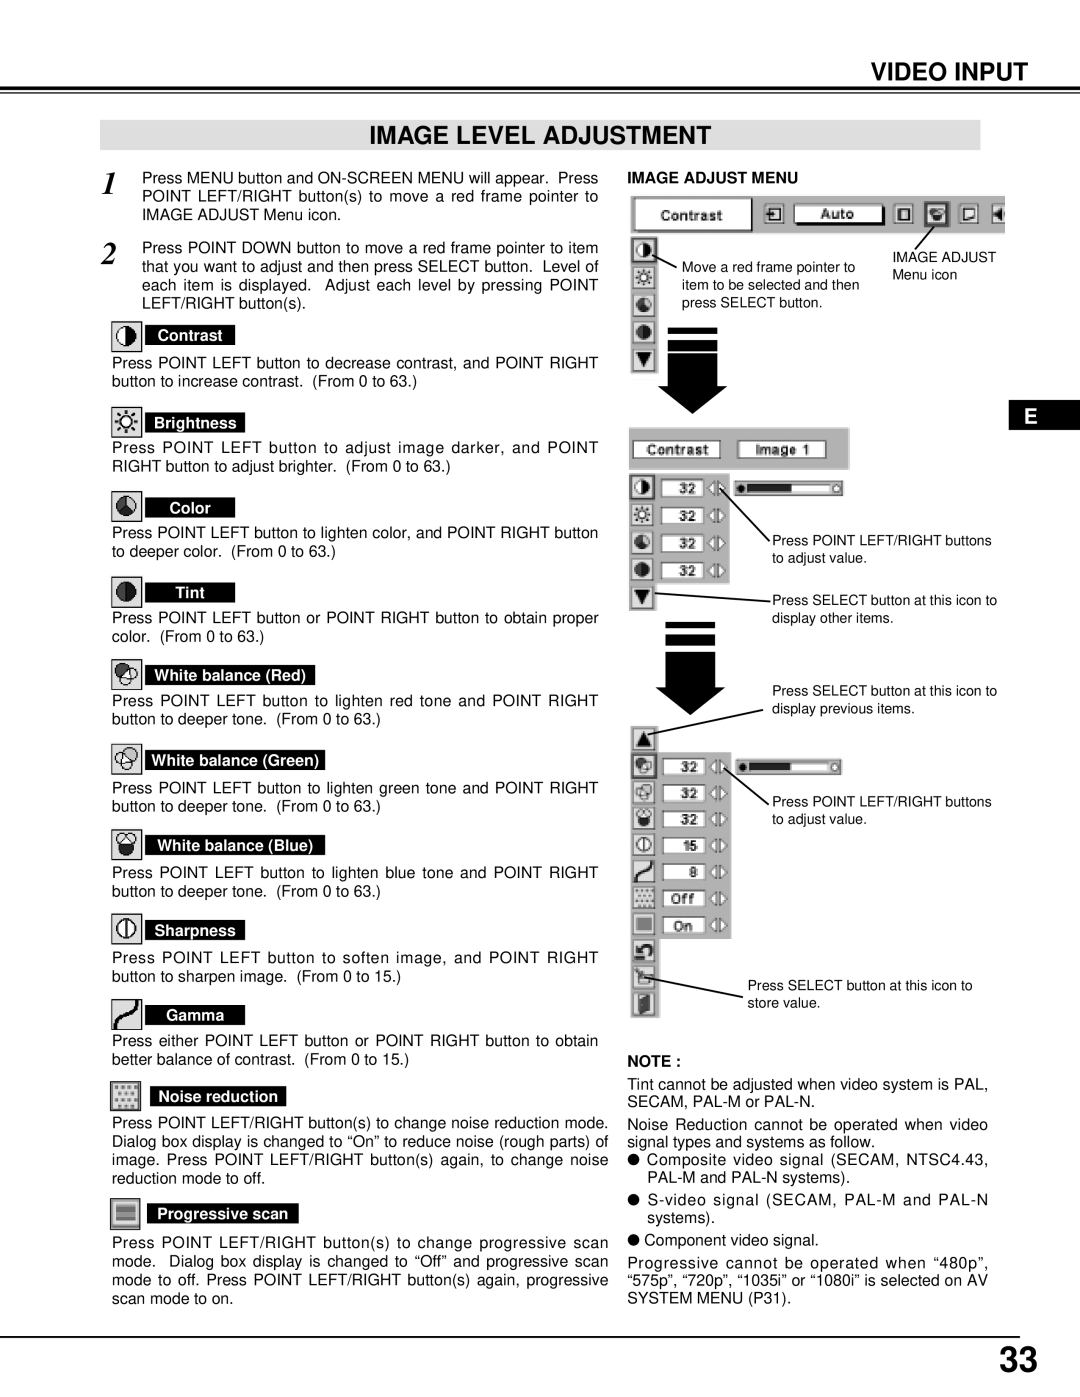
The InFocus DP9295 also prioritizes user convenience, featuring a simple setup process and an intuitive interface. With options for remote control and easy navigation through menus, users can quickly adjust settings to achieve the desired output.
Additionally, energy efficiency is a critical concern in newer projector models. The DP9295 features eco-friendly modes that reduce power consumption without compromising performance, making it a sustainable choice for organizations.
In summary, the InFocus DP9295 is a powerful digital projector that combines high resolution, excellent brightness, versatile connectivity, and user-friendly features. Its advanced DLP technology and built-in sound system make it an ideal solution for anyone looking to make a lasting impression in their presentations or displays. Whether in a classroom, boardroom, or auditorium, the DP9295 is designed to meet diverse projection needs effectively.

