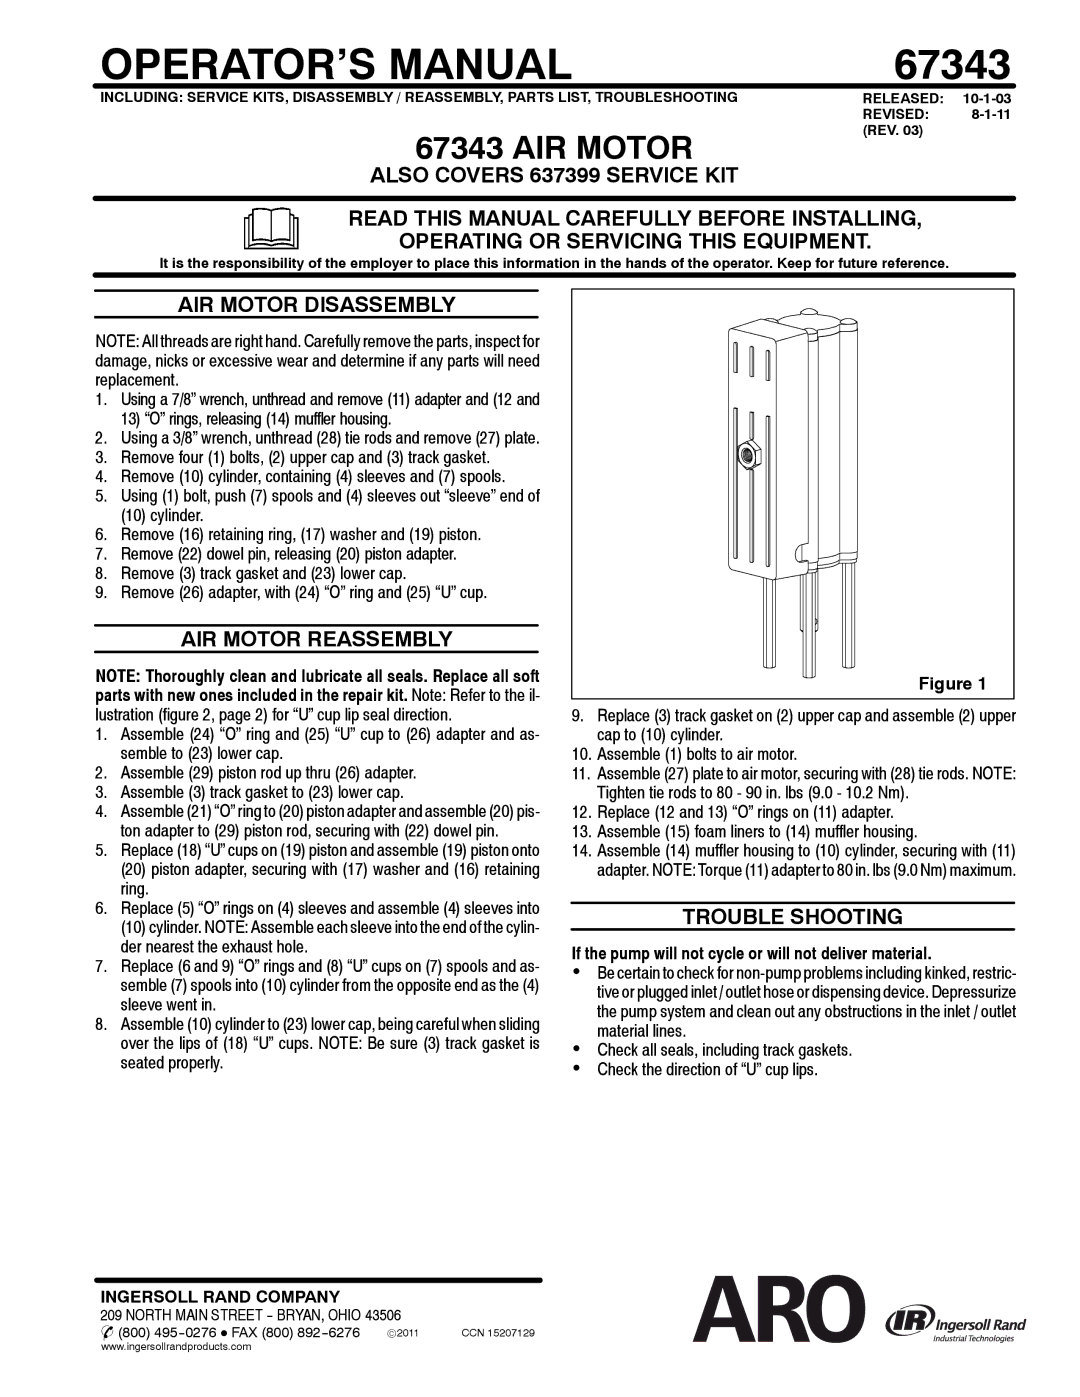
67343 specifications
The Ingersoll-Rand 67343 is a highly regarded portable air compressor, known for its durability, efficiency, and versatility in various industrial applications. This model is designed to deliver a reliable source of compressed air, making it an ideal choice for construction sites, landscaping projects, and maintenance tasks.One of the standout features of the Ingersoll-Rand 67343 is its powerful engine, which provides outstanding performance while maintaining fuel efficiency. The compressor is equipped with a reliable gasoline engine that ensures robust operation even in the most demanding environments. This capability translates into reduced downtime and increased productivity, making it a valuable asset for contractors and project managers.
In terms of technology, the Ingersoll-Rand 67343 incorporates advanced air compressor technology to achieve high performance. The unit offers a maximum pressure rating that is suitable for a wide array of pneumatic tools, including nail guns, sanders, and impact wrenches. Its consistent airflow is engineered to enhance tool efficiency, allowing users to complete tasks more effectively.
The build quality of the Ingersoll-Rand 67343 is another hallmark of its design. Constructed with durable materials, the compressor is designed to withstand harsh working conditions. Its rugged frame and protective casing ensure that it can handle the rigors of transportation and usage on job sites, providing peace of mind to the operators.
User-friendly features also characterize the Ingersoll-Rand 67343. It is equipped with intuitive controls that make it easy to operate, even for those who are not experts in pneumatic equipment. The compact and portable design allows for easy maneuverability, while the large tires and sturdy handle facilitate smooth transport across uneven terrain.
Furthermore, maintenance is straightforward with the Ingersoll-Rand 67343. Regular maintenance checks are simplified as the unit is designed for easy access to essential components, ensuring that operators can perform routine upkeep without hassle. The manufacturer's commitment to longevity is evident in the engineering, enabling users to rely on the compressor for extended periods.
In summary, the Ingersoll-Rand 67343 portable air compressor combines powerful performance with efficiency and durability. Its advanced technology, robust build quality, user-friendly design, and easy maintenance make it a top choice for anyone in need of a dependable air compressor for professional use. Whether for construction or any demanding task, the 67343 stands out as a reliable partner for achieving optimal results.