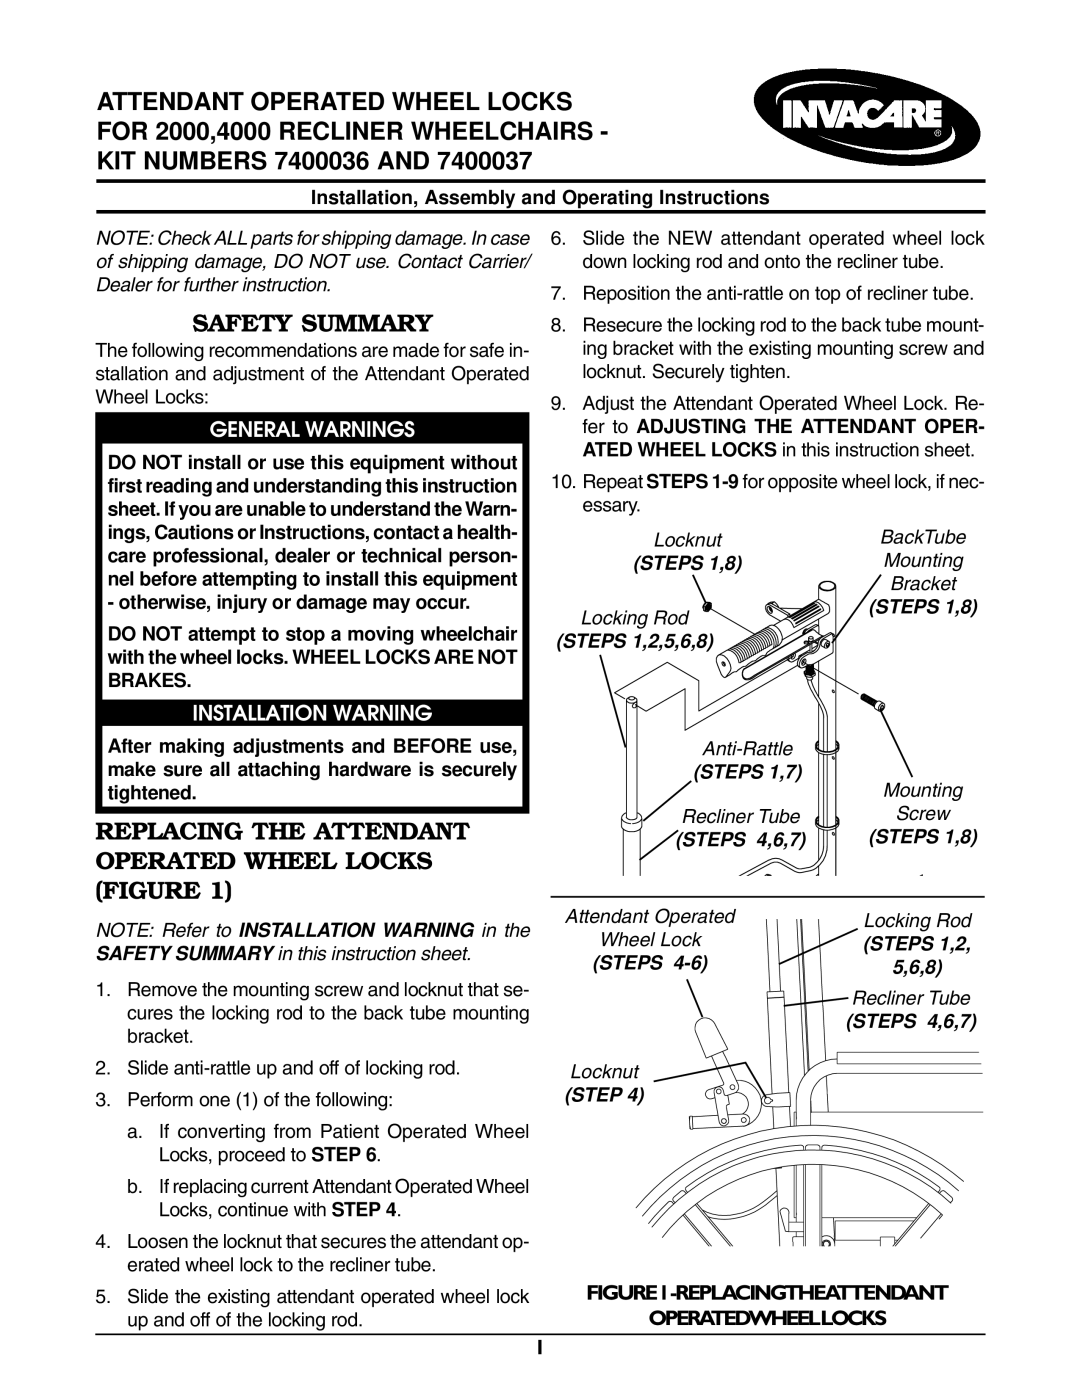
ATTENDANT OPERATED WHEEL LOCKS FOR 2000,4000 RECLINER WHEELCHAIRS - KIT NUMBERS 7400036 AND 7400037
Installation, Assembly and Operating Instructions
NOTE: Check ALL parts for shipping damage. In case of shipping damage, DO NOT use. Contact Carrier/ Dealer for further instruction.
SAFETY SUMMARY
The following recommendations are made for safe in- stallation and adjustment of the Attendant Operated Wheel Locks:
GENERAL WARNINGS
DO NOT install or use this equipment without first reading and understanding this instruction sheet. If you are unable to understand the Warn- ings, Cautions or Instructions, contact a health- care professional, dealer or technical person- nel before attempting to install this equipment - otherwise, injury or damage may occur.
DO NOT attempt to stop a moving wheelchair with the wheel locks. WHEEL LOCKS ARE NOT BRAKES.
INSTALLATION WARNING
After making adjustments and BEFORE use, make sure all attaching hardware is securely tightened.
REPLACING THE ATTENDANT OPERATED WHEEL LOCKS (FIGURE 1)
6.Slide the NEW attendant operated wheel lock down locking rod and onto the recliner tube.
7.Reposition the
8.Resecure the locking rod to the back tube mount- ing bracket with the existing mounting screw and locknut. Securely tighten.
9.Adjust the Attendant Operated Wheel Lock. Re- fer to ADJUSTING THE ATTENDANT OPER- ATED WHEEL LOCKS in this instruction sheet.
10.Repeat STEPS
Locknut | BackTube |
(STEPS 1,8) | Mounting |
| Bracket |
Locking Rod | (STEPS 1,8) |
| |
(STEPS 1,2,5,6,8) |
|
| |
(STEPS 1,7) | Mounting |
| |
Recliner Tube | Screw |
(STEPS 4,6,7) | (STEPS 1,8) |
NOTE: Refer to INSTALLATION WARNING in the SAFETY SUMMARY in this instruction sheet.
1.Remove the mounting screw and locknut that se- cures the locking rod to the back tube mounting bracket.
2.Slide
3.Perform one (1) of the following:
a.If converting from Patient Operated Wheel Locks, proceed to STEP 6.
b.If replacing current Attendant Operated Wheel Locks, continue with STEP 4.
4.Loosen the locknut that secures the attendant op- erated wheel lock to the recliner tube.
5.Slide the existing attendant operated wheel lock up and off of the locking rod.
Attendant Operated | Locking Rod |
Wheel Lock | (STEPS 1,2, |
(STEPS | 5,6,8) |
| Recliner Tube |
| (STEPS 4,6,7) |
Locknut |
|
(STEP 4) |
|
FIGURE1-REPLACINGTHEATTENDANT
OPERATEDWHEELLOCKS
1
