The mount also implements a Power On Tracking function. If you forget bring the hand controller with you or hand controller is under service, you still can use the mount to tracking the celestial object. Without plug in the hand controller, the mount will start to tracking when the power switch is turned ON. Loosen R.A. and DEC clutches (Figure 12), manually push the telescope in R.A. and DEC to desired observing target, and retighten the R.A. DEC clutches.
8.Setup Controller: The time and site information of the observation location need to be entered for precise GOTO.
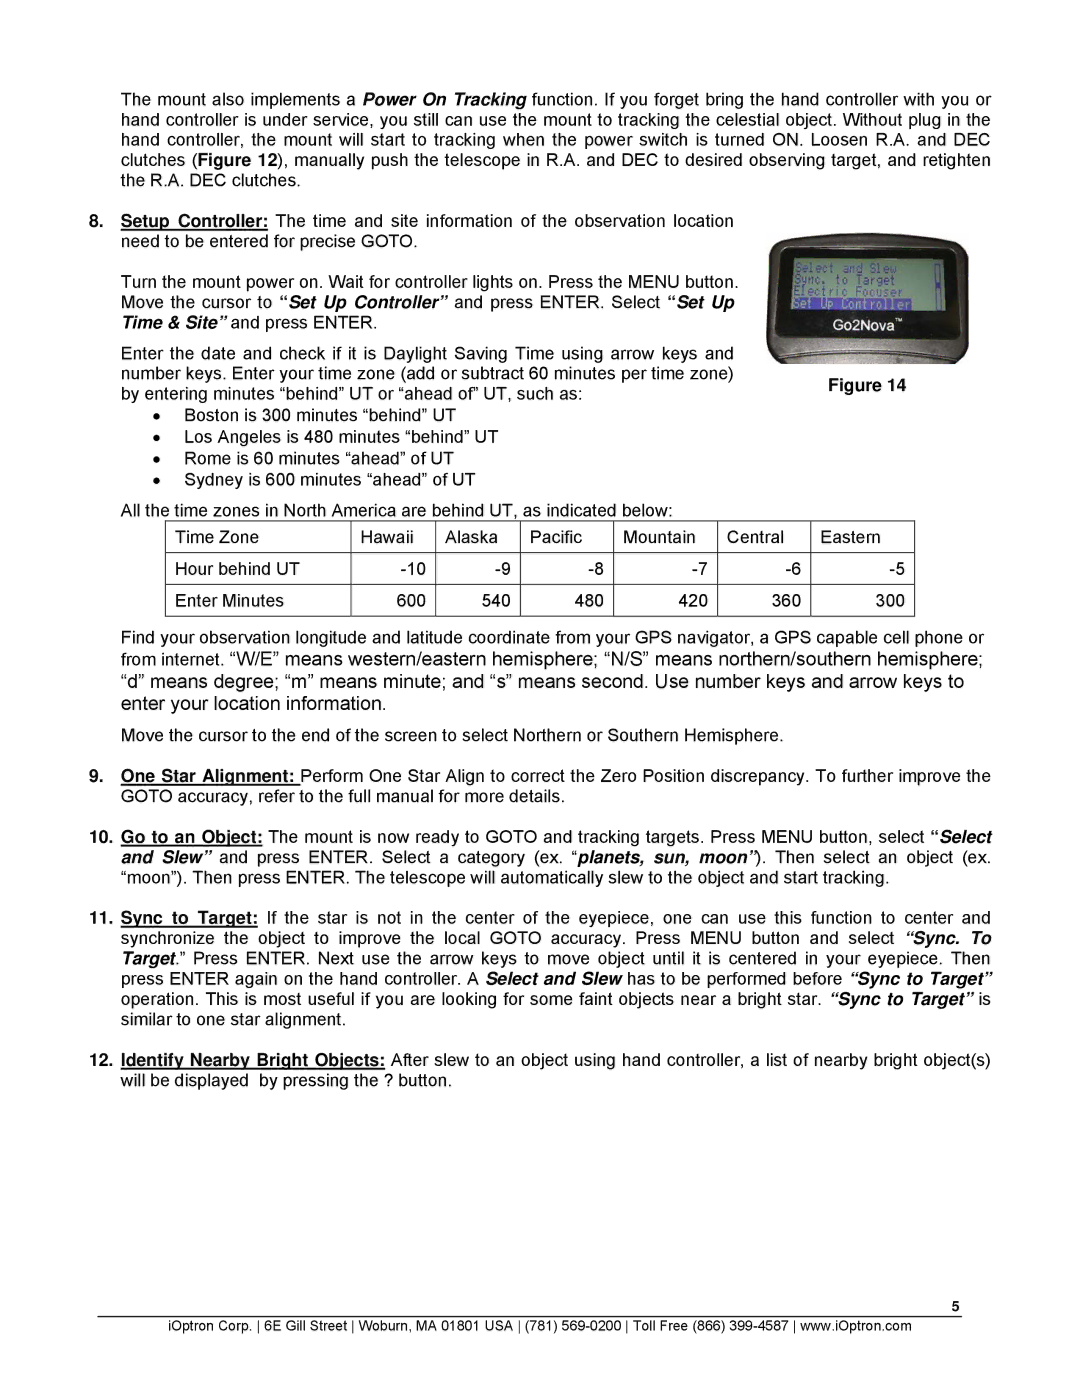
Turn the mount power on. Wait for controller lights on. Press the MENU button. Move the cursor to “Set Up Controller” and press ENTER. Select “Set Up Time & Site” and press ENTER.
Enter the date and check if it is Daylight Saving Time using arrow keys and |
| |
number keys. Enter your time zone (add or subtract 60 minutes per time zone) | Figure 14 | |
by entering minutes “behind” UT or “ahead of” UT, such as: | ||
| ||
• Boston is 300 minutes “behind” UT |
| |
• Los Angeles is 480 minutes “behind” UT |
| |
• Rome is 60 minutes “ahead” of UT |
| |
• Sydney is 600 minutes “ahead” of UT |
|
All the time zones in North America are behind UT, as indicated below:
Time Zone | Hawaii | Alaska | Pacific | Mountain | Central | Eastern |
|
|
|
|
|
|
|
Hour behind UT | ||||||
|
|
|
|
|
|
|
Enter Minutes | 600 | 540 | 480 | 420 | 360 | 300 |
|
|
|
|
|
|
|
Find your observation longitude and latitude coordinate from your GPS navigator, a GPS capable cell phone or from internet. “W/E” means western/eastern hemisphere; “N/S” means northern/southern hemisphere; “d” means degree; “m” means minute; and “s” means second. Use number keys and arrow keys to enter your location information.
Move the cursor to the end of the screen to select Northern or Southern Hemisphere.
9.One Star Alignment: Perform One Star Align to correct the Zero Position discrepancy. To further improve the GOTO accuracy, refer to the full manual for more details.
10.Go to an Object: The mount is now ready to GOTO and tracking targets. Press MENU button, select “Select and Slew” and press ENTER. Select a category (ex. “planets, sun, moon”). Then select an object (ex. “moon”). Then press ENTER. The telescope will automatically slew to the object and start tracking.
11.Sync to Target: If the star is not in the center of the eyepiece, one can use this function to center and synchronize the object to improve the local GOTO accuracy. Press MENU button and select “Sync. To Target.” Press ENTER. Next use the arrow keys to move object until it is centered in your eyepiece. Then press ENTER again on the hand controller. A Select and Slew has to be performed before “Sync to Target” operation. This is most useful if you are looking for some faint objects near a bright star. “Sync to Target” is similar to one star alignment.
12.Identify Nearby Bright Objects: After slew to an object using hand controller, a list of nearby bright object(s) will be displayed by pressing the ? button.
5
iOptron Corp. 6E Gill Street Woburn, MA 01801 USA (781)