| Step 7. |
|
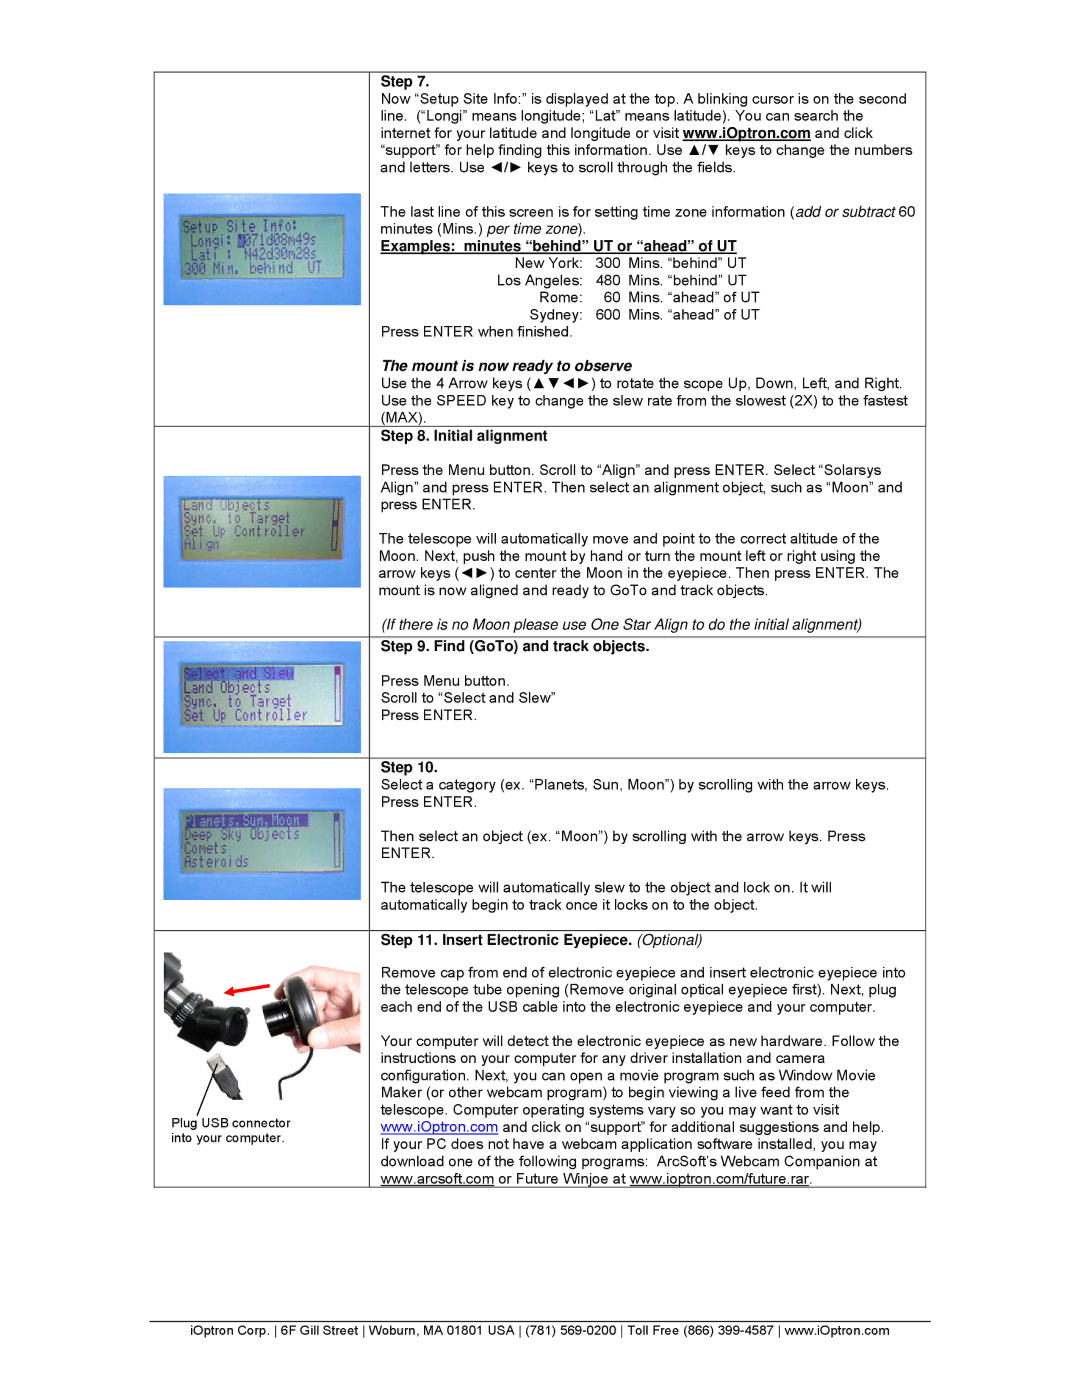
| Now “Setup Site Info:” is displayed at the top. A blinking cursor is on the second | |
| line. (“Longi” means longitude; “Lat” means latitude). You can search the | |
| internet for your latitude and longitude or visit www.iOptron.com and click | |
| “support” for help finding this information. Use ▲/▼ keys to change the numbers | |
| and letters. Use ◄/► keys to scroll through the fields. | |
| The last line of this screen is for setting time zone information (add or subtract 60 | |
| minutes (Mins.) per time zone). |
|
| Examples: minutes “behind” UT or “ahead” of UT | |
| New York: | 300 Mins. “behind” UT |
| Los Angeles: | 480 Mins. “behind” UT |
| Rome: | 60 Mins. “ahead” of UT |
| Sydney: | 600 Mins. “ahead” of UT |
| Press ENTER when finished. |
|
| The mount is now ready to observe | |
| Use the 4 Arrow keys (▲▼◄►) to rotate the scope Up, Down, Left, and Right. | |
| Use the SPEED key to change the slew rate from the slowest (2X) to the fastest | |
| (MAX). |
|
| Step 8. Initial alignment |
|
| Press the Menu button. Scroll to “Align” and press ENTER. Select “Solarsys | |
| Align” and press ENTER. Then select an alignment object, such as “Moon” and | |
| press ENTER. |
|
| The telescope will automatically move and point to the correct altitude of the | |
| Moon. Next, push the mount by hand or turn the mount left or right using the | |
| arrow keys (◄►) to center the Moon in the eyepiece. Then press ENTER. The | |
| mount is now aligned and ready to GoTo and track objects. | |
| (If there is no Moon please use One Star Align to do the initial alignment) | |
| Step 9. Find (GoTo) and track objects. | |
| Press Menu button. |
|
| Scroll to “Select and Slew” |
|
| Press ENTER. |
|
|
|
|
| Step 10. |
|
| Select a category (ex. “Planets, Sun, Moon”) by scrolling with the arrow keys. | |
| Press ENTER. |
|
| Then select an object (ex. “Moon”) by scrolling with the arrow keys. Press | |
| ENTER. |
|
| The telescope will automatically slew to the object and lock on. It will | |
| automatically begin to track once it locks on to the object. | |
|
| |
| Step 11. Insert Electronic Eyepiece. (Optional) | |
| Remove cap from end of electronic eyepiece and insert electronic eyepiece into | |
| the telescope tube opening (Remove original optical eyepiece first). Next, plug | |
| each end of the USB cable into the electronic eyepiece and your computer. | |
| Your computer will detect the electronic eyepiece as new hardware. Follow the | |
| instructions on your computer for any driver installation and camera | |
| configuration. Next, you can open a movie program such as Window Movie | |
| Maker (or other webcam program) to begin viewing a live feed from the | |
Plug USB connector | telescope. Computer operating systems vary so you may want to visit | |
www.iOptron.com and click on “support” for additional suggestions and help. | ||
into your computer. | If your PC does not have a webcam application software installed, you may | |
| download one of the following programs: ArcSoft’s Webcam Companion at | |
| www.arcsoft.com or Future Winjoe at www.ioptron.com/future.rar. | |
iOptron Corp. 6F Gill Street Woburn, MA 01801 USA (781)