PSW-D112/115 specifications
The JBL PSW-D112 and PSW-D115 subwoofers are part of JBL's renowned Professional Series, designed to deliver powerful and deep bass performance for various applications, from home theaters to professional audio setups. These subwoofers provide an impressive audio experience that enhances the overall sound quality of any system.One of the standout features of the PSW-D112 and PSW-D115 is their robust build quality. Both models house a high-performance woofer that is designed to produce low frequencies with exceptional clarity and impact. The PSW-D112 features a 12-inch driver, while the PSW-D115 is equipped with a larger 15-inch driver, allowing it to push even more air for deeper bass reproduction. This makes them ideal for both movie playback and music listening, where bass response is crucial.
These subwoofers utilize JBL's advanced design technologies, including a highly efficient amplifier. The built-in amplifier is optimized for performance, ensuring that the woofer performs at its peak across various frequencies. With power output options suitable for both leisure and professional environments, these subwoofers can easily fill a room with rich, resonant bass.
The PSW-D112 and PSW-D115 also include a range of connectivity options, making them versatile for integration with different audio systems. They come equipped with both RCA and XLR inputs, allowing for straightforward connection to a range of audio gear, including receivers, mixers, and processors. This flexibility in connections translates into seamless integration in both home theater and professional setups.
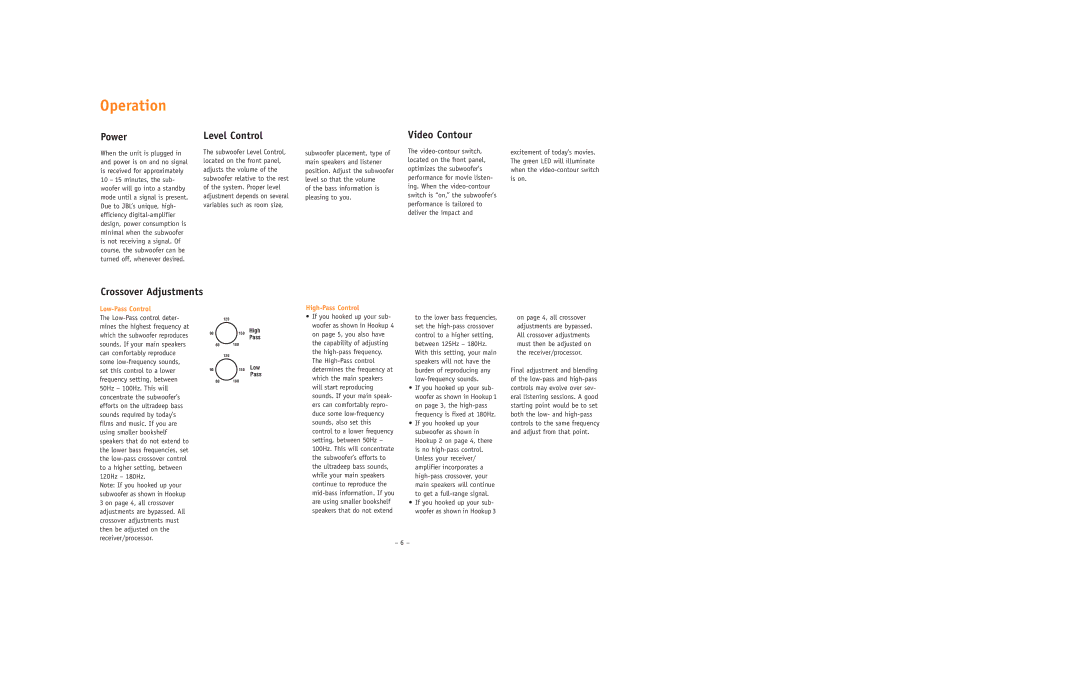
In terms of user control, both subwoofers feature adjustable crossover frequencies and phase control settings. These controls enable users to tailor the subwoofer's output to their specific needs, optimizing the performance depending on the acoustic characteristics of the space. The ability to adjust these parameters ensures that users can achieve a balanced soundstage that complements their listening environment.
Overall, the JBL PSW-D112 and PSW-D115 subwoofers are engineered for exceptional performance, reliability, and versatility. With their powerful drivers, efficient amplification, and user-friendly controls, they provide an outstanding audio solution for anyone looking to enhance their sound experience with impactful bass. Whether for music or movies, these subwoofers stand out as a top choice in their class.

