SB-H-CRV/10W3V3, 94429, SB-H-CRV/10W3v3/TN, SB-H-CRV/10W3v3/DG, SB-H-CRV/10W3v3/GA specifications
JL Audio has long been synonymous with premium automotive audio solutions, and their SB-H-CRV/10W3v3 series exemplifies that legacy. Designed specifically for select Honda CR-V models, these subwoofer enclosures are engineered to deliver exceptional bass performance while seamlessly fitting into the vehicle's interior. The series includes various finishes, such as GA (Graphite), DG (Dark Gray), and TN (Tan), allowing car enthusiasts to choose an aesthetic that complements their vehicle's style.At the core of each enclosure is the renowned 10W3v3 subwoofer. This driver is celebrated for its powerful performance, featuring a 10-inch diameter and a robust, lightweight cone that enhances transient response and minimizes distortion. With a peak power handling capability of 1,000 watts and an RMS rating of 500 watts, the 10W3v3 can handle high output levels without compromising sound quality. The subwoofer's vented design promotes efficient airflow, ensuring the driver remains cool even during extended listening sessions.
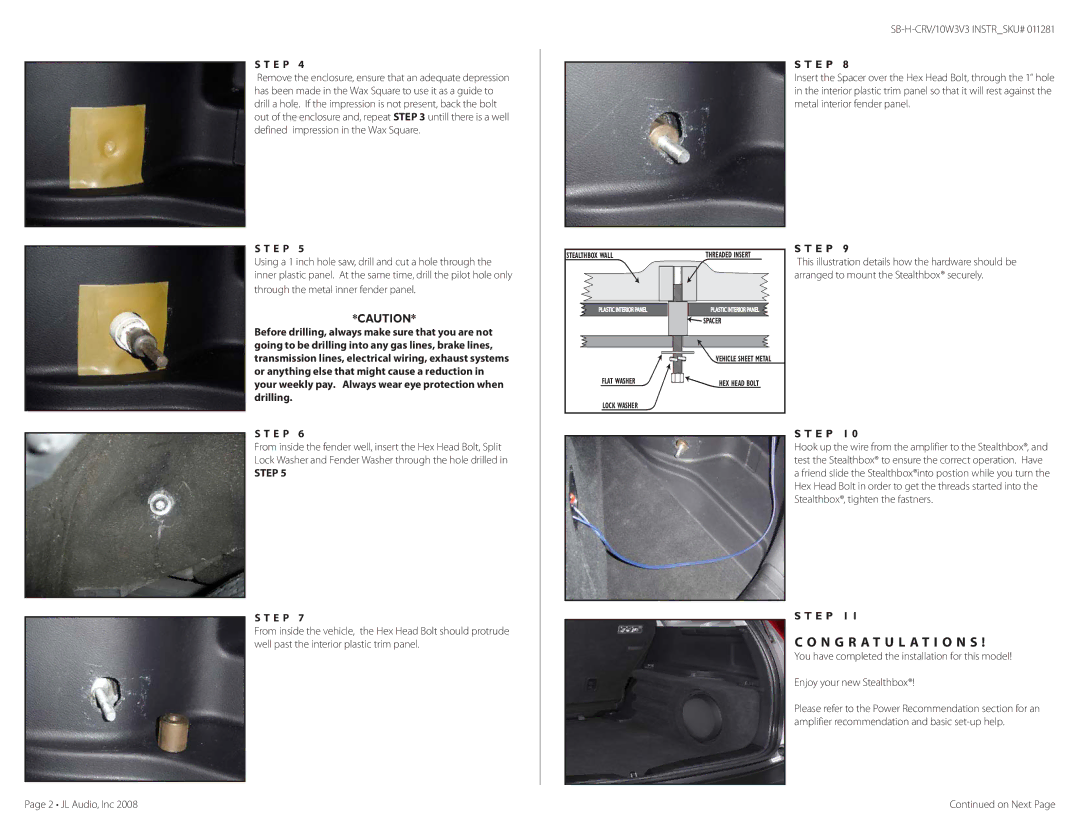
One of the standout features of the SB-H-CRV/10W3v3 enclosures is their precise engineering. Each enclosure is constructed from high-quality MDF (medium-density fiberboard) to provide durability and reduce unwanted resonance, resulting in clearer bass notes. The enclosure's internal volume is optimized to match the 10W3v3 subwoofer, maximizing performance and enhancing low-frequency response. Additionally, the enclosures are designed for easy installation, featuring pre-drilled holes and included mounting hardware.
JL Audio incorporates advanced technologies into the design of the 10W3v3. The elevated frame design allows for maximum excursion while maintaining structural integrity. The dual 4-ohm voice coils offer flexible wiring options, making it easier to achieve the desired impedance configuration for your amplifier. Furthermore, the subwoofer utilizes a patented "Spider Attachment Method" that provides better alignment and increased performance.
In summary, the JL Audio SB-H-CRV/10W3v3 series combines exceptional engineering, high-quality materials, and innovative technologies to deliver an unparalleled bass experience for Honda CR-V owners. Whether you're a casual listener or a dedicated audiophile, these subwoofer enclosures promise impressive sound quality, powerful performance, and a stylish aesthetic that will elevate any driving experience.

