J4300 and J6300 Services Router PIM Installation Instructions
4.Tighten the captive screws on each side of the PIM faceplate.
5.Insert the appropriate cables into the cable connectors on the PIM.
6.If necessary, arrange the cables to prevent them from dislodging or developing stress points:
Secure the cable so that it is not supporting its own weight as it hangs to the floor.
Place excess cable out of the way in a neatly coiled loop.
Use fasteners to maintain the shape of cable loops.
7.Press and release the power button to power on the router. Verify that the POWER ON LED lights steadily after you press the power button.
8.Verify that the PIM status LED lights steadily green to confirm that the PIM is online.
You can also verify correct PIM functioning by issuing the show chassis fpc
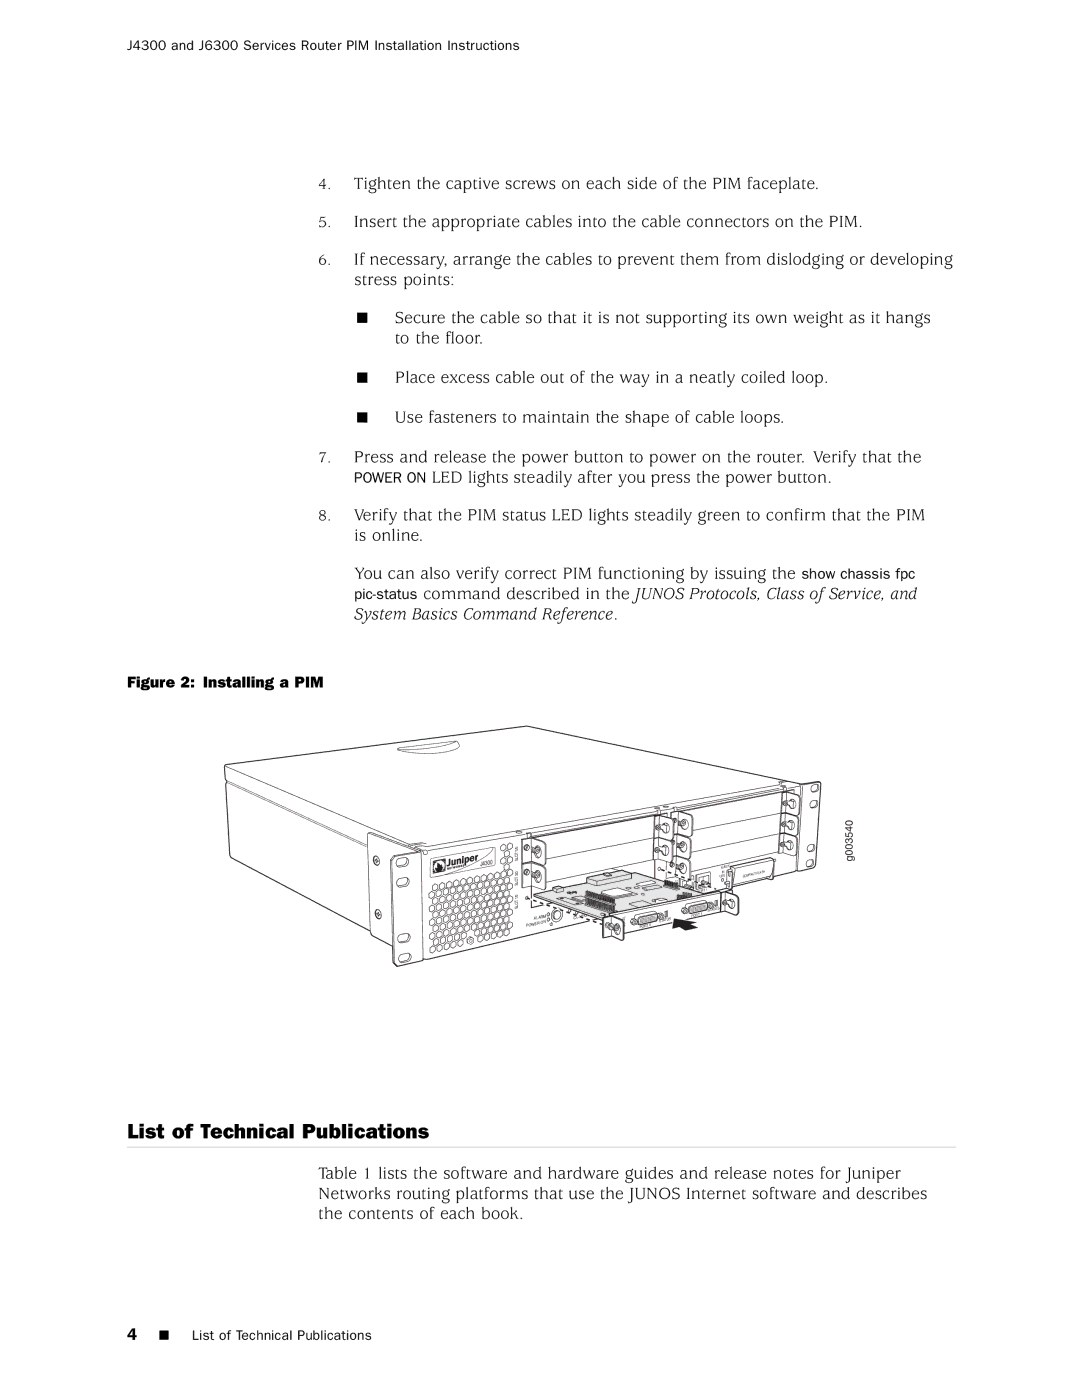
Figure 2: Installing a PIM
J4300 | 5/0SLOT |
| |
| 3/0SLOT |
| 1/0SLOT |
ALAR | M | CO | NFIG | |
POWE | R ON |
|
| |
|
|
|
| |
![]()
![]() RES LIA
RES LIA
STATU | S |
PORT | 0 |
EJECT |
|
IN | T FLASH |
USE | COMPAC |
TE
RT 1
| STATU | S |
PORT | 1 |
|
|
|
g003540
List of Technical Publications
Table 1 lists the software and hardware guides and release notes for Juniper Networks routing platforms that use the JUNOS Internet software and describes the contents of each book.
4 List of Technical Publications