
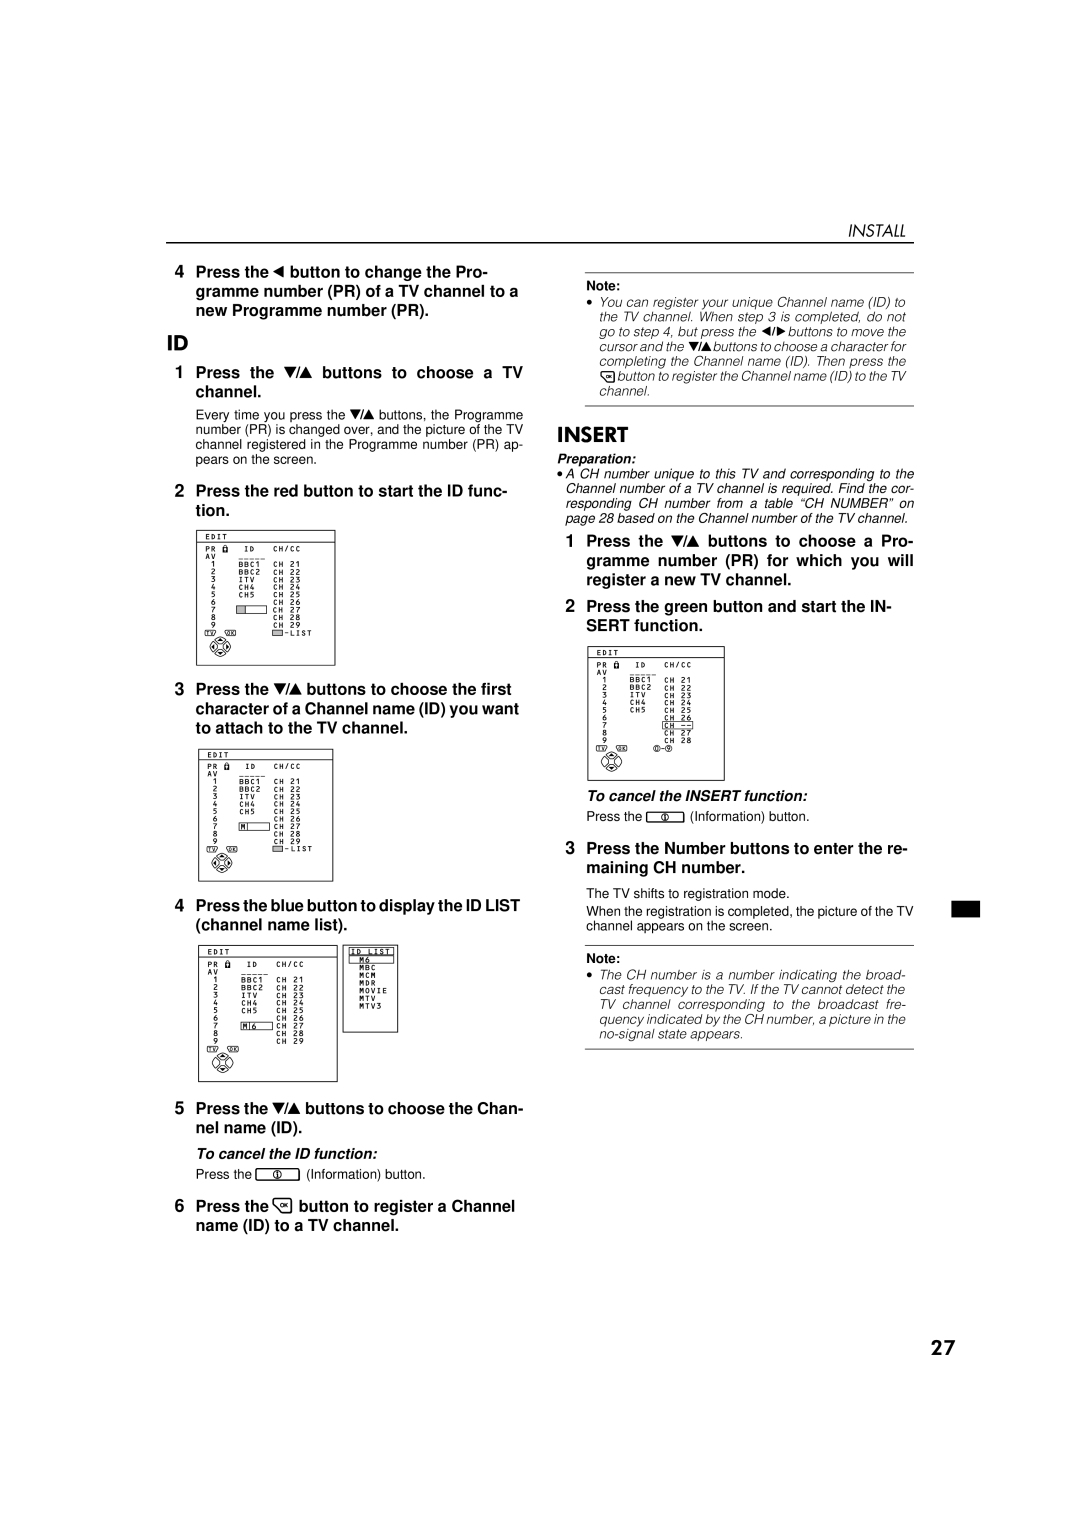
AV-32WFT1EK, AV-28WFT1EK specifications
The JVC AV-28WFT1EK and AV-32WFT1EK are notable additions to the realm of CRT television technology, designed to deliver powerful performance and vibrant imagery to viewers. These models exemplify JVC's commitment to quality and innovation, making them popular choices among consumers seeking reliable television units.One of the most striking features of the AV-28WFT1EK and AV-32WFT1EK is their screen size. The AV-28WFT1EK features a 28-inch screen, while the AV-32WFT1EK boasts a larger 32-inch display. Both televisions utilize a flat-screen design that not only enhances the aesthetic appeal but also reduces glare, improving the viewing experience in various lighting conditions.
The high resolution provided by these models ensures that images are sharp and colors are vivid. Thanks to advanced picture technologies, including JVC's proprietary image enhancement algorithms, users can expect improved picture quality with deep blacks and bright highlights. The integration of S-VHS and composite video inputs allows for versatility in connectivity, making it easy to connect gaming consoles, DVD players, and other external devices for an expanded entertainment experience.
Both models incorporate a robust audio system, equipped with powerful speakers that deliver rich sound. The ability to adjust audio settings ensures optimal sound performance, creating a more immersive experience for movies, music, and gaming. Additionally, the inclusion of virtual surround sound technology enhances the audio experience by simulating a multi-channel sound environment.
In terms of usability, the AV-28WFT1EK and AV-32WFT1EK feature intuitive on-screen menus and remote control functionality, allowing users to easily navigate through channels and settings. The televisions also come with multiple presets for color and picture adjustments, enabling personalized viewing preferences.
Energy efficiency is another characteristic worth noting. JVC has designed these models to reduce power consumption compared to older CRT televisions, making them more environmentally friendly and cost-effective in the long run.
In summary, the JVC AV-28WFT1EK and AV-32WFT1EK are excellent representations of CRT television technology, offering a combination of size, picture quality, sound performance, and user-friendly features. They cater to a range of viewing needs, making them solid choices for those who appreciate traditional television experiences without compromising on quality.