English

Recording

IMPORTANT:

It may be unlawful to record or play back copyrighted material without the consent of the copyright owner.

The recording level is automatically set correctly, so it is not affected by the VOLUME control and the SUBWOOFER VOLUME control. Thus, during recording you can adjust the sound you are actually listening to without affecting the recording level.

While recording, you can hear sound modes through the speakers or headphones. However, the sound is recorded without these effects (see page 10).

If recordings you have made have excessive noise or static, the unit may be too close to a TV. Increase the distance between the TV and the unit.

You can use type I and II tapes for recording.

To protect your recording Cassettes have two small tabs on

the back to protect unexpected erasure or re-recording.

To protect your recording, remove these tabs.

To re-record on a protected tape, cover the holes with adhesive tape.

When using type II tape, be careful not to cover the holes used to detect the tape type.

To keep the best recording and playback sound quality

If the heads, capstans, and pinch rollers of the cassette decks become dirty, the following will occur:

Impaired sound quality

Discontinuous sound

Fading

Incomplete erasure

Difficulty in recording

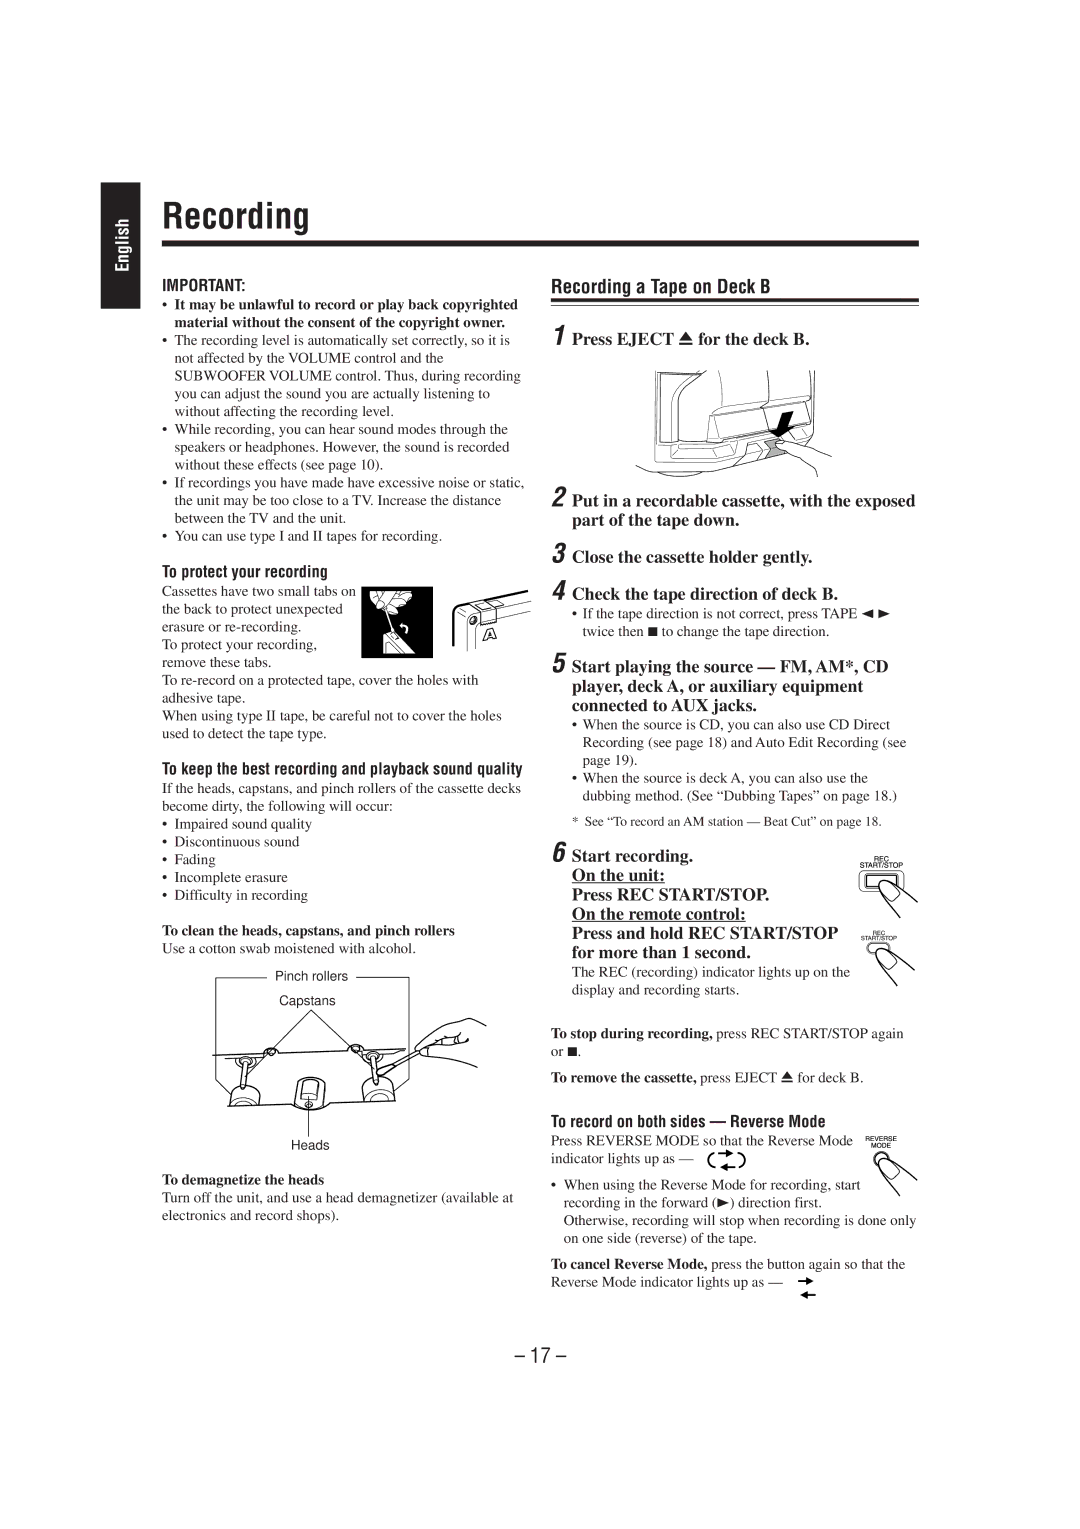
To clean the heads, capstans, and pinch rollers

Use a cotton swab moistened with alcohol.

Pinch rollers

Capstans

Recording a Tape on Deck B

1 Press EJECT 0 for the deck B.

2 Put in a recordable cassette, with the exposed part of the tape down.

3 Close the cassette holder gently.

4 Check the tape direction of deck B.

If the tape direction is not correct, press TAPE 2 3 twice then 7to change the tape direction.

5 Start playing the source — FM, AM*, CD player, deck A, or auxiliary equipment connected to AUX jacks.

When the source is CD, you can also use CD Direct Recording (see page 18) and Auto Edit Recording (see page 19).

When the source is deck A, you can also use the dubbing method. (See “Dubbing Tapes” on page 18.)

* See “To record an AM station — Beat Cut” on page 18.

6 Start recording. On the unit:

Press REC START/STOP. On the remote control:

Press and hold REC START/STOP for more than 1 second.

The REC (recording) indicator lights up on the display and recording starts.

To stop during recording, press REC START/STOP again or 7.

To remove the cassette, press EJECT 0for deck B.

Heads

To demagnetize the heads

Turn off the unit, and use a head demagnetizer (available at electronics and record shops).

To record on both sides — Reverse Mode

Press REVERSE MODE so that the Reverse Mode indicator lights up as —

When using the Reverse Mode for recording, start recording in the forward (3) direction first.

Otherwise, recording will stop when recording is done only on one side (reverse) of the tape.

To cancel Reverse Mode, press the button again so that the Reverse Mode indicator lights up as —

– 17 –

Page 22
Image 22
JVC CA-MXJ700, GVT0030-003A manual Recording a Tape on Deck B, To record on both sides Reverse Mode

GVT0030-003A, CA-MXJ700 specifications

The JVC GVT0030-003A and CA-MXJ700 are two highly regarded components in the audio equipment realm, well-known for their impressive performance, rich features, and advanced technologies that elevate the listening experience.

The JVC GVT0030-003A is a versatile speaker unit designed to produce clear and powerful sound. With its innovative design, this speaker is engineered to deliver an immersive audio experience, making it suitable for both casual listening and more demanding soundtracks. This model features a robust woofer that is capable of reproducing deep bass tones, ensuring listeners can enjoy a wide range of music genres without missing a beat. The high-frequency drivers are finely tuned to provide crisp and clear treble, enhancing overall audio clarity.

On the other hand, the CA-MXJ700 is a compact mini audio system that stands out due to its multi-functional capabilities. This system offers a variety of playback options including CD, USB, and Bluetooth, allowing users to enjoy their favorite music from different sources seamlessly. One of the standout features of the CA-MXJ700 is its Bluetooth connectivity, which enables easy pairing with smartphones, tablets, and other Bluetooth-enabled devices, making it convenient to stream music wirelessly.

The CA-MXJ700 also boasts a built-in FM tuner, allowing users to enjoy their favorite radio stations, and the option for auxiliary input expands its compatibility with other audio devices. An integrated digital amplifier drives the system’s output, ensuring that audio remains undistorted even at higher volumes.

Both the GVT0030-003A and CA-MXJ700 are designed with user-friendliness in mind. The systems come equipped with intuitive control panels and remote control options, allowing for effortless operation from a distance.

In conclusion, the JVC GVT0030-003A and CA-MXJ700 deliver a powerful combination of advanced features and state-of-the-art technologies. With their ability to produce high-quality audio and options for versatile playback, these products are ideal for anyone looking to elevate their music listening experience at home or on the go. Both components reflect JVC's commitment to audio excellence, catering to the needs of audiophiles and casual listeners alike.