
GZ-MG27U, GZ-MG37U specifications
The JVC GZ-MG37U and GZ-MG27U are part of JVC's innovative line of Everio camcorders, which were designed to elevate the standard of home video recording. These models are particularly notable for their hard disk drive (HDD) storage, offering users the convenience of storing videos without the need for tape or external media. With compact designs, they cater to the needs of casual users and aspiring videographers alike.The GZ-MG37U features a generous 30GB internal HDD, while the GZ-MG27U is equipped with a 20GB HDD. This allows for extended recording times, making it ideal for capturing long events such as family gatherings or vacations. The compression technology used ensures that the video is preserved in high quality while managing storage space efficiently.
Both models are equipped with a 1/6-inch CCD sensor, delivering vibrant colors and clear images, even in varied lighting conditions. The optical zoom capabilities vary, with the GZ-MG37U offering a 35x optical zoom, which empowers users to capture distant subjects with clarity. The GZ-MG27U, while slightly less powerful, still provides significant zoom capabilities, making them both versatile options for videography.
An array of thoughtful features enhances user experience. An intuitive touchscreen interface simplifies menu navigation and settings adjustments, making it user-friendly, even for those new to videography. Additionally, the built-in image stabilization technology helps to reduce blurriness caused by shaky hands, ensuring that even handheld shots appear steady.
In terms of connectivity, both camcorders come with USB 2.0 ports for easy transfer of video files to computers, which is complemented by the ability to connect directly to TVs for immediate playback. The inclusion of a built-in microphone and speaker allows for audio capture and monitoring, making it easier for users to ensure their recordings sound as good as they look.
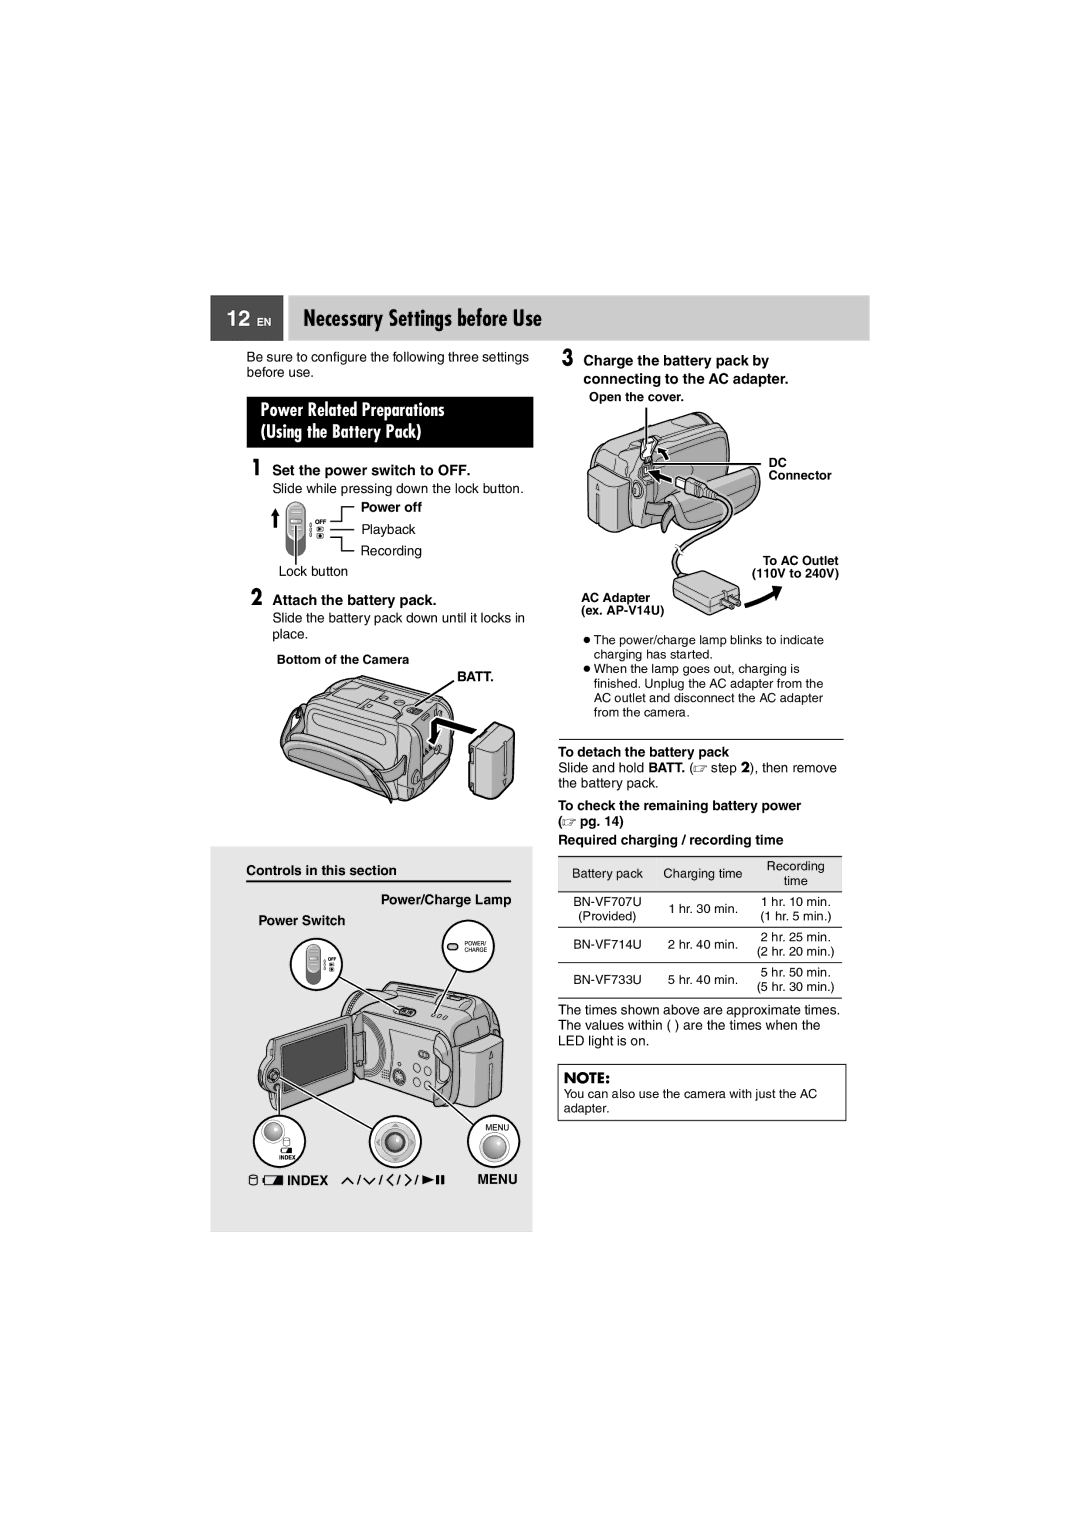
Battery life is another commendable feature, with both models equipped with lithium-ion batteries that provide ample recording time, ensuring you can document those special moments without interruption.
Overall, the JVC GZ-MG37U and GZ-MG27U are reliable, user-friendly camcorders that combine functionality and performance in a compact package. They cater well to those looking to capture life’s memories with ease and style.