
HR-A62U specifications
The JVC HR-A62U is a standout VCR that emerged in the mid-1990s during the peak of the VHS era. This model is appreciated for its reliability, user-friendly features, and solid playback quality, making it a popular choice among home users and collectors alike.One of the key features of the HR-A62U is its advanced video processing technology. The unit employs JVC's Super VHS (S-VHS) capability, which allows for enhanced picture quality compared to standard VHS. This technology utilizes a higher resolution and improved color fidelity, making it ideal for those who prioritize clarity in their video recordings. Additionally, the S-VHS compatibility means users can also play standard VHS tapes without sacrificing performance.
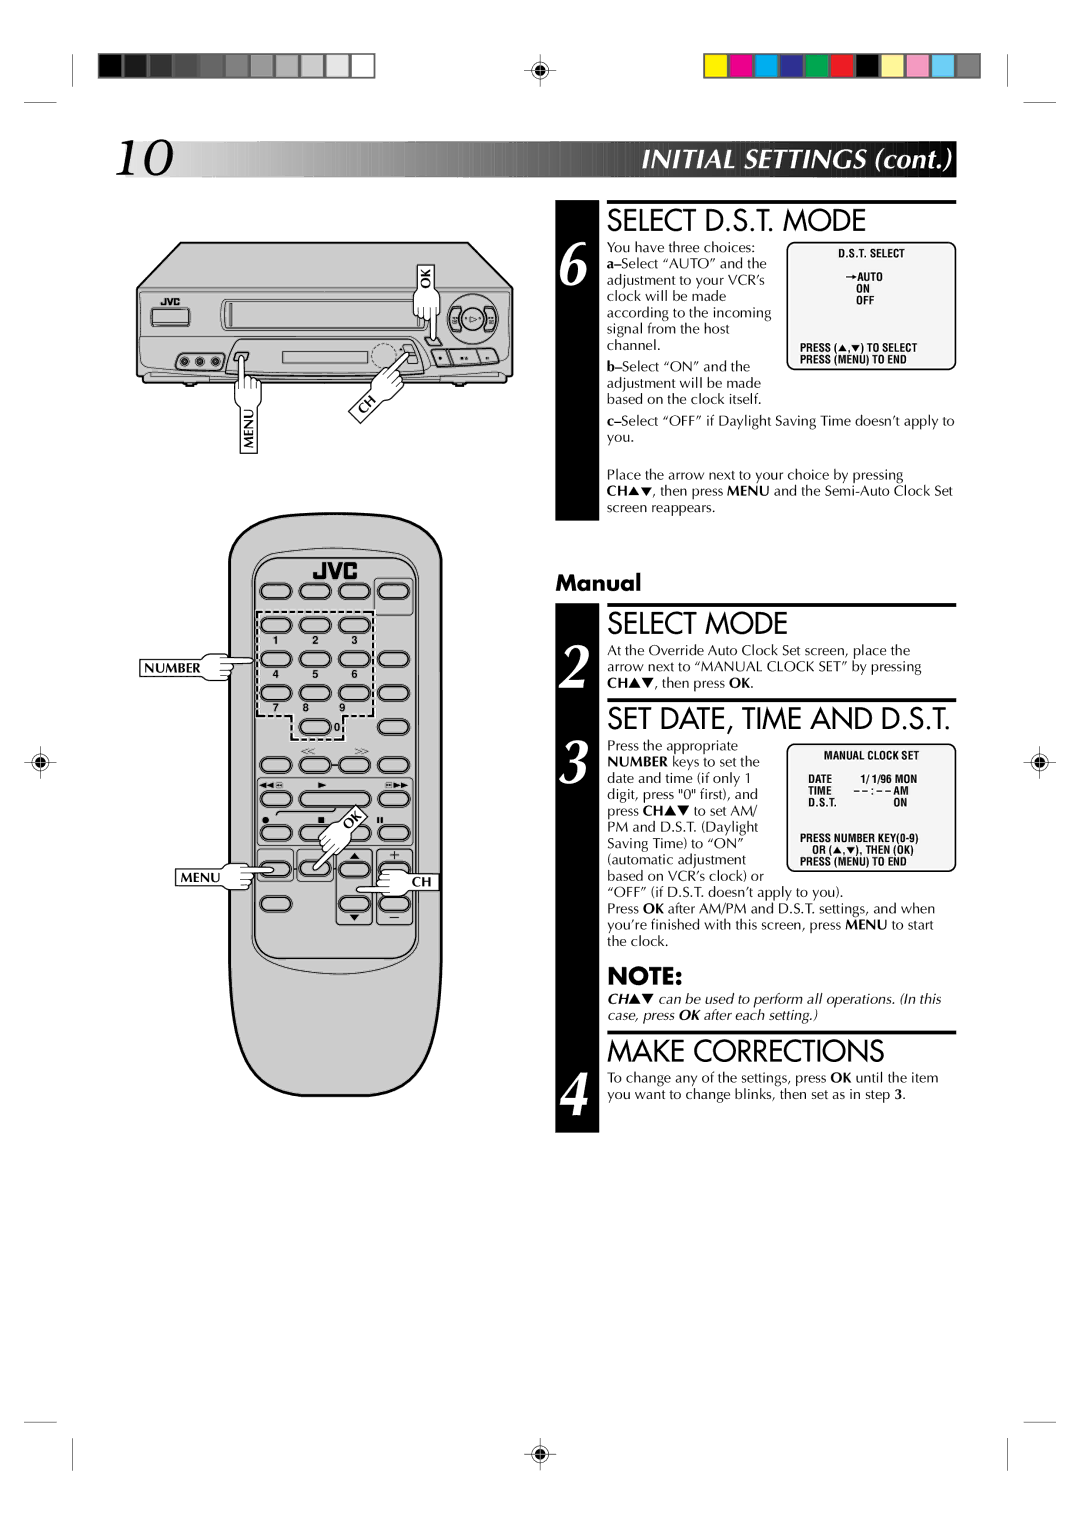
The HR-A62U offers convenient recording options, including the flexibility to set timed recordings. This is facilitated through a simple on-screen programming interface, which enables users to easily set up their desired recording schedules. Moreover, it includes a feature known as "Auto Repeat," which allows for continuous playback of a video, catering to environments where looping presentations or entertainment is required.
Another notable characteristic of the HR-A62U is its audio capabilities. This VCR supports Hi-Fi stereo sound, providing a richer audio experience compared to traditional mono audio VHS players. This feature enhances overall viewing satisfaction, ensuring that viewers enjoy both the visual and audio aspects of their tapes.
Durability and ease of use are highlights of the HR-A62U's design. The unit is built with a robust chassis, assuaging concerns about wear and tear over time. It also features a straightforward control layout, making it easy for users of all ages to navigate the device.
Connectivity options are practical as well. The JVC HR-A62U includes AV inputs and outputs, allowing users to connect the VCR to televisions, camcorders, and other video equipment effortlessly. This flexibility supports various setups, whether users are looking to transfer tapes to digital formats or simply enjoy their favorite films on the big screen.
In conclusion, the JVC HR-A62U VCR remains a testament to the quality and innovation of its time, blending technological advancements, user-friendly features, and durability. This model continues to hold its value in the world of vintage electronics, serving as a reliable choice for video enthusiasts and collectors.