30 EN

TIMER RECORDING (cont.)

Automatic Satellite

Programme

Recording

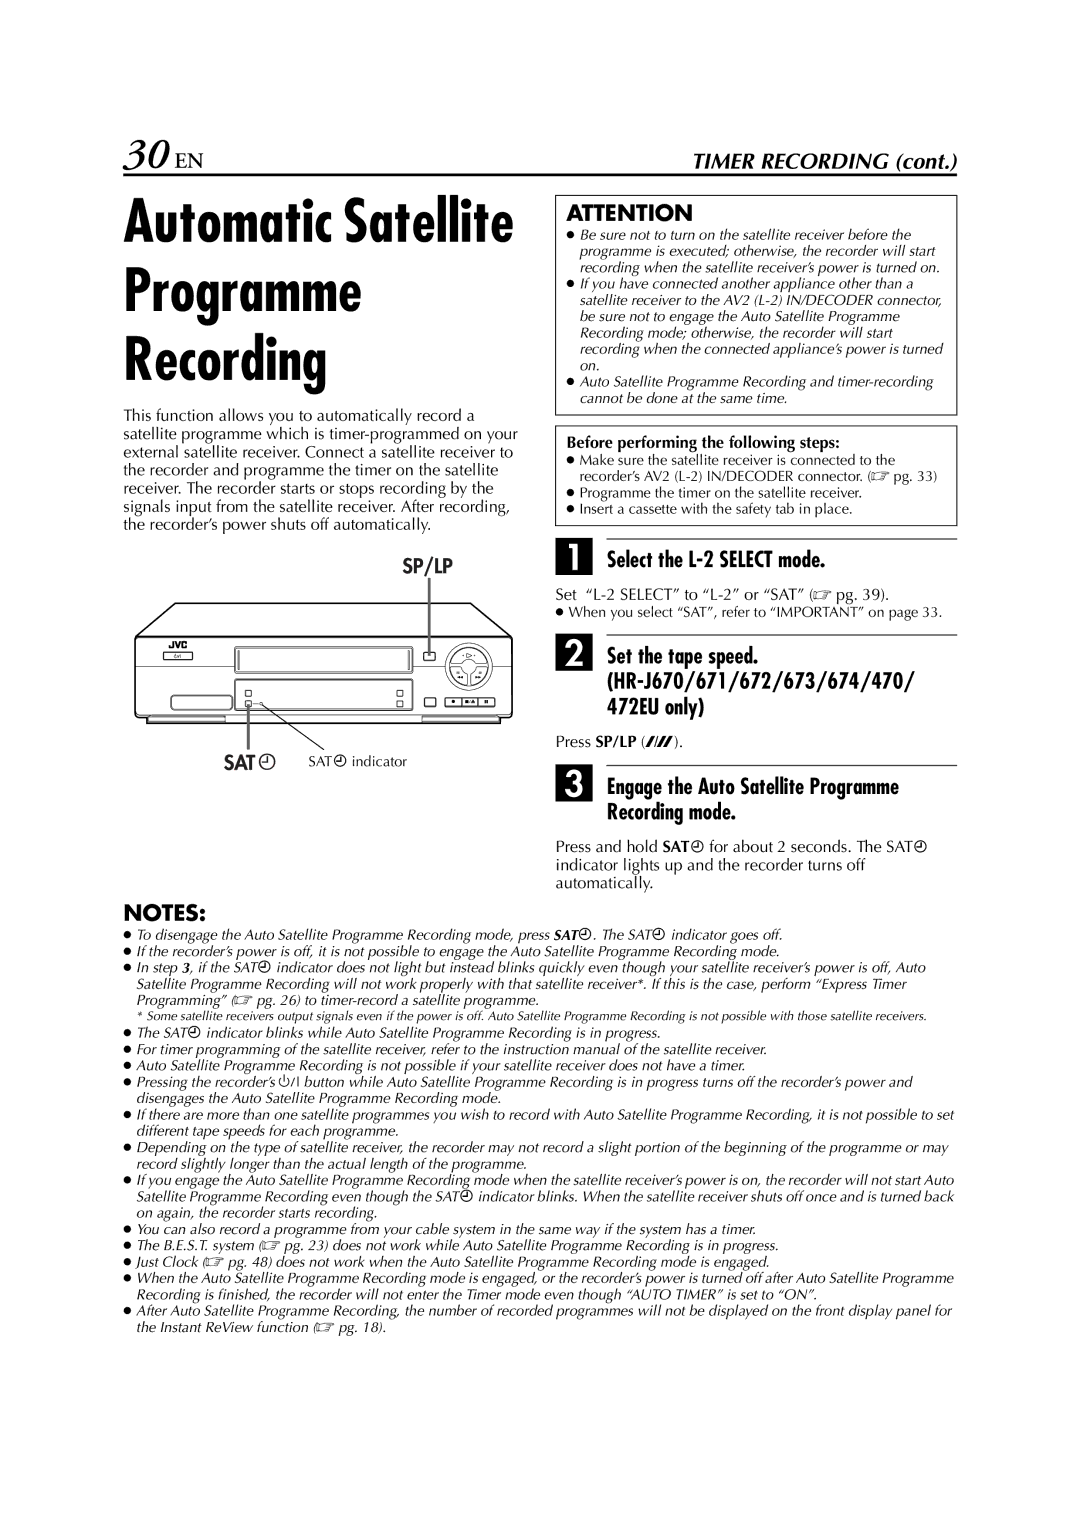
This function allows you to automatically record a satellite programme which is timer-programmed on your external satellite receiver. Connect a satellite receiver to the recorder and programme the timer on the satellite receiver. The recorder starts or stops recording by the signals input from the satellite receiver. After recording, the recorder’s power shuts off automatically.

ATTENTION

Be sure not to turn on the satellite receiver before the programme is executed; otherwise, the recorder will start recording when the satellite receiver’s power is turned on.

If you have connected another appliance other than a satellite receiver to the AV2 (L-2) IN/DECODER connector, be sure not to engage the Auto Satellite Programme Recording mode; otherwise, the recorder will start recording when the connected appliance’s power is turned on.

Auto Satellite Programme Recording and timer-recording cannot be done at the same time.

Before performing the following steps:

Make sure the satellite receiver is connected to the recorder’s AV2 (L-2) IN/DECODER connector. ( pg. 33)

Programme the timer on the satellite receiver.

Insert a cassette with the safety tab in place.

SAT#indicator

A Select the L-2 SELECT mode.

Set “L-2 SELECT” to “L-2” or “SAT” ( pg. 39).

When you select “SAT”, refer to “IMPORTANT” on page 33.

B Set the tape speed. (HR-J670/671/672/673/674/470/ 472EU only)

Press SP/LP (p).

C Engage the Auto Satellite Programme

Recording mode.

Press and hold SAT# for about 2 seconds. The SAT# indicator lights up and the recorder turns off automatically.

NOTES:

To disengage the Auto Satellite Programme Recording mode, press SAT#. The SAT#indicator goes off.

If the recorder’s power is off, it is not possible to engage the Auto Satellite Programme Recording mode.

In step 3, if the SAT#indicator does not light but instead blinks quickly even though your satellite receiver’s power is off, Auto

Satellite Programme Recording will not work properly with that satellite receiver*. If this is the case, perform “Express Timer Programming” ( pg. 26) to timer-record a satellite programme.

*Some satellite receivers output signals even if the power is off. Auto Satellite Programme Recording is not possible with those satellite receivers.

The SAT#indicator blinks while Auto Satellite Programme Recording is in progress.

For timer programming of the satellite receiver, refer to the instruction manual of the satellite receiver.

Auto Satellite Programme Recording is not possible if your satellite receiver does not have a timer.

Pressing the recorder’s 1button while Auto Satellite Programme Recording is in progress turns off the recorder’s power and disengages the Auto Satellite Programme Recording mode.

If there are more than one satellite programmes you wish to record with Auto Satellite Programme Recording, it is not possible to set different tape speeds for each programme.

Depending on the type of satellite receiver, the recorder may not record a slight portion of the beginning of the programme or may record slightly longer than the actual length of the programme.

If you engage the Auto Satellite Programme Recording mode when the satellite receiver’s power is on, the recorder will not start Auto Satellite Programme Recording even though the SAT#indicator blinks. When the satellite receiver shuts off once and is turned back on again, the recorder starts recording.

You can also record a programme from your cable system in the same way if the system has a timer.

The B.E.S.T. system ( pg. 23) does not work while Auto Satellite Programme Recording is in progress.

Just Clock ( pg. 48) does not work when the Auto Satellite Programme Recording mode is engaged.

When the Auto Satellite Programme Recording mode is engaged, or the recorder’s power is turned off after Auto Satellite Programme Recording is finished, the recorder will not enter the Timer mode even though “AUTO TIMER” is set to “ON”.

After Auto Satellite Programme Recording, the number of recorded programmes will not be displayed on the front display panel for the Instant ReView function ( pg. 18).

Page 30
Image 30
JVC HR-J270, HR-J673, HR-J470 30 EN, Select the L-2 Select mode, Engage the Auto Satellite Programme Recording mode

HR-J673, HR-J472EU, HR-J674, HR-J470, HR-J671 specifications

The JVC HR series of VCRs, including the HR-J672, HR-J272EU, HR-J270, HR-J671, and HR-J470, showcases JVC's commitment to delivering high-quality video recording and playback solutions. Each model comes with unique features and technologies that cater to various user needs while maintaining the standards of performance and reliability for which JVC is known.

Starting with the HR-J672, this VCR is equipped with advanced features such as digital noise reduction, which effectively enhances the quality of playback by minimizing unwanted artifacts. Users can take advantage of its 6-head system, which provides better tracking and improved picture quality. The model's Auto Tracking feature ensures that recordings maintain optimal clarity, even through various playback speeds.

The HR-J272EU, another versatile model, focuses on ease of use without sacrificing quality. It offers a straightforward interface and simple programming functions, making it perfect for families and casual users. The VCR also supports a variety of recording formats, enabling flexible viewing options for different tape types, including EP (Extended Play) mode for longer recording times.

Moving on to the HR-J270, this model is recognized for its compact design and energy-efficient operation. It features JVC's Super VHS technology, providing enhanced resolution and sharper images compared to standard VHS. The integration of an intuitive on-screen menu allows users to easily access and navigate through functions for recording and playback.

The HR-J671 is particularly notable for its robust build and durability, making it a solid choice for frequent use. It includes features like a high-speed rewind option, reducing wait times when preparing tapes for re-watching. In addition, its compatibility with various input sources enables users to connect and record from external devices seamlessly.

Finally, the HR-J470 is designed as a budget-friendly solution without compromising essential functionalities. It incorporates basic editing features, allowing users the ability to insert and delete segments of recorded footage effortlessly. This model also prioritizes user comfort with a remote control, making it easy to operate from a distance.

In summary, the JVC HR series offers a range of VCR models, each tailored to different preferences and requirements. From advanced technologies to user-friendly designs, these VCRs remain valuable options for anyone looking to enjoy the nostalgic experience of videotape recording and playback. JVC has succeeded in blending performance with practicality, ensuring that their devices are suitable for both casual viewers and dedicated enthusiasts alike.