INSTRUCTIONS
3 Precautions
4 Controls
English
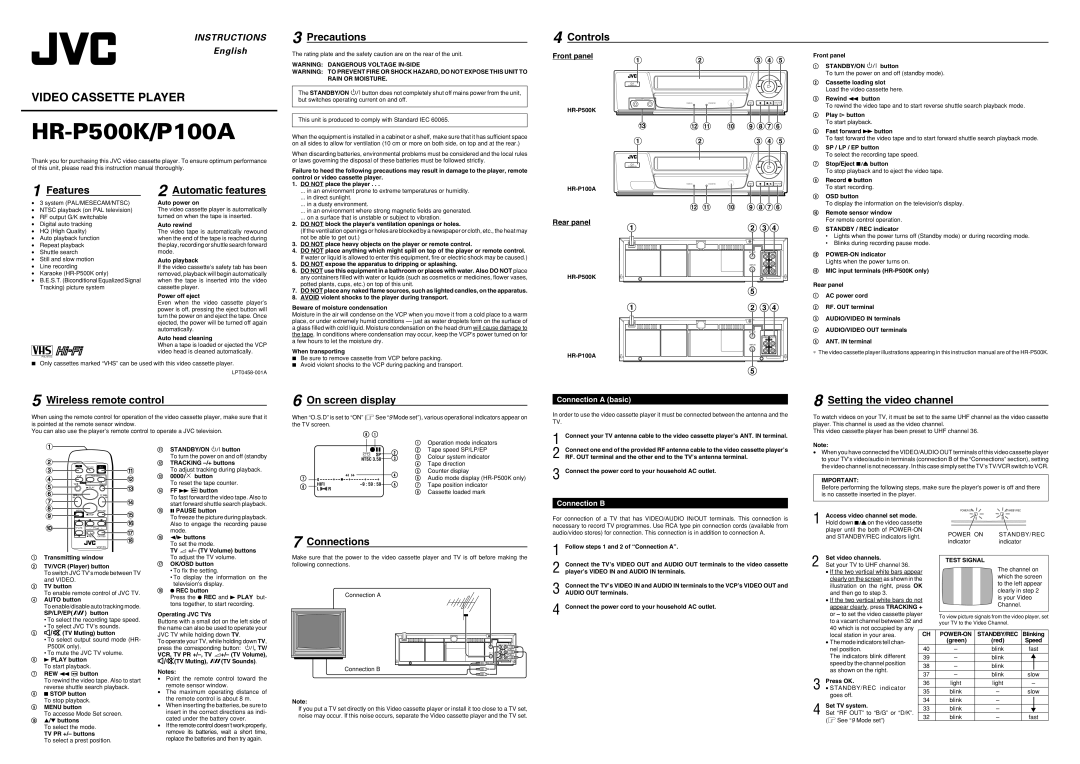
VIDEO CASSETTE PLAYER
HR-P500K/P100A
The rating plate and the safety caution are on the rear of the unit.
WARNING: DANGEROUS VOLTAGE
WARNING: TO PREVENT FIRE OR SHOCK HAZARD, DO NOT EXPOSE THIS UNIT TO RAIN OR MOISTURE.
The STANDBY/ON ![]()
![]() button does not completely shut off mains power from the unit, but switches operating current on and off.
button does not completely shut off mains power from the unit, but switches operating current on and off.
This unit is produced to comply with Standard IEC 60065.
When the equipment is installed in a cabinet or a shelf, make sure that it has sufficient space on all sides to allow for ventilation (10 cm or more on both side, on top and at the rear.)
When discarding batteries, environmental problems must be considered and the local rules
Front panel
 Hi-Fi
Hi-Fi
STANDBY/ON | TAPE POSITION ON SCREEN AUTO VOLTAGE B.E.S.T. PICTURE |
|
|
|
|
|
|
| |
|
|
|
| MULTI SYSTEM |
|
|
|
1 | MIC | 2 |
| PAL/MESECAM/NTSC3.58/4.43 |
|
|
|
| NTSC PLAYBACK ON PAL TV |
|
|
| |||
|
| SUPER | STANDBY/REC | PAL NTSC | OSD | SP/LP/EP | |
|
| HEAD CLEANER |
|
|
|
|
|
|
|
|
|
|
|
| |
Front panel
1STANDBY/ON ![]()
![]() button
button
To turn the power on and off (standby mode).
2Cassette loading slot
Load the video cassette here.
3Rewind 1 button
To rewind the video tape and to start reverse shuttle search playback mode.
4Play # button To start playback.
5Fast forward ¡ button
To fast forward the video tape and to start forward shuttle search playback mode.
6SP / LP / EP button
To select the recording tape speed.
Thank you for purchasing this JVC video cassette player. To ensure optimum performance of this unit, please read this instruction manual thoroughly.
or laws governing the disposal of these batteries must be followed strictly.
Failure to heed the following precautions may result in damage to the player, remote control or video cassette player.
|
|
STANDBY/ON | LONGPLAY RECORDING AUTO VOLTAGE B.E.S.T. PICTURE |
| MULTI SYSTEM |
| PAL/MESECAM/NTSC3.58/4.43 |
| NTSC PLAYBACK ON PAL TV |
7Stop/Eject § button
To stop playback and to eject the video tape.
8 Record ¶ button |
1 Features
•3 system (PAL/MESECAM/NTSC)
•NTSC playback (on PAL television)
•RF output G/K switchable
•Digital auto tracking
•HQ (High Quality)
•Auto playback function
•Repeat playback
•Shuttle search
•Still and slow motion
•Line recording
•Karaoke
•B.E.S.T. (Biconditional Equalized Signal Tracking) picture system
PAL NTSC
2 Automatic features
Auto power on
The video cassette player is automatically turned on when the tape is inserted.
Auto rewind
The video tape is automatically rewound when the end of the tape is reached during the play, recording or shuttle search forward mode.
Auto playback
If the video cassette’s safety tab has been removed, playback will begin automatically when the tape is inserted into the video cassette player.
Power off eject
Even when the video cassette player’s power is off, pressing the eject button will turn the power on and eject the tape. Once ejected, the power will be turned off again automatically.
Auto head cleaning
When a tape is loaded or ejected the VCP video head is cleaned automatically.
1.DO NOT place the player . . .
... in an environment prone to extreme temperatures or humidity.
... in direct sunlight.
... in a dusty environment.
... in an environment where strong magnetic fields are generated.
... on a surface that is unstable or subject to vibration.
2.DO NOT block the player's ventilation openings or holes.
(If the ventilation openings or holes are blocked by a newspaper or cloth, etc., the heat may not be able to get out.)
3.DO NOT place heavy objects on the player or remote control.
4.DO NOT place anything which might spill on top of the player or remote control. If water or liquid is allowed to enter this equipment, fire or electric shock may be caused.)
5.DO NOT expose the apparatus to dripping or splashing.
6.DO NOT use this equipment in a bathroom or places with water. Also DO NOT place any containers filled with water or liquids (such as cosmetics or medicines, flower vases, potted plants, cups, etc.) on top of this unit.
7.DO NOT place any naked flame sources, such as lighted candles, on the apparatus.
8.AVOID violent shocks to the player during transport.
Beware of moisture condensation
Moisture in the air will condense on the VCP when you move it from a cold place to a warm place, or under extremely humid conditions — just as water droplets form on the surface of a glass filled with cold liquid. Moisture condensation on the head drum will cause damage to the tape. In conditions where condensation may occur, keep the VCP’s power turned on for a few hours to let the moisture dry.
When transporting
7 Be sure to remove cassette from VCP before packing. |
Rear panel
HR-P500K
HR-P100A
SUPER | STANDBY/REC | PAL NTSC | OSD | SP/LP/EP | |
HEAD CLEANER |
|
|
|
|
|
RF OUT | IN | OUT |
|
| R |
|
| AUDIO |
ANT.IN |
| L |
|
| |
|
| VIDEO |
RF OUT
IN OUT
AUDIO
L
ANT.IN
VIDEO
To start recording. |
9OSD button
To display the information on the television's display.
0Remote sensor window For remote control operation.
!STANDBY / REC indicator
•Lights when the power turns off (Standby mode) or during recording mode.
•Blinks during recording pause mode.
@
Lights when the power turns on.
#MIC input terminals
Rear panel
1AC power cord
2RF. OUT terminal
3AUDIO/VIDEO IN terminals
4AUDIO/VIDEO OUT terminals
5ANT. IN terminal
∗The video cassette player illustrations appearing in this instruction manual are of the
7Only cassettes marked “VHS” can be used with this video cassette player.
7 Avoid violent shocks to the VCP during packing and transport. |
5 Wireless remote control
When using the remote control for operation of the video cassette player, make sure that it is pointed at the remote sensor window.
You can also use the player’s remote control to operate a JVC television.
6 On screen display
When “O.S.D” is set to “ON” (![]() See “9 Mode set”), various operational indicators appear on the TV screen.
See “9 Mode set”), various operational indicators appear on the TV screen.
8 1
Connection A (basic)
In order to use the video cassette player it must be connected between the antenna and the TV.
1 Connect your TV antenna cable to the video cassette player’s ANT. IN terminal. |
8 Setting the video channel
To watch videos on your TV, it must be set to the same UHF channel as the video cassette player. This channel is used as the video channel.
This video cassette player has been preset to UHF channel 36.
TV
TV/VCR
– TRACKING +
AUTO | 0000/X |
| |
| PLAY |
REW | FF |
MENU | PAUSE |
| STOP |
![]() +
+
TV PR | – TV | + |
![]() –
–
![]() REC OK/OSD
REC OK/OSD
1Transmitting window
2TV/VCR (Player) button
To switch JVC TV’s mode between TV and VIDEO.
3TV button
To enable remote control of JVC TV.
4AUTO button
To enable/disable auto tracking mode.
SP/LP/EP(![]()
![]() ) button
) button
•To select the recording tape speed.
•To select JVC TV’s sounds.
5![]() (TV Muting) button
(TV Muting) button
•To select output sound mode (HR- P500K only).
•To mute the JVC TV volume.
63 PLAY button To start playback.
7REW 1 ![]() button
button
To rewind the video tape. Also to start reverse shuttle search playback.
87 STOP button To stop playback.
9MENU button
To accesse Mode Set screen.
0▲/▼ buttons
To select the mode.
TV PR +/– buttons
To select a prest position.
!STANDBY/ON ![]()
![]()
![]() button
button
To turn the power on and off (standby
@TRACKING
To adjust tracking during playback.
#0000/ ![]() button
button
To reset the tape counter.
$FF ¡ ![]() button
button
To fast forward the video tape. Also to start forward shuttle search playback.
%8 PAUSE button
To freeze the picture during playback. Also to engage the recording pause mode.
^2/3 buttons To set the mode.
TV ![]() +/– (TV Volume) buttons To adjust the TV volume.
+/– (TV Volume) buttons To adjust the TV volume.
&OK/OSD button
•To fix the setting.
•To display the information on the television's display.
*¶ REC button
Press the ¶ REC and 3 PLAY but- tons together, to start recording.
Operating JVC TVs
Buttons with a small dot on the left side of the name can also be used to operate your JVC TV while holding down TV.
To operate your TV, while holding down TV,
press the corresponding button: ![]()
![]()
![]() , TV/
, TV/
VCR, TV PR ![]() +/– (TV Volume),
+/– (TV Volume), ![]() (TV Muting),
(TV Muting), ![]()
![]() (TV Sounds).
(TV Sounds).
Notes:
•Point the remote control toward the remote sensor window.
•The maximum operating distance of the remote control is about 8 m.
•When inserting the batteries, be sure to insert in the correct directions as indi- cated under the battery cover.
•If the remote control doesn’t work properly, remove its batteries, wait a short time, replace the batteries and then try again.
|
|
|
|
|
|
|
|
|
|
| 1 | Operation mode indicators |
|
|
|
|
|
|
| q6 | 2 | 2 | Tape speed SP/LP/EP | ||
|
|
|
|
|
|
| ] SP |
|
| 3 | Colour system indicator | |
|
|
|
|
|
|
|
|
| ||||
|
|
|
|
|
|
| NTSC 3.58 |
| 3 | |||
|
|
|
|
|
|
|
| |||||
|
|
|
|
|
|
|
|
|
|
| 4 | Tape direction |
|
|
|
|
|
|
|
|
|
| 4 | 5 | Counter display |
7 |
|
| 0 |
| + | + | + + |
|
| 6 | Audio mode display | |
|
|
|
| 5 | ||||||||
6 |
|
| HIFI | R |
|
| 7 | Tape position indicator | ||||
|
|
|
| |||||||||
|
| |||||||||||
|
| L |
|
|
|
|
|
| 8 | Cassette loaded mark | ||
|
|
|
|
|
|
|
|
|
|
| ||
7 Connections
Make sure that the power to the video cassette player and TV is off before making the following connections.
Connection A
RF OUT | IN | OUT |
|
| R |
|
| AUDIO |
ANT.IN |
| L |
|
| |
|
| VIDEO |
Connection B |
|
|
Note:
If you put a TV set directly on this Video cassette player or install it too close to a TV set, noise may occur. If this noise occurs, separate the Video cassette player and the TV set.
2 | Connect one end of the provided RF antenna cable to the video cassette player’s |
RF. OUT terminal and the other end to the TV’s antenna terminal. | |
3 | Connect the power cord to your household AC outlet. |
Connection B
For connection of a TV that has VIDEO/AUDIO IN/OUT terminals. This connection is necessary to record TV programmes. Use RCA type pin connection cords (available from audio/video stores) for connection. This connection is in addition to connection A.
1 | Follow steps 1 and 2 of “Connection A”. |
| Connect the TV’s VIDEO OUT and AUDIO OUT terminals to the video cassette |
2 player’s VIDEO IN and AUDIO IN terminals. | |
3 | Connect the TV’s VIDEO IN and AUDIO IN terminals to the VCP’s VIDEO OUT and |
AUDIO OUT terminals. | |
4 | Connect the power cord to your household AC outlet. |
Note:
•When you have connected the VIDEO/AUDIO OUT terminals of this video cassette player to your TV’s video/audio in terminals (connection B of the “Connections” section), setting the video channel is not necessary. In this case simply set the TV’s TV/VCR switch to VCR.
IMPORTANT:
Before performing the following steps, make sure the player's power is off and there is no cassette inserted in the player.
1 | Access video channel set mode. |
|
|
|
|
| STANDBY/REC |
|
|
| |||||||||||||
|
|
|
|
|
|
|
|
|
|
|
|
|
|
|
|
|
|
|
| ||||
|
|
|
|
|
|
|
|
|
|
|
|
|
|
|
|
|
|
|
| ||||
|
|
|
|
|
|
|
|
|
|
|
|
|
|
|
|
|
|
|
| ||||
Hold down §on the video cassette |
|
|
|
|
|
|
|
|
|
|
|
|
|
|
|
|
|
|
|
| |||
| player until the both of |
| POWER ON |
|
| STANDBY/REC | |||||||||||||||||
| and STANDBY/REC indicators light. |
|
|
| |||||||||||||||||||
|
| indicator |
|
| indicator |
|
|
| |||||||||||||||
|
|
|
|
|
|
|
|
|
| ||||||||||||||
| Set video channels. |
|
|
|
|
|
|
|
|
|
|
|
|
|
|
|
|
|
|
|
|
|
|
|
|
|
| TEST SIGNAL |
|
|
|
|
|
|
|
|
| ||||||||||
2 Set your TV to UHF channel 36. |
|
|
|
|
|
|
|
|
|
|
|
| |||||||||||
|
|
|
|
|
|
|
|
|
|
|
|
|
| The channel on | |||||||||
|
|
|
|
|
|
|
|
|
|
|
|
|
| ||||||||||
| • If the two vertical white bars appear |
|
|
|
|
|
|
|
|
|
|
|
| ||||||||||
|
|
|
|
|
|
|
|
|
|
|
|
| which the screen | ||||||||||
| clearly on the screen as shown in the |
|
|
|
|
|
|
|
|
|
|
|
| ||||||||||
|
|
|
|
|
|
|
|
|
|
|
|
| to the left appear | ||||||||||
| illustration on the right, press | OK |
|
|
|
|
|
|
|
|
|
|
|
| |||||||||
|
|
|
|
|
|
|
|
|
|
|
|
| clearly in step 2 | ||||||||||
| and then go to step 3. |
|
|
|
|
|
|
|
|
|
|
|
|
|
| ||||||||
|
|
|
|
|
|
|
|
|
|
|
|
|
|
| is your Video | ||||||||
| • If the two vertical white bars do not |
|
|
|
|
|
|
|
|
|
|
|
| ||||||||||
|
|
|
|
|
|
|
|
|
|
|
|
| Channel. |
|
|
| |||||||
| appear clearly, press TRACKING + |
|
|
|
|
|
|
|
|
|
|
|
|
|
|
| |||||||
|
|
|
|
|
|
|
|
|
|
|
|
|
|
|
|
|
|
|
|
| |||
| or – to set the video cassette player |
|
|
|
|
|
|
|
|
|
|
|
|
|
|
|
|
|
|
|
| ||
| To view picture signals from the video player, set | ||||||||||||||||||||||
| to a vacant channel between 32 and | ||||||||||||||||||||||
| your TV to the Video Channel. |
|
|
| |||||||||||||||||||
| 40 which is not occupied by any |
|
|
|
|
|
|
|
|
|
|
|
|
|
|
|
|
|
|
|
|
| |
| local station in your area. |
| CH |
|
| STANDBY/REC | Blinking | ||||||||||||||||
| • The mode indicators tell chan- |
|
|
| (green) |
|
| (red) | Speed | ||||||||||||||
| nel position. |
| 40 |
|
| – |
|
| blink | fast | |||||||||||||
| The indicators blink different |
| 39 |
|
| – |
|
| blink |
|
|
| |||||||||||
|
|
|
| ||||||||||||||||||||
| speed by the channel position |
|
|
|
|
|
|
|
|
|
|
|
|
|
|
|
|
|
|
|
|
|
|
|
| 38 |
|
| – |
|
|
|
| blink |
|
|
| ||||||||||
| as shown on the right. |
|
|
|
|
|
|
|
| ||||||||||||||
|
| 37 |
|
| – |
|
|
|
| blink | slow | ||||||||||||
| Press OK. |
|
|
|
|
| |||||||||||||||||
|
| 36 |
| light |
|
|
|
| light |
| – | ||||||||||||
3 • STANDBY/REC indicator |
|
|
|
|
| ||||||||||||||||||
| 35 |
| blink |
|
|
|
|
| – | slow | |||||||||||||
| goes off. |
|
|
|
|
| |||||||||||||||||
|
|
|
|
|
|
|
|
|
|
|
|
|
|
|
|
|
|
|
|
|
|
| |
|
| 34 |
| blink |
|
|
|
|
| – |
|
|
| ||||||||||
| Set TV system. |
|
|
|
|
|
|
|
| ||||||||||||||
|
|
|
|
|
|
|
|
|
|
|
|
|
|
|
|
|
|
|
|
|
|
| |
4 Set “RF OUT” to “B/G” or “D/K”. | 33 |
| blink |
|
|
| – |
|
|
| |||||||||||||
32 |
| blink |
|
|
|
|
| – | fast | ||||||||||||||
| ( See “9 Mode set”) |
|
|
|
|
| |||||||||||||||||
|
|
|
|
|
|
|
|
|
|
|
|
|
|
|
|
|
|
|
|
|
|
| |