ENGLISH
CD PORTABLE SYSTEM
RC-EZ35S
PRESET PROGRAM
 FOLDER
 EQ
EQ
VOL
For Customer Use:
Enter below the Model No. and Serial No. which are located either on the rear, bot- tom or side of the cabinet. Retain this information for future reference.
Model No.
Serial No.
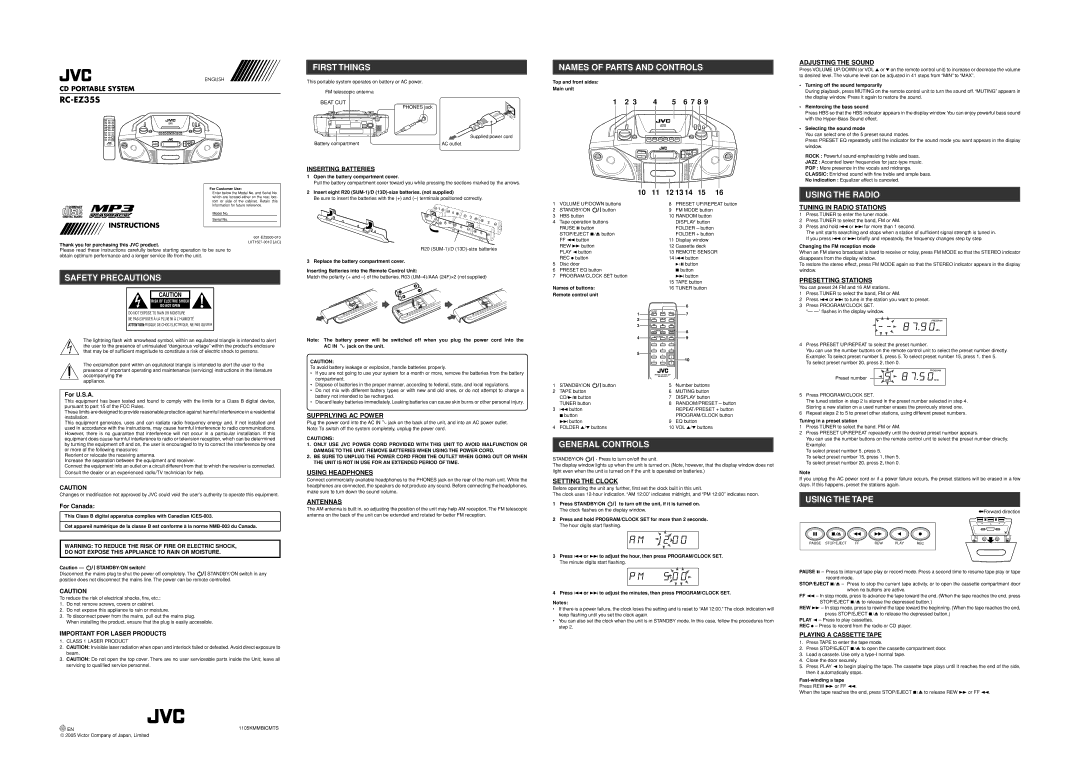
![]()
![]()
![]()
![]() INSTRUCTIONS
INSTRUCTIONS
FIRST THINGS
This portable system operates on battery or AC power.
FM telescopic antenna
BEAT CUT
PHONES jack
Supplied power cord
Battery compartment | AC outlet |
INSERTING BATTERIES
1Open the battery compartment cover.
Pull the battery compartment cover toward you while pressing the sections marked by the arrows.
2Insert eight R20
Be sure to insert the batteries with the (+) and
1 | 3 |
| 4 |
7 | 3 |
| |
8 | 2 |
| 6 |
| 5 |
NAMES OF PARTS AND CONTROLS
Top and front sides:
Main unit
1 | 2 3 | 4 | 5 | 6 7 8 9 | |||||||||||||
|
|
|
|
|
|
|
|
|
|
|
|
|
|
|
|
|
|
|
|
|
|
|
|
|
|
|
|
|
|
|
|
|
|
|
|
|
|
|
|
|
|
|
|
|
|
|
|
|
|
|
|
|
|
|
|
|
|
|
|
|
|
|
|
|
|
|
|
|
|
|
|
|
|
|
|
|
|
|
|
|
|
|
|
|
|
|
|
|
|
|
|
|
|
|
|
|
|
|
|
|
|
|
|
|
|
|
|
|
|
|
|
|
|
|
|
|
|
|
|
|
|
|
|
|
|
|
| 10 | 11 | 12 13 14 | 15 | 16 | |
1 | VOLUME UP/DOWN buttons |
| 8 | PRESET UP/REPEAT button | |||
2 | STANDBY/ON | button |
| 9 | FM MODE button |
| |
3 | HBS button |
|
| 10 | RANDOM button |
| |
4 | Tape operation buttons |
|
| DISPLAY button |
| ||
| PAUSE 8 button |
|
|
| FOLDER – button |
| |
| STOP/EJECT § button |
|
| FOLDER + button |
| ||
ADJUSTING THE SOUND
Press VOLUME UP/DOWN (or VOL 5 or ∞ on the remote control unit) to increase or decrease the volume to desired level. The volume level can be adjusted in 41 steps from “MIN” to “MAX”.
•Turning off the sound temporarily
During playback, press MUTING on the remote control unit to turn the sound off. “MUTING” appears in the display window. Press it again to restore the sound.
•Reinforcing the bass sound
Press HBS so that the HBS indicator appears in the display window.You can enjoy powerful bass sound with the
•Selecting the sound mode
You can select one of the 5 preset sound modes.
Press PRESET EQ repeatedly until the indicator for the sound mode you want appears in the display window.
ROCK : Powerful sound emphasizing treble and bass.
JAZZ : Accented lower frequencies for
POP : More presence in the vocals and midrange.
CLASSIC: Enriched sound with fine treble and ample bass.
No indication : Equalizer effect is canceled.
USING THE RADIO
TUNING IN RADIO STATIONS
1 | Press TUNER to enter the tuner mode. |
2 | Press TUNER to select the band, FM or AM. |
3 | Press and hold 4 or ¢ for more than 1 second. |
| The unit starts searching and stops when a station of sufficient signal strength is tuned in. |
Thank you for purchasing this JVC product.
FF 1 button | 11 | Display window |
REW ¡ button | 12 | Cassette deck |
If you press 4 or ¢ briefly and repeatedly, the frequency changes step by step. |
Changing the FM reception mode
Please read these instructions carefully before starting operation to be sure to obtain optimum performance and a longer service life from the unit.
SAFETY PRECAUTIONS
CAUTION
RISK OF ELECTRIC SHOCK
DO NOT OPEN
DO NOT EXPOSE TO RAIN OR MOISTURE
NE PAS EXPOSER À LA PLUIE NI À L'HUMIDITÉ
ATTENTION:RISQUE DE CHOC ELECTRIQUE, NE PAS OUVRIR
The lightning flash with arrowhead symbol, within an equilateral triangle is intended to alert the user to the presence of uninsulated “dangerous voltage” within the product’s enclosure that may be of sufficient magnitude to constitute a risk of electric shock to persons.
The exclamation point within an equilateral triangle is intended to alert the user to the presence of important operating and maintenance (servicing) instructions in the literature accompanying the
appliance.
For U.S.A.
This equipment has been tested and found to comply with the limits for a Class B digital device, pursuant to part 15 of the FCC Rules.
These limits are designed to provide reasonable protection against harmful interference in a residential installation.
This equipment generates, uses and can radiate radio frequency energy and, if not installed and used in accordance with the instructions, may cause harmful interference to radio communications. However, there is no guarantee that interference will not occur in a particular installation. If this equipment does cause harmful interference to radio or television reception, which can be determined by turning the equipment off and on, the user is encouraged to try to correct the interference by one or more of the following measures:
Reorient or relocate the receiving antenna.
Increase the separation between the equipment and receiver.
Connect the equipment into an outlet on a circuit different from that to which the receiver is connected.
Consult the dealer or an experienced radio/TV technician for help.
CAUTION
Changes or modification not approved by JVC could void the user’s authority to operate this equipment.
For Canada:
This Class B digital apparatus complies with Canadian
Cet appareil numérique de la classe B est conforme à la norme
WARNING: TO REDUCE THE RISK OF FIRE OR ELECTRIC SHOCK, DO NOT EXPOSE THIS APPLIANCE TO RAIN OR MOISTURE.
Caution ![]() STANDBY/ON switch!
STANDBY/ON switch!
Disconnect the mains plug to shut the power off completely. The STANDBY/ON switch in any position does not disconnect the mains line. The power can be remote controlled.
CAUTION
To reduce the risk of electrical shocks, fire, etc.:
1.Do not remove screws, covers or cabinet.
2.Do not expose this appliance to rain or moisture.
3.To disconnect power from the mains, pull out the mains plug.
When installing the product, ensure that the plug is easily accessible.
IMPORTANT FOR LASER PRODUCTS
1.CLASS 1 LASER PRODUCT
2.CAUTION: Invisible laser radiation when open and interlock failed or defeated. Avoid direct exposure to beam.
3.CAUTION: Do not open the top cover. There are no user serviceable parts inside the Unit; leave all servicing to qualified service personnel.
R20
3 Replace the battery compartment cover. Inserting Batteries into the Remote Control Unit:
Match the polarity (+ and
Note: The battery power will be switched off when you plug the power cord into the AC IN Ó jack on the unit.
CAUTION:
To avoid battery leakage or explosion, handle batteries properly.
•If you are not going to use your system for a month or more, remove the batteries from the battery compartment.
•Dispose of batteries in the proper manner, according to federal, state, and local regulations.
•Do not mix with different battery types or with new and old ones, or do not attempt to charge a battery not intended to be recharged.
•Discard leaky batteries immediately. Leaking batteries can cause skin burns or other personal injury.
SUPPRLYING AC POWER
Plug the power cord into the AC IN Ó jack on the back of the unit, and into an AC power outlet. Note: To switch off the system completely, unplug the power cord.
CAUTIONS:
1.ONLY USE JVC POWER CORD PROVIDED WITH THIS UNIT TO AVOID MALFUNCTION OR DAMAGE TO THE UNIT. REMOVE BATTERIES WHEN USING THE POWER CORD.
2.BE SURE TO UNPLUG THE POWER CORD FROM THE OUTLET WHEN GOING OUT OR WHEN THE UNIT IS NOT IN USE FOR AN EXTENDED PERIOD OF TIME.
USING HEADPHONES
Connect commercially available headphones to the PHONES jack on the rear of the main unit. While the headphones are connected, the speakers do not produce any sound. Before connecting the headphones, make sure to turn down the sound volume.
ANTENNAS
The AM antenna is built in, so adjusting the position of the unit may help AM reception. The FM telescopic antenna on the back of the unit can be extended and rotated for better FM reception.
| PLAY 2 button |
|
| 13 REMOTE SENSOR | |
| REC ÷ button |
|
| 14 4 button | |
5 | Disc door |
|
|
| 6 button |
6 | PRESET EQ button |
|
|
| 7 button |
7 | PROGRAM/CLOCK SET button |
|
|
| ¢ button |
|
|
|
| 15 TAPE button | |
Names of buttons: |
|
| 16 TUNER button | ||
Remote control unit |
|
|
|
| |
|
|
|
|
| 6 |
| 1 | STANDBY/ | MUTING | DISPLAY | 7 |
| ON | ||||
|
|
|
| ||
| 2 | TAPE | CD/ / | TUNER |
|
|
|
|
|
| |
| 3 |
|
|
|
|
|
| PRESET | PROGRAM | 8 | |
|
| RANDOM | REPEAT | CLOCK | |
| 4 | FOLDER | EQ | 9 | |
|
|
|
| ||
|
| 1 | 2 | 3 |
|
| 4 | 5 | 6 |
|
5 | 7 | 8 |
|
|
| 9 | 0 | VOL | 10 |
REMOTE CONTROL UNIT
1 | STANDBY/ON | button | 5 | Number buttons |
2 | TAPE button |
| 6 | MUTING button |
| CD/3/8 button |
| 7 | DISPLAY button |
| TUNER button |
| 8 | RANDOM/PRESET – button |
3 | 4 button |
|
| REPEAT/PRESET + button |
| 7 button |
|
| PROGRAM/CLOCK button |
| ¢ button |
| 9 | EQ button |
4 | FOLDER 5/∞ buttons | 10 | VOL 5/∞ buttons | |
GENERAL CONTROLS
STANDBY/ON ![]() - Press to turn on/off the unit.
- Press to turn on/off the unit.
The display window lights up when the unit is turned on. (Note, however, that the display window does not light even when the unit is turned on if the unit is operated on batteries.)
SETTING THE CLOCK
Before operating the unit any further, first set the clock built in this unit.
The clock uses
1Press STANDBY/ON ![]() to turn off the unit, if it is turned on. The clock flashes on the display window.
to turn off the unit, if it is turned on. The clock flashes on the display window.
2Press and hold PROGRAM/CLOCK SET for more than 2 seconds. The hour digits start flashing.
3Press 4 or ¢ to adjust the hour, then press PROGRAM/CLOCK SET. The minute digits start flashing.
4Press 4 or ¢ to adjust the minutes, then press PROGRAM/CLOCK SET.
Notes:
•If there is a power failure, the clock loses the setting and is reset to “AM 12:00.” The clock indication will keep flashing until you set the clock again.
•You can also set the clock when the unit is in STANDBY mode. In this case, follow the procedures from step 2.
When an FM stereo broadcast is hard to receive or noisy, press FM MODE so that the STEREO indicator disappears from the display window.
To restore the stereo effect, press FM MODE again so that the STEREO indicator appears in the display window.
PRESETTING STATIONS
You can preset 24 FM and 16 AM stations.
1Press TUNER to select the band, FM or AM.
2Press 4 or ¢ to tune in the station you want to preset.
3Press PROGRAM/CLOCK SET.
“—
4Press PRESET UP/REPEAT to select the preset number.
You can use the number buttons on the remote control unit to select the preset number directly. Example: To select preset number 5, press 5. To select preset number 15, press 1, then 5.
To select preset number 20, press 2, then 0.
Preset number
5Press PROGRAM/CLOCK SET.
The tuned station in step 2 is stored in the preset number selected in step 4. Storing a new station on a used number erases the previously stored one.
6Repeat steps 2 to 5 to preset other stations, using different preset numbers.
Tuning in a preset station
1Press TUNER to select the band, FM or AM.
2Press PRESET UP/REPEAT repeatedly until the desired preset number appears.
You can use the number buttons on the remote control unit to select the preset number directly. Example:
To select preset number 5, press 5.
To select preset number 15, press 1, then 5. To select preset number 20, press 2, then 0.
Note
If you unplug the AC power cord or if a power failure occurs, the preset stations will be erased in a few days. If this happens, preset the stations again.
USING THE TAPE
Forward direction
|
|
|
|
|
|
|
|
|
|
|
|
|
|
|
|
|
|
|
|
|
|
PAUSE STOP/EJECT | FF | REW | PLAY | REC | ||||||
|
|
|
|
|
|
|
|
|
|
|
PAUSE 8 – Press to interrupt tape play or record mode. Press a second time to resume tape play or tape record mode.
STOP/EJECT § – Press to stop the current tape activity, or to open the cassette compartment door when no buttons are active.
FF1 – In stop mode, press to advance the tape toward the end. (When the tape reaches the end, press STOP/EJECT § to release the depressed button.)
REW ¡ – In stop mode, press to rewind the tape toward the beginning. (When the tape reaches the end, press STOP/EJECT § to release the depressed button.)
PLAY 2 – Press to play cassettes.
REC ÷ – Press to record from the radio or CD player.
PLAYING A CASSETTE TAPE
1.Press TAPE to enter the tape mode.
2.Press STOP/EJECT § to open the cassette compartment door.
3.Load a cassete. Use only a
4.Close the door securely.
5.Press PLAY 2 to begin playing the tape. The cassette tape plays until it reaches the end of the side, then it automatically stops.
Fast-winding a tape
Press REW ¡ or FF 1.
When the tape reaches the end, press STOP/EJECT § to release REW ¡ or FF 1.
EN | 1105KMMBICMTS |
© 2005 Victor Company of Japan, Limited |
|