
G 3000 BH specifications
The Karcher G 3000 BH is a powerful and efficient gas-powered pressure washer designed to tackle tough cleaning jobs around your home and outdoor spaces. With a robust engine and innovative features, this machine is ideal for users looking for portability and high performance in one package.One of the standout features of the G 3000 BH is its 3000 PSI (pounds per square inch) output, which delivers a robust stream of water capable of removing dirt, grime, and even stubborn stains from various surfaces. Whether you are cleaning driveways, patios, decks, or vehicles, this pressure washer offers the power and versatility needed for any tough cleaning task. The high pressure makes it an effective tool for not only routine maintenance but also for more challenging projects that require extra force.
Equipped with a reliable Honda engine, the G 3000 BH ensures prolonged running times and efficient operation. The engine is designed for easy starting and offers enhanced fuel efficiency, making it both user-friendly and cost-effective. Additionally, the oil alert system prevents potential engine damage by automatically shutting down the engine when oil levels are low.
The G 3000 BH features a steel construction frame that adds durability and stability while working on rugged surfaces. Its large no-flat wheels ensure smooth mobility across rough terrain, allowing users to maneuver the unit effortlessly during cleaning sessions.
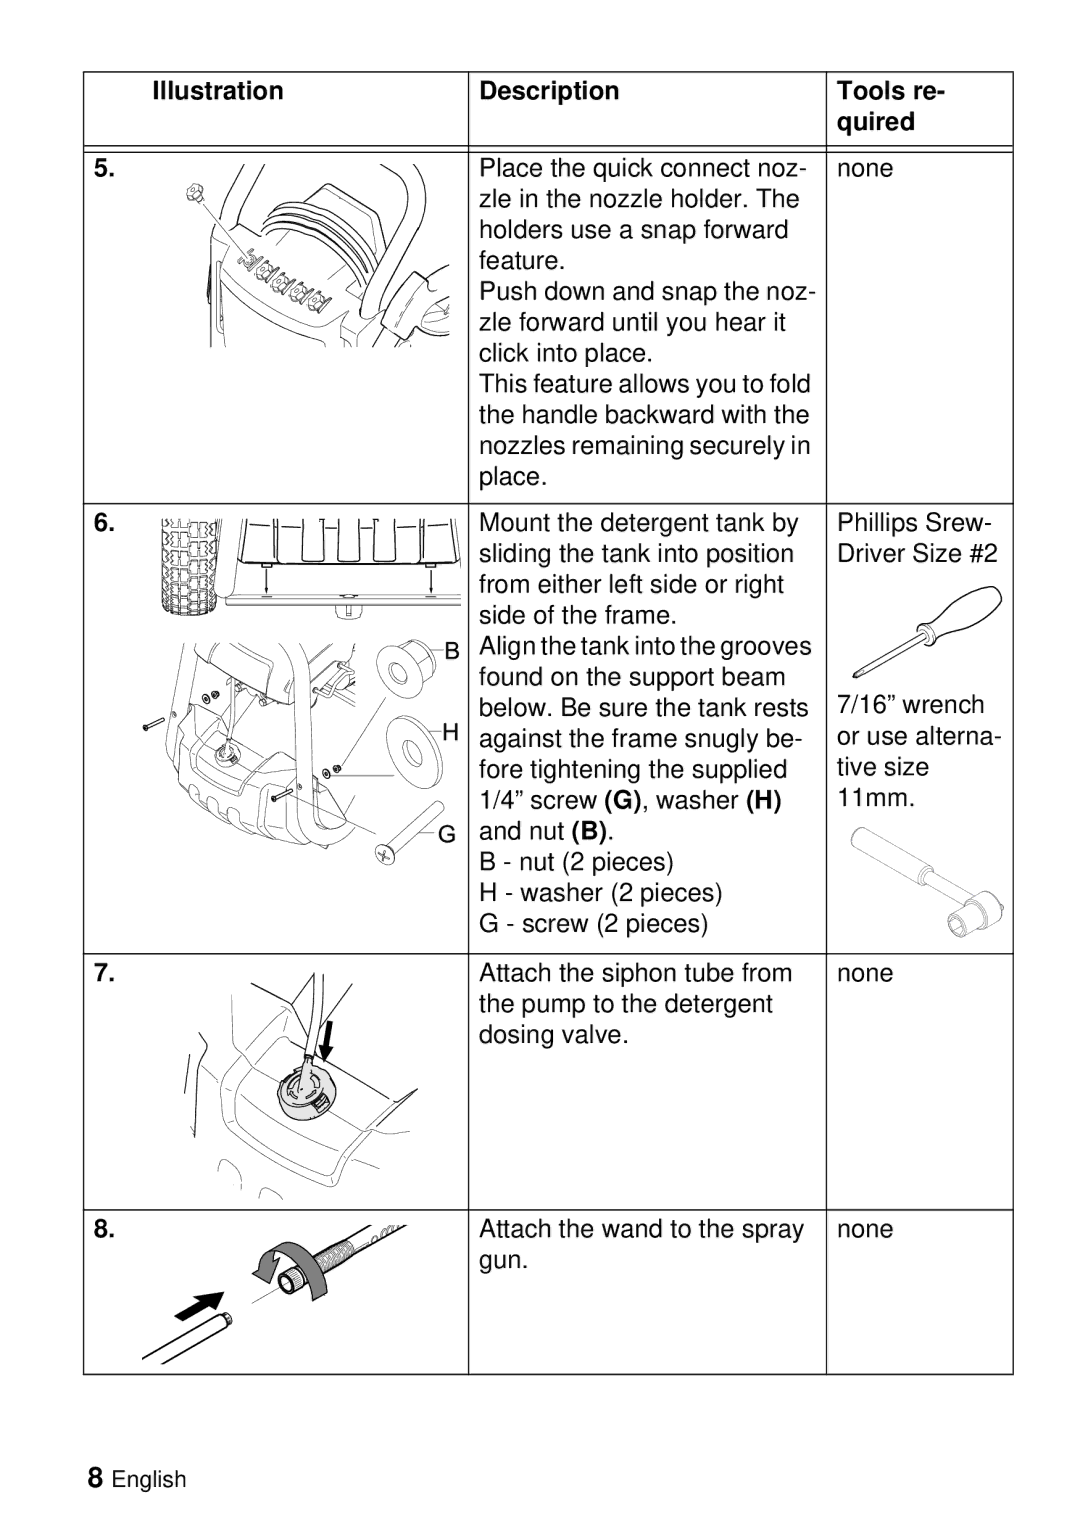
A highlight of this pressure washer is its easy-to-use spray wand with four interchangeable nozzles. These nozzles vary in spray pattern and pressure, enabling custom adjustments depending on the cleaning task at hand. Selecting the appropriate nozzle allows for delicate cleaning on surfaces like car exteriors while providing the power needed for heavy-duty tasks like stripping paint or cleaning concrete.
Moreover, Karcher has equipped the G 3000 BH with a convenient onboard detergent tank. This feature allows users to apply soap or detergent while pressure washing, ensuring a more thorough clean. The integrated hose reel helps keep the 25-foot high-pressure hose organized, preventing kinks and tangles during use or storage.
Overall, the Karcher G 3000 BH blends power, ease of use, and flexibility, making it a top choice for homeowners and professionals alike. With its range of features and cutting-edge technology, this pressure washer stands out in a crowded market, delivering reliable performance for various cleaning applications. Whether tackling grime, dirt, or tough stains, the G 3000 BH provides the efficiency and effectiveness needed to get the job done right.