MICROSCOPE PREPARATION AND SET-UP
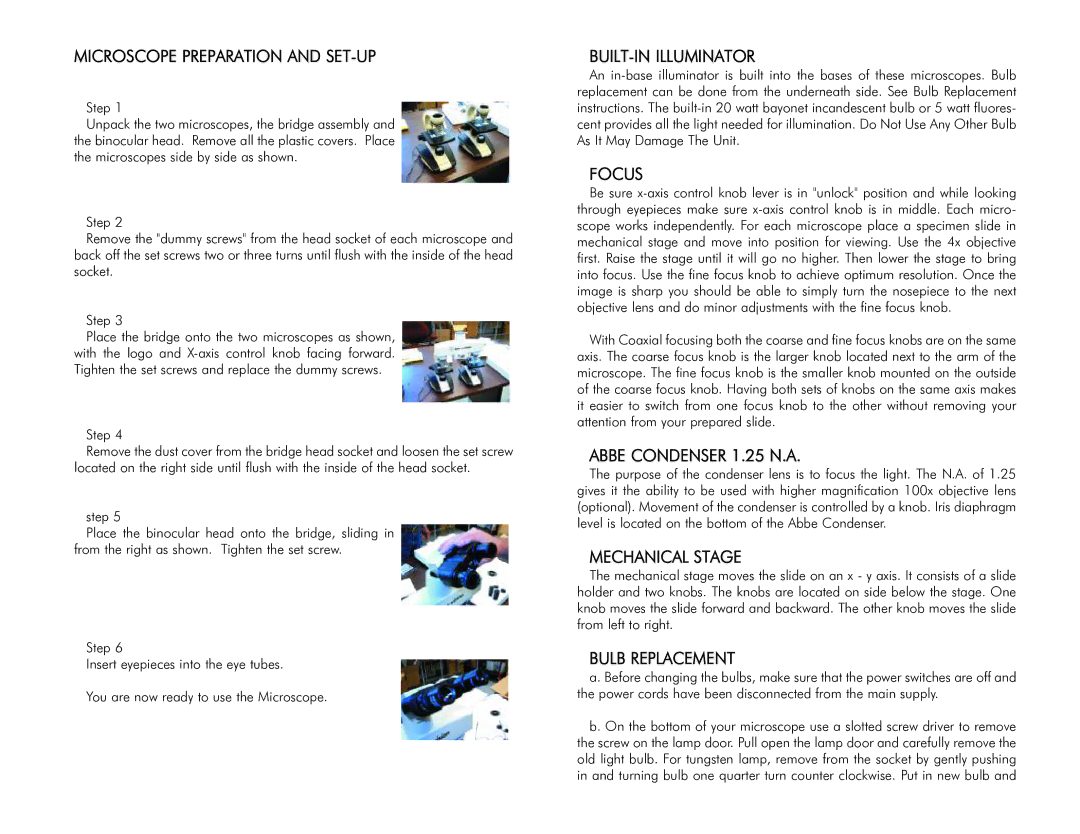
Step 1
Unpack the two microscopes, the bridge assembly and the binocular head. Remove all the plastic covers. Place the microscopes side by side as shown.
Step 2
Remove the "dummy screws" from the head socket of each microscope and back off the set screws two or three turns until flush with the inside of the head socket.
Step 3
Place the bridge onto the two microscopes as shown, with the logo and
Step 4
Remove the dust cover from the bridge head socket and loosen the set screw located on the right side until flush with the inside of the head socket.
step 5
Place the binocular head onto the bridge, sliding in from the right as shown. Tighten the set screw.
Step 6
Insert eyepieces into the eye tubes.
You are now ready to use the Microscope.
BUILT-IN ILLUMINATOR
An
FOCUS
Be sure
With Coaxial focusing both the coarse and fine focus knobs are on the same axis. The coarse focus knob is the larger knob located next to the arm of the microscope. The fine focus knob is the smaller knob mounted on the outside of the coarse focus knob. Having both sets of knobs on the same axis makes it easier to switch from one focus knob to the other without removing your attention from your prepared slide.
ABBE CONDENSER 1.25 N.A.
The purpose of the condenser lens is to focus the light. The N.A. of 1.25 gives it the ability to be used with higher magnification 100x objective lens (optional). Movement of the condenser is controlled by a knob. Iris diaphragm level is located on the bottom of the Abbe Condenser.
MECHANICAL STAGE
The mechanical stage moves the slide on an x - y axis. It consists of a slide holder and two knobs. The knobs are located on side below the stage. One knob moves the slide forward and backward. The other knob moves the slide from left to right.
BULB REPLACEMENT
a. Before changing the bulbs, make sure that the power switches are off and the power cords have been disconnected from the main supply.
b. On the bottom of your microscope use a slotted screw driver to remove the screw on the lamp door. Pull open the lamp door and carefully remove the old light bulb. For tungsten lamp, remove from the socket by gently pushing in and turning bulb one quarter turn counter clockwise. Put in new bulb and