6.The ice maker is equipped with a built-in water strainer. If your water conditions require a second water strainer, install it in the ¹⁄₄" (6.35 mm) water line at either tube connection. Obtain a water strainer from your nearest appliance dealer.

Style 2

1.Unplug refrigerator or disconnect power.

2.Remove and discard the shipping tape and the black nylon plug from the gray, coiled water tubing on the rear of the refrigerator.

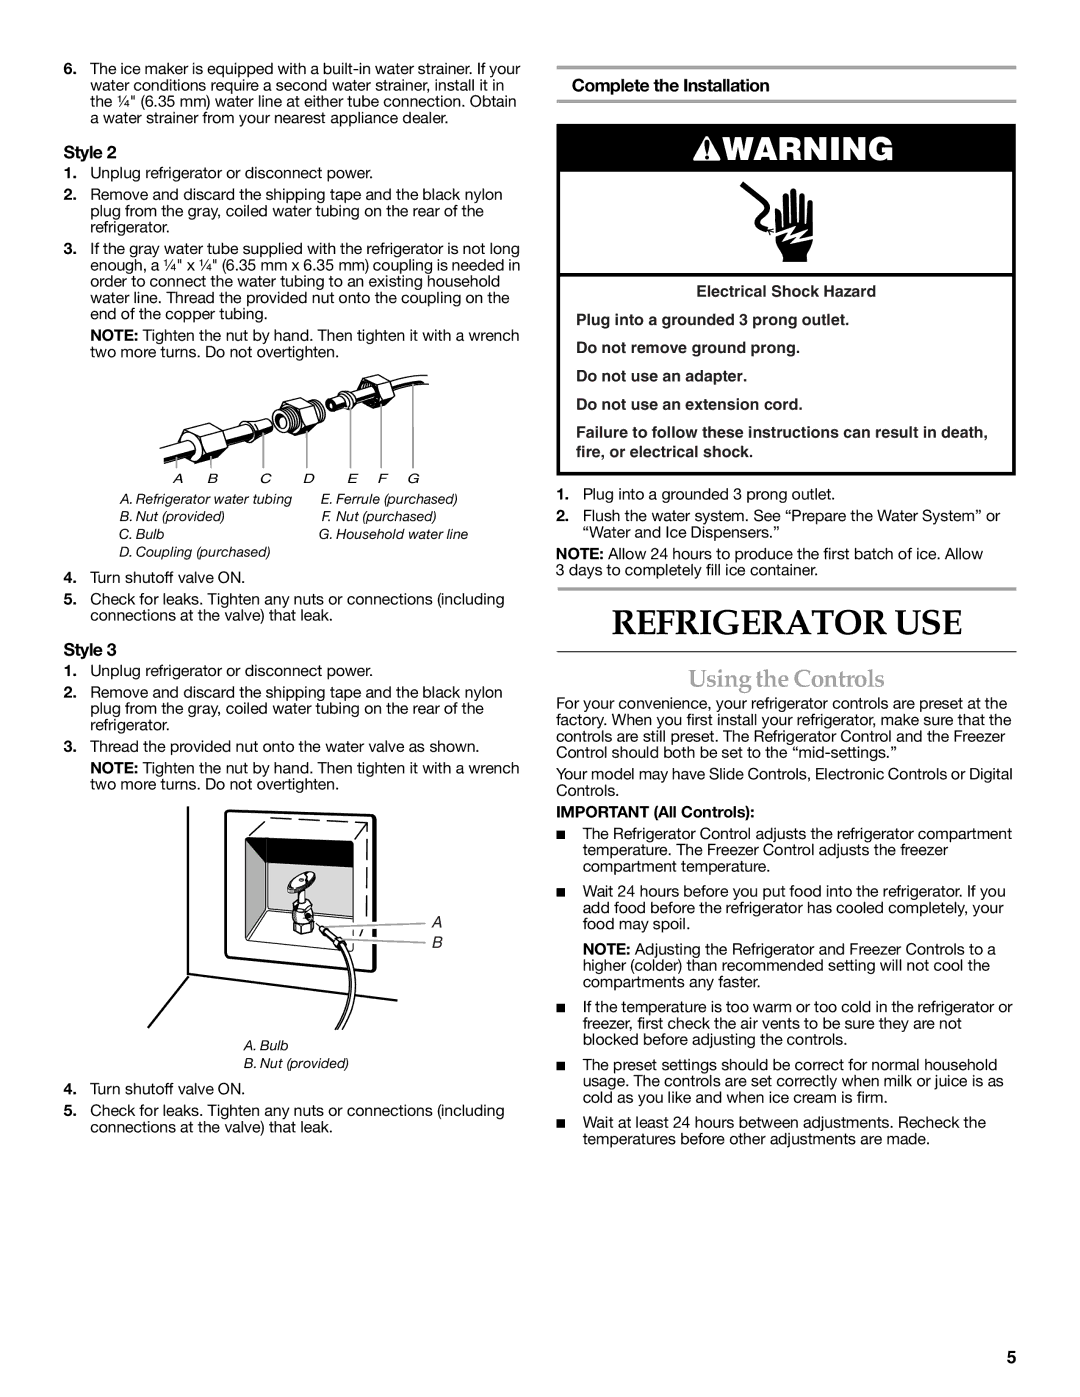
3.If the gray water tube supplied with the refrigerator is not long enough, a ¹⁄₄" x ¹⁄₄" (6.35 mm x 6.35 mm) coupling is needed in order to connect the water tubing to an existing household water line. Thread the provided nut onto the coupling on the end of the copper tubing.

NOTE: Tighten the nut by hand. Then tighten it with a wrench two more turns. Do not overtighten.

A

B

C

D

E F G

A. Refrigerator water tubing


E. Ferrule (purchased)

B. Nut (provided)


F. Nut (purchased)

C. Bulb


G. Household water line

D. Coupling (purchased)


4.Turn shutoff valve ON.

5.Check for leaks. Tighten any nuts or connections (including connections at the valve) that leak.

Style 3

1.Unplug refrigerator or disconnect power.

2.Remove and discard the shipping tape and the black nylon plug from the gray, coiled water tubing on the rear of the refrigerator.

3.Thread the provided nut onto the water valve as shown.

NOTE: Tighten the nut by hand. Then tighten it with a wrench two more turns. Do not overtighten.

A

B

A.Bulb

B.Nut (provided)

4.Turn shutoff valve ON.

5.Check for leaks. Tighten any nuts or connections (including connections at the valve) that leak.

Complete the Installation

WARNING

Electrical Shock Hazard

Plug into a grounded 3 prong outlet.

Do not remove ground prong.

Do not use an adapter.

Do not use an extension cord.

Failure to follow these instructions can result in death, fire, or electrical shock.

1.Plug into a grounded 3 prong outlet.

2.Flush the water system. See “Prepare the Water System” or “Water and Ice Dispensers.”

NOTE: Allow 24 hours to produce the first batch of ice. Allow 3 days to completely fill ice container.

REFRIGERATOR USE

Using the Controls

For your convenience, your refrigerator controls are preset at the factory. When you first install your refrigerator, make sure that the controls are still preset. The Refrigerator Control and the Freezer Control should both be set to the “mid-settings.”

Your model may have Slide Controls, Electronic Controls or Digital Controls.

IMPORTANT (All Controls):

The Refrigerator Control adjusts the refrigerator compartment temperature. The Freezer Control adjusts the freezer compartment temperature.

Wait 24 hours before you put food into the refrigerator. If you add food before the refrigerator has cooled completely, your food may spoil.

NOTE: Adjusting the Refrigerator and Freezer Controls to a higher (colder) than recommended setting will not cool the compartments any faster.

If the temperature is too warm or too cold in the refrigerator or freezer, first check the air vents to be sure they are not blocked before adjusting the controls.

The preset settings should be correct for normal household usage. The controls are set correctly when milk or juice is as cold as you like and when ice cream is firm.

Wait at least 24 hours between adjustments. Recheck the temperatures before other adjustments are made.

5

Page 5
Image 5
KitchenAid 2315184A warranty Refrigerator USE, Using the Controls, Complete the Installation, Important All Controls

2315184A specifications

The KitchenAid 2315184A stands out as a versatile and essential kitchen appliance designed to simplify meal preparation. This powerful countertop mixer is ideal for home bakers and culinary enthusiasts seeking to enhance their cooking experience. With a commitment to quality and performance, KitchenAid has developed a reputation for producing durable and efficient kitchen tools, and the 2315184A is no exception.

One of the main features of the KitchenAid 2315184A is its robust 10-speed motor, which offers a wide range of mixing options, allowing users to tackle everything from delicate meringues to hearty bread doughs with ease. This powerful motor ensures optimal mixing, whisking, and kneading for various ingredients, enabling users to achieve perfect results every time.

Another standout characteristic is the bowl-lift design that provides added stability and allows for easy removal of ingredients. The 5-quart stainless steel mixing bowl is not only spacious enough to accommodate large batches but also features a comfortable handle for hassle-free pouring and transferring of mixtures. The stainless steel material adds durability and is resistant to staining, ensuring longevity in your kitchen.

Technologically, the KitchenAid 2315184A includes a variety of attachments such as a flat beater, dough hook, and wire whip. This versatility means users can mix, knead, and whip without needing additional equipment, making it a multifunctional tool that streamlines the cooking process. The attachments are easy to switch out, offering convenience during different culinary tasks.

Additionally, the mixer's tilt-head design allows for easy access to the bowl, making it simple to add ingredients while mixing. This feature promotes efficiency and comfort, particularly for those who frequently bake or prepare mixtures requiring multiple components.

Furthermore, the KitchenAid 2315184A showcases a timeless design that not only performs well but also enhances the aesthetic appeal of any kitchen. Available in various colors, this mixer can complement any kitchen décor, making it an attractive addition to your countertop.

In summary, the KitchenAid 2315184A is a powerhouse mixer that blends technology, functionality, and style. It offers an array of features that cater to a wide range of culinary tasks, making it an indispensable tool for both novice and experienced cooks. Whether you're making bread, cake, or any other delicious dish, this mixer is sure to deliver exceptional results with ease and efficiency.