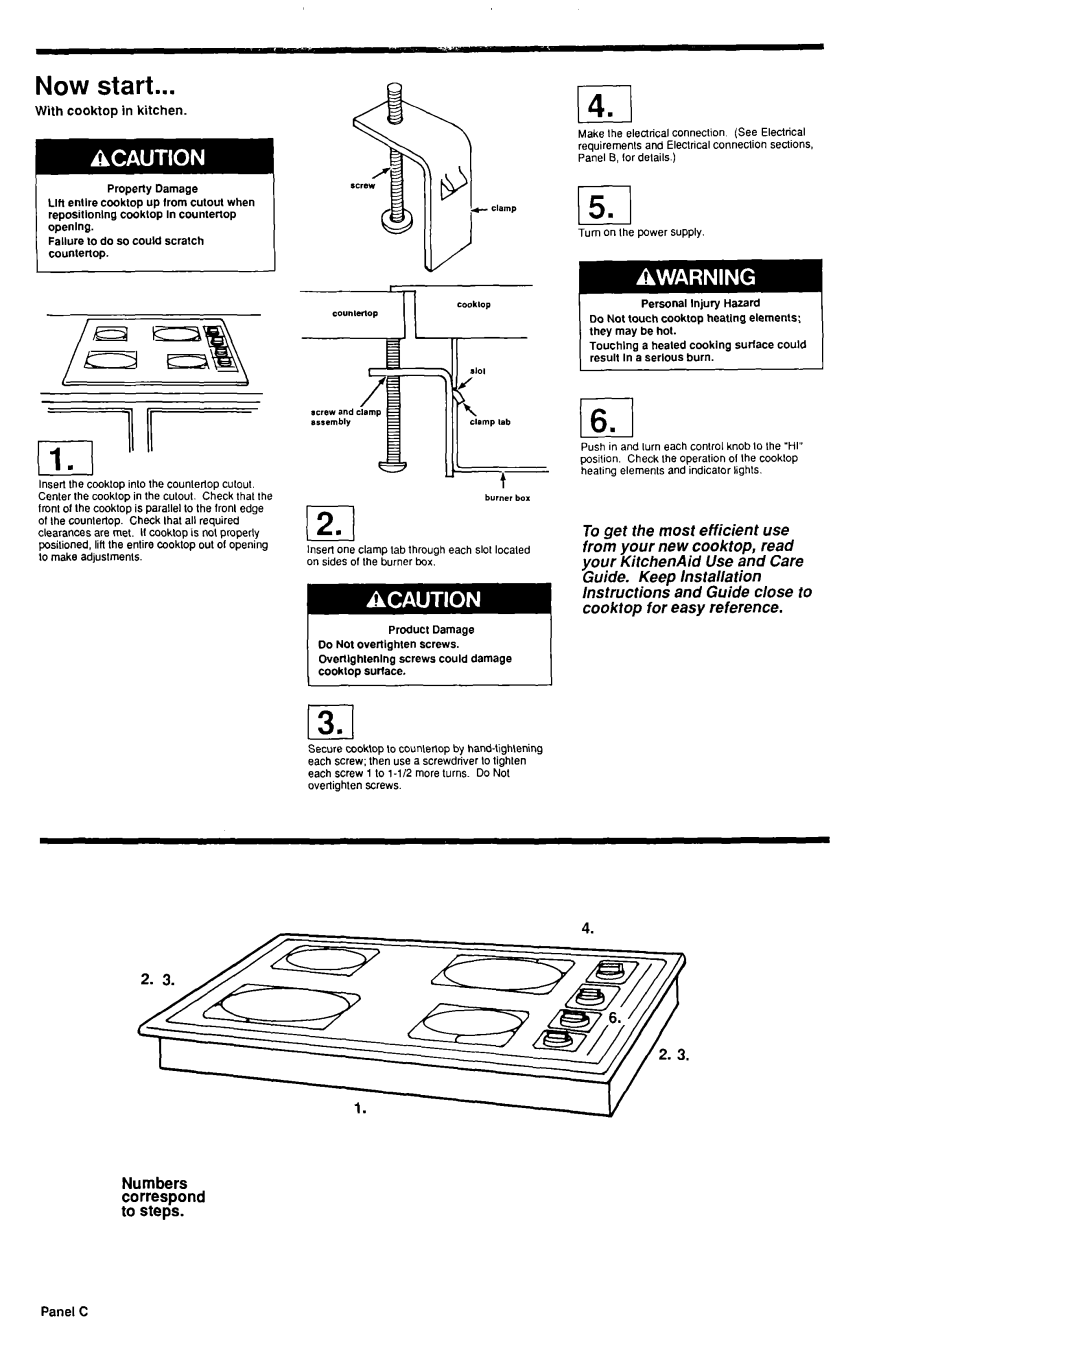
3181199 specifications
The KitchenAid 3181199 is a standout appliance that embodies modern kitchen technology combined with classic performance. Renowned for its powerful motor and versatile functionality, this model is a favorite among home cooks and professional chefs alike, ensuring diverse culinary possibilities.One of its key features is the robust mixing capability. With a high-performance motor, the KitchenAid 3181199 effortlessly tackles various mixing tasks, from whipping cream to kneading dough. Its planetary mixing action guarantees that all ingredients are mixed evenly and thoroughly, eliminating the stress of manual mixing.
The design of the KitchenAid 3181199 is not only aesthetically pleasing but also functional. Its sleek lines and choice of colors allow it to complement any kitchen decor while remaining versatile enough to handle various mixing needs. The tilt-head design provides easy access to the bowl, making it simple to add ingredients or change attachments during the mixing process.
Speaking of attachments, this model is compatible with a wide range of accessories, enhancing its usability. From pasta makers to food grinders, users can expand their culinary repertoire with relative ease. The attachment hub allows for quick and simple connections, ensuring seamless transitions between different kitchen tasks.
Incorporating advanced technology, the KitchenAid 3181199 includes an ergonomic handle for comfortable lifting and pouring. The bowl is made from high-quality materials, ensuring durability and resistance to wear over time. A generous capacity allows the user to mix larger batches, making it ideal for families or entertaining.
Ease of cleaning is another vital feature. The smooth surfaces and removable attachments ensure that users can maintain their kitchen tool without hassle. Dishwasher-safe parts enable a simple cleanup, appealing to today’s busy lifestyle.
In conclusion, the KitchenAid 3181199 is more than just a mixer; it is a gateway to culinary creativity. Its combination of powerful performance, compatibility with numerous attachments, and user-friendly features make it an essential tool for anyone serious about cooking. Whether baking, mixing, or creating gourmet dishes, this appliance stands out as a versatile hero in the kitchen.

