D.Check to see if you Iwe a water meter in p.rr home. To have a grounded water pipe, dw meter must hewe a wire clamp to either side of the meter You can ground the water pipe b securely clampng a length of No. 6 copper wire for PO0 amp service (of less) to tare metal as show. Use grounding clamps, wtified by C.SA, to attach wire to p&.x
11O.ptional $slsh~her
connection
n you do not plan to connect a dishwasher drain to the disposer, go to Step 1%
lay disposer on its side. Insert top of scravdwer at an angle Into dran hole opening. Tap screwdrwer wltJ- hammer until molded plug papsout. Remove loose plug from dlsooser
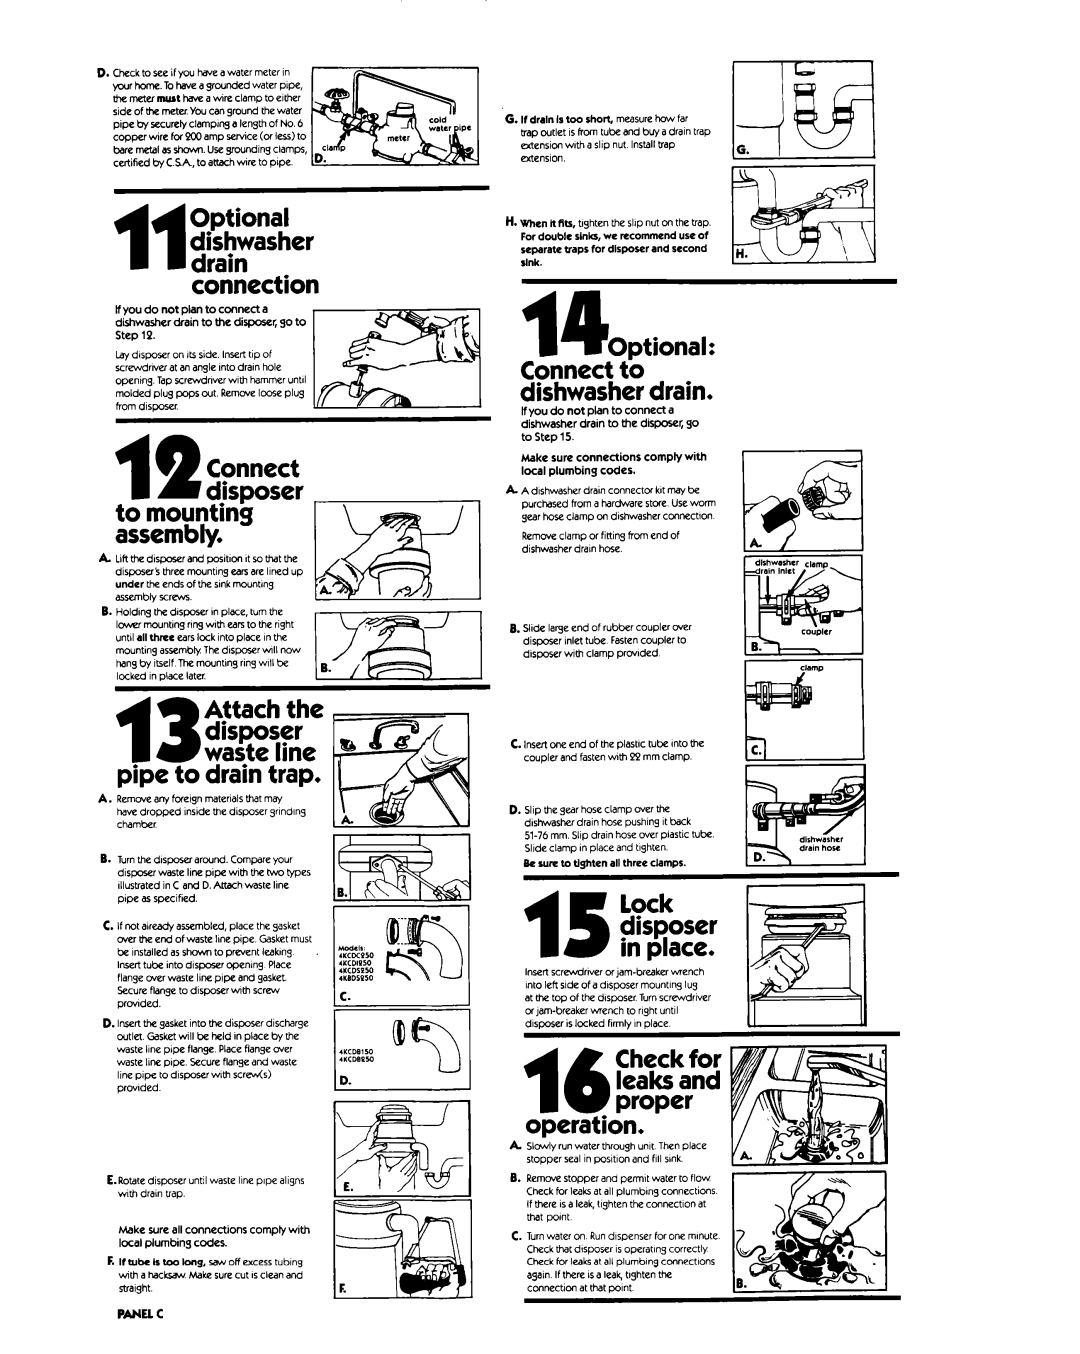
to mounting assembly.
A LB
dispowi three mountlnj ears are lined up under tk ends of the sink mounting assembly screws.
B. Holdanj the disposer I” place, turn the locrer mounting rng wth edrs to the rIjht until all thnc ears IoCk Into place I” the mountmj assembly The dwoser wll now hang by Itself The mounting ring WIII be
locked I” place later.gg;p
13waste line pipe to drain trap.
A.Remwe wry focelgn materials that may have dropped InsIde the dwoser grIndIng chamber
B. Turn the | dqxserarwnd. | Compare | your | |
dlspxer | waste | lne | pope wlti the | two types |
illustrated in C | and D. Attach waste line | |||
pipe as specified. |
|
| ||
C. If xat already assembled, place the gasket cwer the end of waste Ione pipe. Gasket must be nstalled as shown to prevent laklnj Insert tube into disposer opening Place flange Over waste lne pipe and gasket
Secure flange to dlsposermth screw
G. If dnln Is too short, measure how far trap outlet IS horn tube and buy a drain trap extension wth a slip nut. Install trap eltenslon.
H. ~hrn ~r%s, tljhten the slip nut on the trap. For double sinks, we recommend use Of separate traps for disposer and second sink.
14Optional: Connect to dishwasher drain.
If you do not plan to conneCt a dishwasher drain to the disposer, go to Step 15.
Make sure connections Comply With
local plumbing codes.
A. A dIshwasher drain connectcx kit may be purchased from a hardware stow Use worm gear hose clamp on dlshwasher cOnrrzct!On
Remove clamp or fining from end of
dishwasherdran hose
8.Slide large end of rubber coupler over disposer inlet tube Fasten coupler to
dlsposerwth clamp prowded
C. lnsat one end of the plastic tube Into the coupler and fasten wth Pp mm clamp.
D. Slip the jear hose clamp over the
dahwasixrdrain hose pushlng It back
Be sure to tlghten all three clamps.
15lock disposer in place.
lnserl screadrwer of
provded.
C.
at the top of the dqxxer. Turn screwdrIver
D. Insert the jsskecet Into the dispxer dlsclwje outlet Gasket will be held I” place by rhe waste IIM pipe flange Place flange Over waste Ime pope Secure flange and waste line pipe to d1spae.r with scre&) prwlded.
E.Rotate disposer until waste line pipe all jns wth drain trap.
Make sure all connections compty with local plumbing codes.
F. If tube Is too long, w off excess tubing ml- a hackad Make sure cut ISclean and straight.
16proper operation.
ASlowly run water through unit Then place stopper seal in pasWan and fill wk.
8.Remove stopper and permit water to flow Check for leaks at all plumbang connections. If there ISa leak, tlghten the connection at that pomt
C.Turn water on Run dispenser for one mwte. Check that disposer ISoperatlng correctly Check for l&z at all plumblng connectlom again. If there ISa lea& tIjhten the coanectnn at that pant
PANEL c