Style 2 – Non-Dispenser Models
IMPORTANT: After connecting the refrigerator to a water source or replacing the water filter, fill and discard two full containers of ice to prepare the water filter for use, before using the ice.
Do not use with water that is microbiologically unsafe or of unknown quality without adequate disinfection before or after the system.
1.Turn on the ice maker. Lower the wire shutoff arm as shown. Please refer to “Ice Maker and Storage Bin” for further instructions on the operation of your ice maker.
NOTES:
■Allow 24 hours to produce the first batch of ice.
■Allow 3 days to completely fill ice container.
■Depending on your model, you may want to select the maximum ice feature to increase the production of ice.
NOTE: If your model has a base grille filter system, make sure the base grille filter is properly installed and the cap is in the horizontal position.
REFRIGERATOR USE
![]() WARNING
WARNING
Electrical Shock Hazard
Plug into a grounded 3 prong outlet.
Do not remove ground prong.
Do not use an adapter.
Do not use an extension cord.
Failure to follow these instructions can result in death, fire, or electrical shock.
![]() WARNING
WARNING
Explosion Hazard
Keep flammable materials and vapors, such as gasoline, away from refrigerator.
Failure to do so can result in death, explosion, or fire.
Power On/Off Switch
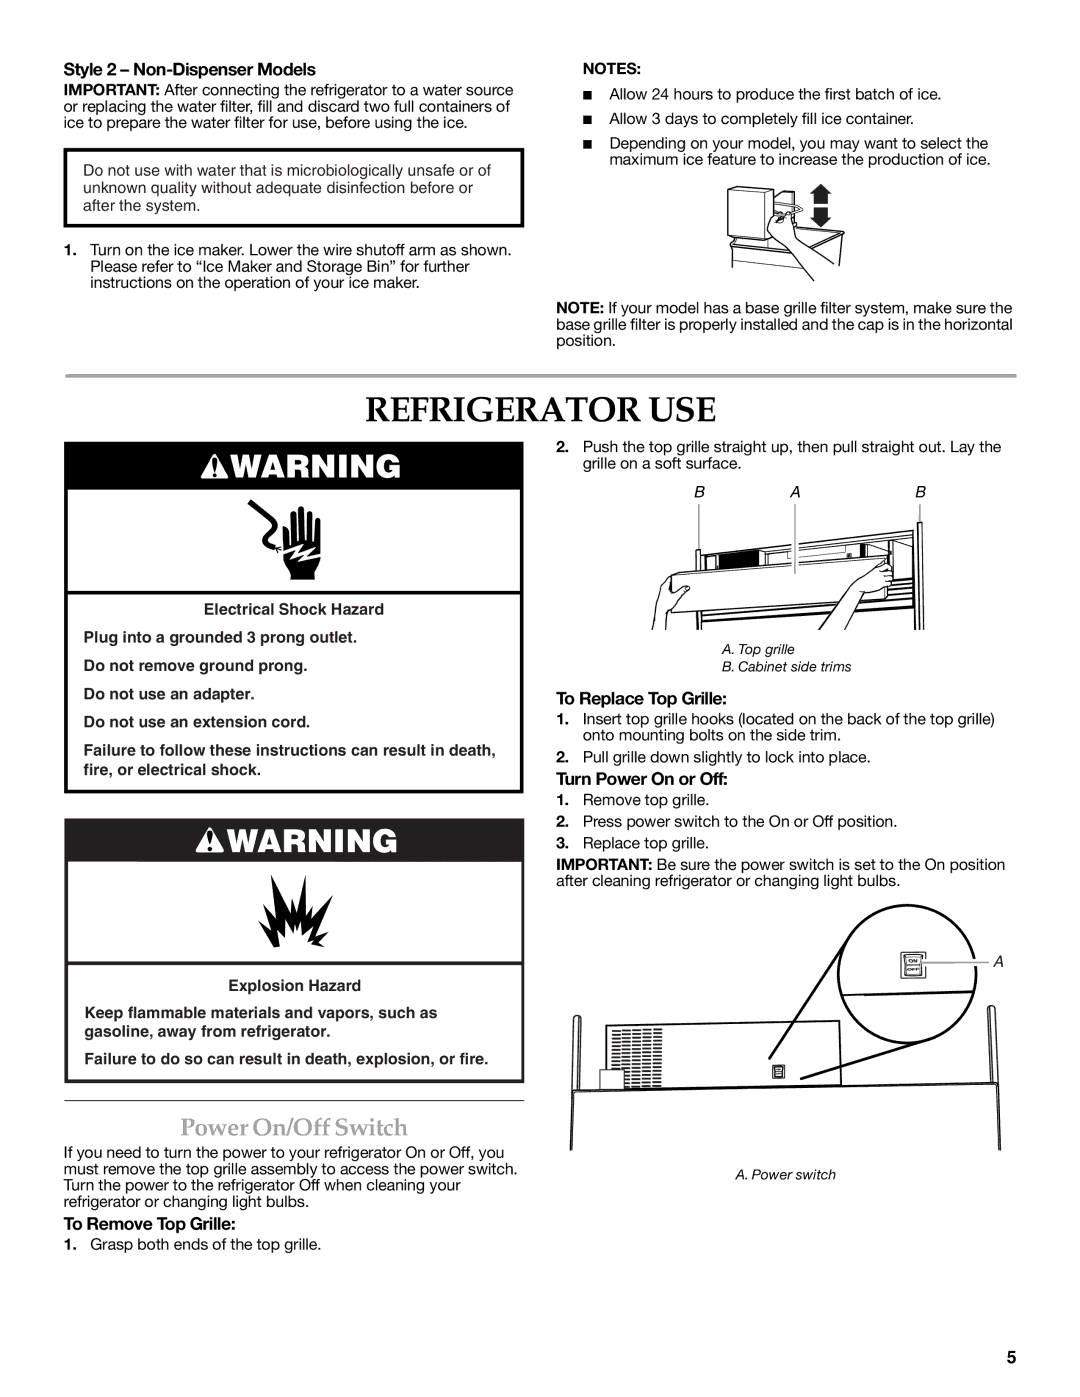
If you need to turn the power to your refrigerator On or Off, you must remove the top grille assembly to access the power switch. Turn the power to the refrigerator Off when cleaning your refrigerator or changing light bulbs.
To Remove Top Grille:
1.Grasp both ends of the top grille.
2.Push the top grille straight up, then pull straight out. Lay the grille on a soft surface.
BAB
A. Top grille
B. Cabinet side trims
To Replace Top Grille:
1.Insert top grille hooks (located on the back of the top grille) onto mounting bolts on the side trim.
2.Pull grille down slightly to lock into place.
Turn Power On or Off:
1.Remove top grille.
2.Press power switch to the On or Off position.
3.Replace top grille.
IMPORTANT: Be sure the power switch is set to the On position after cleaning refrigerator or changing light bulbs.
![]() A
A
A. Power switch
5
