12.Install the saddle valve kit or other plumbing parts as needed to connect the ¹⁄₄" (6.4 mm) tube from the faucet easy- connect fitting to the cold water supply line.
13.Flush the line into a bucket or pan to remove any debris that may have been trapped in the supply line during plumbing connection.
14.Check that the water flows freely and that there are no leaks.
15.Connect the ¹⁄₄" (6.4 mm) water supply line tube to the faucet tube with the
Factory Assembled Easy-Connect Fitting
IMPORTANT: For proper operation, do not remove the factory- assembled
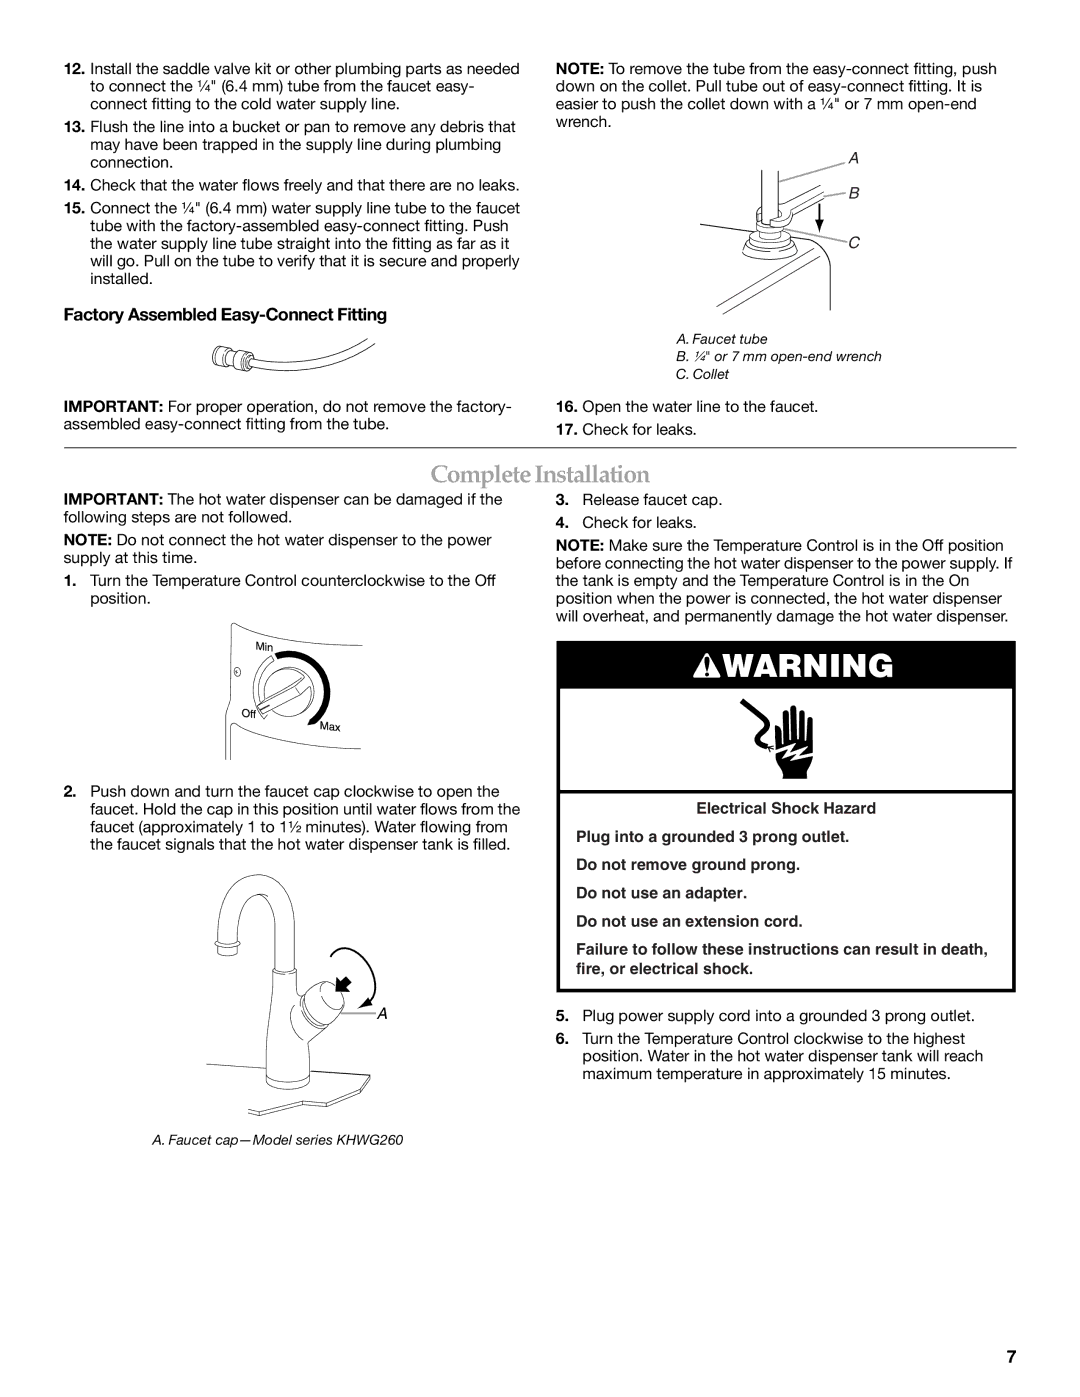
NOTE: To remove the tube from the
A
B
C
A. Faucet tube
B. ¹⁄₄" or 7 mm
C.Collet
16.Open the water line to the faucet.
17.Check for leaks.
CompleteInstallation
IMPORTANT: The hot water dispenser can be damaged if the following steps are not followed.
NOTE: Do not connect the hot water dispenser to the power supply at this time.
1.Turn the Temperature Control counterclockwise to the Off position.
3.Release faucet cap.
4.Check for leaks.
NOTE: Make sure the Temperature Control is in the Off position before connecting the hot water dispenser to the power supply. If the tank is empty and the Temperature Control is in the On position when the power is connected, the hot water dispenser will overheat, and permanently damage the hot water dispenser.
2.Push down and turn the faucet cap clockwise to open the faucet. Hold the cap in this position until water flows from the faucet (approximately 1 to 1¹⁄₂ minutes). Water flowing from the faucet signals that the hot water dispenser tank is filled.
A
![]() WARNING
WARNING
Electrical Shock Hazard
Plug into a grounded 3 prong outlet.
Do not remove ground prong.
Do not use an adapter.
Do not use an extension cord.
Failure to follow these instructions can result in death, fire, or electrical shock.
5.Plug power supply cord into a grounded 3 prong outlet.
6.Turn the Temperature Control clockwise to the highest position. Water in the hot water dispenser tank will reach maximum temperature in approximately 15 minutes.
A. Faucet
7