3.Remove the glass to stop dispensing.

NOTE: Ice may continue to dispense for up to 10 seconds after removing the glass from the pad. The dispenser may continue to make noise for a few seconds after dispensing.

Removable Dispenser Tray (on some models)

Your dispenser may include a small tray at the bottom of the dispenser. It is designed to catch small spills and allow for easy cleaning. The tray can be removed from the dispenser and carried to the sink to be emptied or cleaned.

NOTE: There is no drain in the tray. When the tray is full of water, it will need to be removed and emptied.

The Dispenser Light (on some models)

When you use the dispenser, the light will automatically turn on. If you want the light to be on continuously, you may choose either ON or AUTO.

ON: Press LIGHT to turn the dispenser light on.

AUTO: Press LIGHT a second time to select AUTO mode. The dispenser light will automatically adjust to become brighter as the room brightens, dimmer as the room darkens.

OFF: Press LIGHT a third time to turn the dispenser light off.

The dispenser lights are LEDs that cannot be changed. If it appears that your dispenser lights are not working, be sure that the light sensor is not blocked (in AUTO mode). See “Troubleshooting” for more information.

The Dispenser Lock (on some models)

The dispenser can be turned off for easy cleaning or to avoid unintentional dispensing by small children and pets.

NOTE: The lock feature does not shut off power to the product, to the ice maker, or to the dispenser light. It simply deactivates the ice and water dispensers. To turn off the ice maker, see “Ice Maker and Storage Bin.”

Press and hold LOCKOUT for 3 seconds to lock the dispenser. While the dispenser is locking, “LOCKING” will appear on the display screen and the blue indicator light around the LOCKOUT button will flash. When the dispenser is locked, the indicator light will change to red for a few seconds, then turn off.

Press and hold LOCKOUT a second time to unlock the dispenser. While the dispenser is unlocking, “UNLOCKING” will appear on the display screen and the red indicator light around the LOCKOUT button will flash. When the dispenser is unlocked, the indicator light will change to blue for a few seconds, then turn off.

Ice Maker and Storage Bin

Turning the Ice Maker On/Off

Style 1:

The On/Off switch is located on the top right side of the freezer compartment.

To turn on the ice maker, slide the control to the ON (left) position.

To manually turn off the ice maker, slide the control to the OFF (right) position.

Style 2:

The On/Off switch is located on the ice maker, behind the ice maker cover door.

To turn on the ice maker, flip the switch to the ON (top) position.

To manually turn off the ice maker, flip the switch to the OFF (bottom) position.

NOTE: Your ice maker has an automatic shutoff. The ice maker sensors will automatically stop ice production when the ice storage bin is full or the freezer door is opened, but the control will remain in the ON position.

REMEMBER:

Allow 24 hours to produce the first batch of ice. Discard the first three batches of ice produced.

The quality of your ice will be only as good as the quality of the water supplied to your ice maker. Avoid connecting the ice maker to a softened water supply. Water softener chemicals (such as salt) can damage parts of the ice maker and lead to poor quality ice. If a softened water supply cannot be avoided, make sure the water softener is operating properly and is well maintained.

Do not use anything sharp to break up the ice in the bin or bucket. This can cause damage to the ice container and the dispenser mechanism.

Do not store anything on top of or in the ice maker or storage bin.

Removing and Replacing Ice Storage Bin

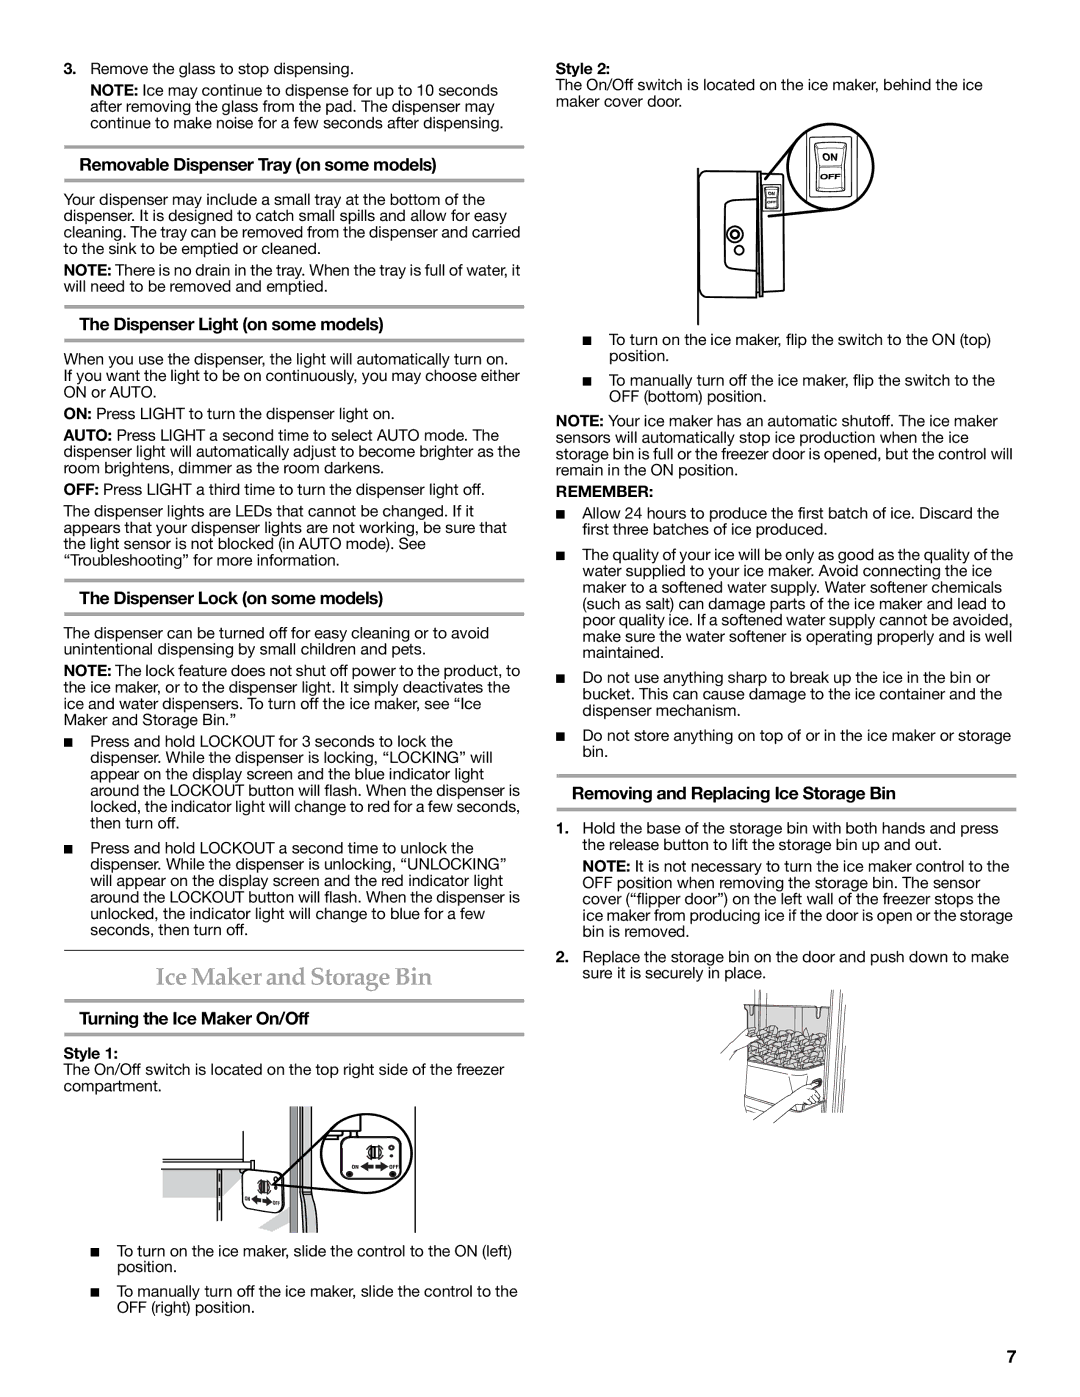
1.Hold the base of the storage bin with both hands and press the release button to lift the storage bin up and out.

NOTE: It is not necessary to turn the ice maker control to the OFF position when removing the storage bin. The sensor cover (“flipper door”) on the left wall of the freezer stops the ice maker from producing ice if the door is open or the storage bin is removed.

2.Replace the storage bin on the door and push down to make sure it is securely in place.

7

Page 7
Image 7
KitchenAid W10162467A, W10162466A installation instructions Ice Maker and Storage Bin

W10162466A, W10162467A specifications

KitchenAid is renowned for its commitment to quality and innovation in kitchen appliances, and the W10162467A and W10162466A serve as prime examples of this ethos. These kitchen appliances are designed to enhance cooking efficiency and craftsmanship, catering to both amateur cooks and seasoned chefs.

The W10162467A is a state-of-the-art dishwasher accessory that focuses on providing families with reliable and effective cleaning capabilities. This model boasts a robust design that aligns with KitchenAid’s standards for durability and performance. Equipped with advanced cleaning technology, it features a powerful spray arm system that ensures thorough coverage, making sure that every dish comes out sparkling clean after a cycle.

Similarly, the W10162466A complements this functionality, designed specifically for use with KitchenAid dishwashers. This accessory enhances load flexibility, allowing users to easily configure and adjust the interior to accommodate different types of dinnerware, glassware, and utensils. This versatility is particularly beneficial for households that frequently entertain guests or prepare large meals, as it maximizes the available space without compromising on cleaning effectiveness.

One of the remarkable characteristics of both models is the attention to energy efficiency. KitchenAid integrates eco-friendly technologies to minimize water and energy usage without sacrificing cleaning power. This feature not only aligns with the increasing demand for sustainable household appliances but also provides cost savings for users over time.

Another significant aspect of these models is their user-friendly design. They come equipped with easy-to-follow instructions and intuitive controls, making them accessible for all users. The sleek and modern design also ensures that they complement any kitchen decor, further emphasizing KitchenAid's focus on aesthetics as much as functionality.

In summary, the KitchenAid W10162467A and W10162466A represent the pinnacle of kitchen appliance design, merging advanced cleaning technologies with user-centric features. They are tailored for optimal performance, ensuring that your kitchen work is not only efficient but also enjoyable. For anyone seeking to elevate their cooking and cleaning experience, both models offer an exemplary solution that reflects KitchenAid's commitment to quality, innovation, and sustainability.