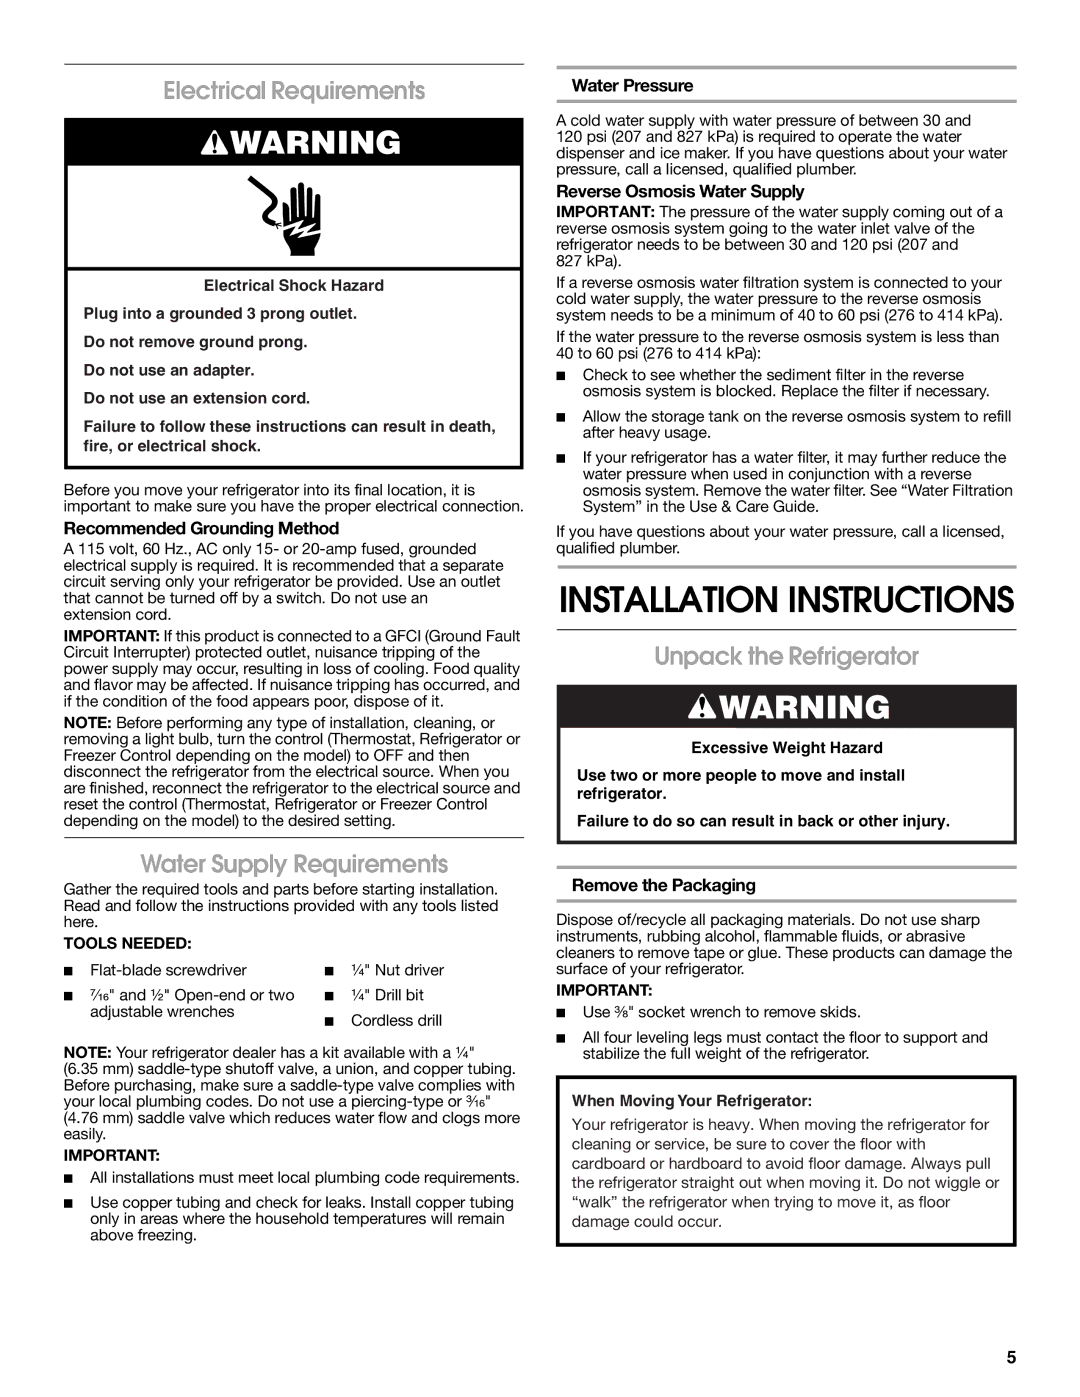
Electrical Requirements

WARNING

Electrical Shock Hazard

Plug into a grounded 3 prong outlet.

Do not remove ground prong.

Do not use an adapter.

Do not use an extension cord.

Failure to follow these instructions can result in death, fire, or electrical shock.

Before you move your refrigerator into its final location, it is important to make sure you have the proper electrical connection.

Recommended Grounding Method

A 115 volt, 60 Hz., AC only 15- or 20-amp fused, grounded electrical supply is required. It is recommended that a separate circuit serving only your refrigerator be provided. Use an outlet that cannot be turned off by a switch. Do not use an extension cord.

IMPORTANT: If this product is connected to a GFCI (Ground Fault Circuit Interrupter) protected outlet, nuisance tripping of the power supply may occur, resulting in loss of cooling. Food quality and flavor may be affected. If nuisance tripping has occurred, and if the condition of the food appears poor, dispose of it.

NOTE: Before performing any type of installation, cleaning, or removing a light bulb, turn the control (Thermostat, Refrigerator or Freezer Control depending on the model) to OFF and then disconnect the refrigerator from the electrical source. When you are finished, reconnect the refrigerator to the electrical source and reset the control (Thermostat, Refrigerator or Freezer Control depending on the model) to the desired setting.

Water Pressure

A cold water supply with water pressure of between 30 and 120 psi (207 and 827 kPa) is required to operate the water dispenser and ice maker. If you have questions about your water pressure, call a licensed, qualified plumber.

Reverse Osmosis Water Supply

IMPORTANT: The pressure of the water supply coming out of a reverse osmosis system going to the water inlet valve of the refrigerator needs to be between 30 and 120 psi (207 and

827 kPa).

If a reverse osmosis water filtration system is connected to your cold water supply, the water pressure to the reverse osmosis system needs to be a minimum of 40 to 60 psi (276 to 414 kPa).

If the water pressure to the reverse osmosis system is less than

40 to 60 psi (276 to 414 kPa):

Check to see whether the sediment filter in the reverse osmosis system is blocked. Replace the filter if necessary.

Allow the storage tank on the reverse osmosis system to refill after heavy usage.

If your refrigerator has a water filter, it may further reduce the water pressure when used in conjunction with a reverse osmosis system. Remove the water filter. See “Water Filtration System” in the Use & Care Guide.

If you have questions about your water pressure, call a licensed, qualified plumber.

INSTALLATION INSTRUCTIONS

Unpack the Refrigerator

WARNING

Excessive Weight Hazard

Use two or more people to move and install refrigerator.

Failure to do so can result in back or other injury.

Water Supply Requirements

Gather the required tools and parts before starting installation. Read and follow the instructions provided with any tools listed here.

TOOLS NEEDED:

Flat-blade screwdriver

¹⁄₄" Nut driver

⁷⁄₁₆" and ¹⁄₂" Open-end or two

¹⁄₄" Drill bit


adjustable wrenches

Cordless drill


NOTE: Your refrigerator dealer has a kit available with a ¹⁄₄"

(6.35 mm) saddle-type shutoff valve, a union, and copper tubing. Before purchasing, make sure a saddle-type valve complies with your local plumbing codes. Do not use a piercing-type or ³⁄₁₆"

(4.76 mm) saddle valve which reduces water flow and clogs more easily.

IMPORTANT:

All installations must meet local plumbing code requirements.

Use copper tubing and check for leaks. Install copper tubing only in areas where the household temperatures will remain above freezing.

Remove the Packaging

Dispose of/recycle all packaging materials. Do not use sharp instruments, rubbing alcohol, flammable fluids, or abrasive cleaners to remove tape or glue. These products can damage the surface of your refrigerator.

IMPORTANT:

Use ³⁄₈" socket wrench to remove skids.

All four leveling legs must contact the floor to support and stabilize the full weight of the refrigerator.

When Moving Your Refrigerator:

Your refrigerator is heavy. When moving the refrigerator for cleaning or service, be sure to cover the floor with cardboard or hardboard to avoid floor damage. Always pull the refrigerator straight out when moving it. Do not wiggle or “walk” the refrigerator when trying to move it, as floor damage could occur.

5

Page 5
Image 5
KitchenAid W10168334A installation instructions Electrical Requirements, Unpack the Refrigerator, Water Supply Requirements

W10168334A specifications

The KitchenAid W10168334A is a versatile and innovative appliance designed to elevate your culinary experience. As a high-performance accessory for KitchenAid stand mixers, this product boasts several key features, technologies, and characteristics that make it a must-have for home cooks and baking enthusiasts.

At the heart of the W10168334A is its exceptional functionality. This attachment is specifically designed to facilitate various food preparation processes, ranging from slicing and shredding to grating and spiralizing. By utilizing the powerful motor of KitchenAid stand mixers, users can achieve consistent and efficient results in a fraction of the time it would take with traditional manual methods. The power and durability of the attachment ensure that it can handle a wide range of ingredients, including vegetables, fruits, and cheeses with ease.

One of the standout features of the W10168334A is its interchangeable blade system. This allows users to customize their food preparation according to specific recipes and desired textures. The attachment comes with multiple stainless steel blades that can be easily swapped out, providing options for thin slicing, coarse shredding, medium shredding, and spiralizing. This versatility makes it a practical choice for various culinary tasks, whether you're preparing fresh salads, gratins, or pasta dishes.

In addition to its versatile blade options, the KitchenAid W10168334A incorporates an easy-to-use design. The attachment is simple to install and remove from the mixer, ensuring a seamless transition between different food preparation tasks. Its lightweight construction allows for easy handling, while the high-quality materials used in the design guarantee longevity and resistance to wear and tear.

Moreover, the W10168334A attachment enhances overall kitchen safety, as it limits the need for direct contact with sharp blades during the food preparation process. Users can achieve precise results without the risk of accidental cuts or injuries, making it an excellent choice for both novice and experienced cooks.

In conclusion, the KitchenAid W10168334A stands out as a multi-functional kitchen accessory that combines power, efficiency, and safety. Its interchangeable blades, user-friendly design, and compatibility with KitchenAid stand mixers make it an essential tool for anyone looking to enhance their culinary skills. Whether you're whipping up a quick weeknight dinner or preparing a feast for friends and family, this attachment will undoubtedly streamline your food preparation process and inspire creativity in the kitchen.