IMPORTANT SAFETY INSTRUCTIONS
1.READ these instructions.
2.KEEP these instructions.
3.HEED all warnings.
4.FOLLOW all instructions.
5.DO NOT use this apparatus near water.
6.CLEAN ONLY with dry cloth.
7.DO NOT block any ventilation openings. Install in accordance with the manufacturer's instructions.
8.DO NOT install near any heat sources such as radiators, heat registers, stoves, or other apparatus (including amplifiers) that produce heat.
9.DO NOT defeat the safety purpose of the polarized or grounding type plug. A polarized plug has two blades with one wider than the other. A grounding type plug has two blades and a third grounding prong. The wider blade or the third prong are provided for your safety. If the provided plug does not fit into your outlet, consult an electrician for replacement of the obsolete outlet.
10.PROTECT the power cord from being walked on or pinched, particularly at plugs, convenience receptacles, and the point where they exit from the apparatus.
11.ONLY USE attachments/accessories specified by the manufacturer.
12.USE only with a cart, stand, tripod, bracket, or table specified by the manufacturer, or sold with the apparatus. When a cart is used, use caution when moving the cart/apparatus combination to avoid injury from
13.UNPLUG this apparatus during lightning storms or when unused for long periods of time.
14.REFER all servicing to qualified service personnel. Servicing is required when the apparatus has been damaged in any way, such as
This symbol indicates that there are important operating and maintenance instructions in the literature accompanying this unit.
This symbol indicates that dangerous voltage constituting a risk of electric shock is present within this unit.
WARNING: To reduce the risk of fire or electrical shock, do not expose this apparatus to rain or moisture.
WARNING: Voltages in this equipment are hazardous to life. No
CAUTION: Changes or modifications not expressly approved by the manufacturer could void the user’s authority to operate this device.
ABOUT YOUR KLIPSCH PURCHASE
Your new Klipsch architectural subwoofer has been designed to deliver great sound while remaining unobtrusive wherever you install it.
The
Minimum Tools Required for Installation #2 Phillips Screwdriver
Wire strippers
Level
Stud finder
Saw
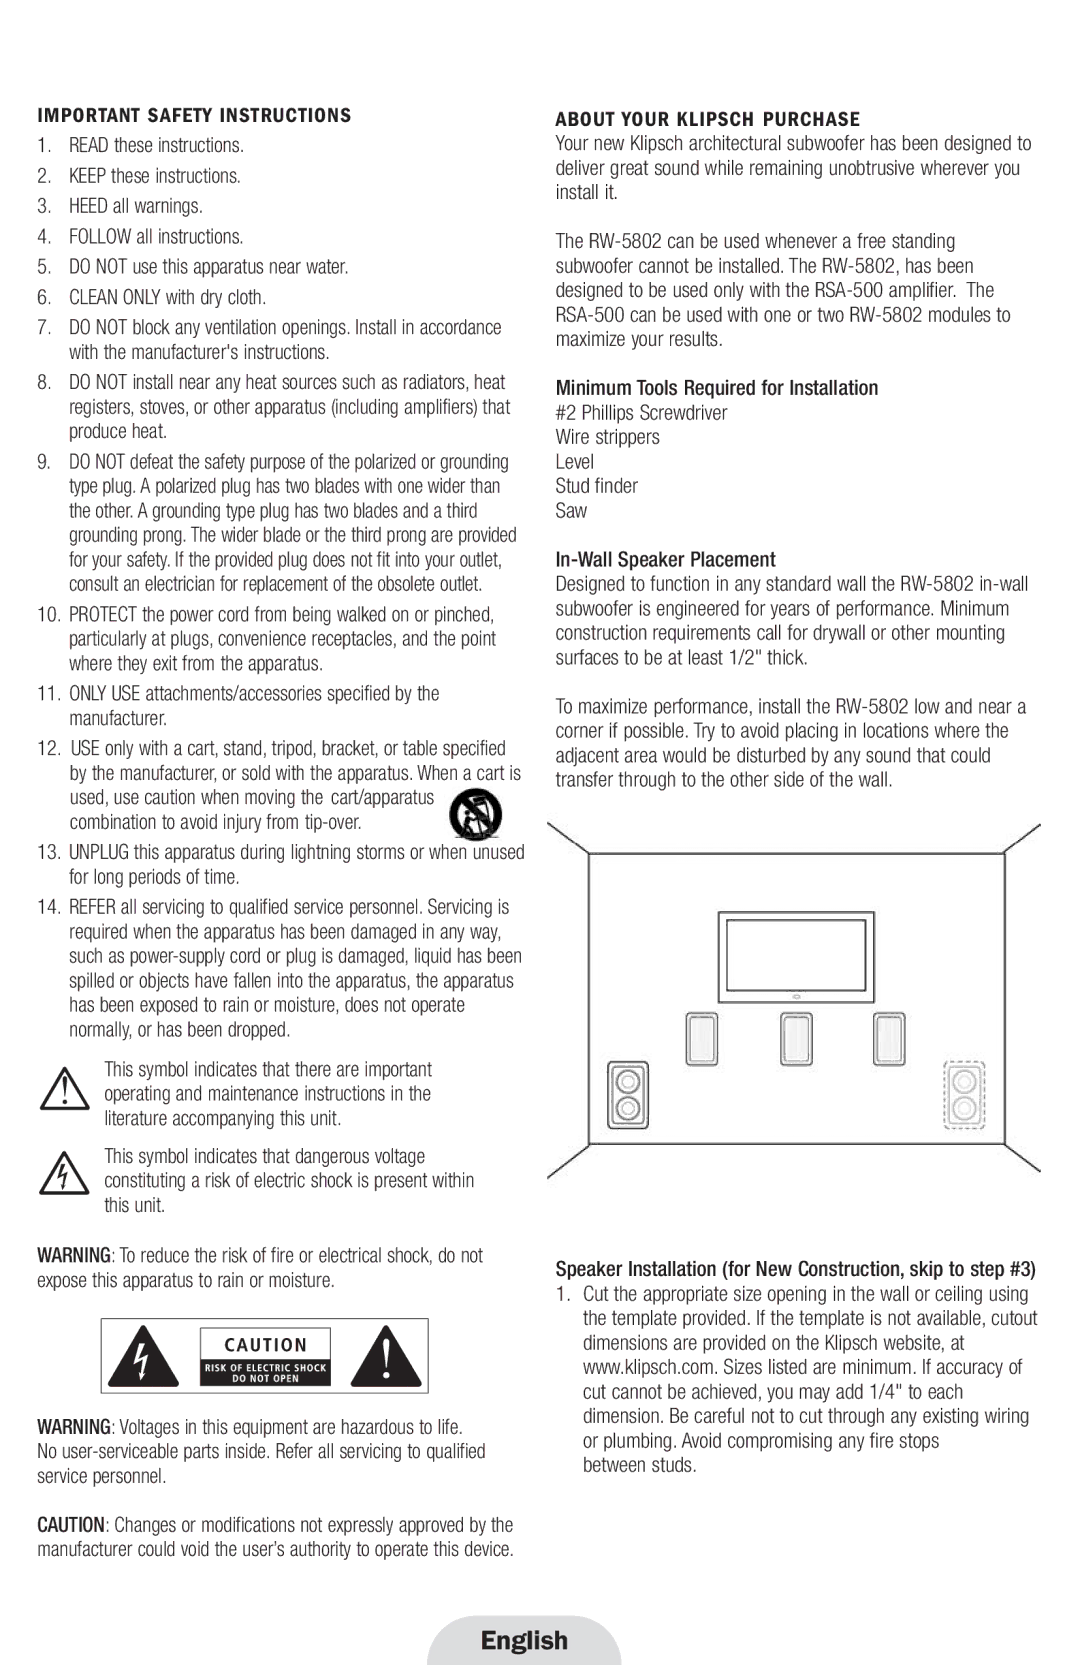
Designed to function in any standard wall the
To maximize performance, install the
Speaker Installation (for New Construction, skip to step #3)
1.Cut the appropriate size opening in the wall or ceiling using the template provided. If the template is not available, cutout dimensions are provided on the Klipsch website, at www.klipsch.com. Sizes listed are minimum. If accuracy of cut cannot be achieved, you may add 1/4" to each dimension. Be careful not to cut through any existing wiring or plumbing. Avoid compromising any fire stops
