Dimage X20 specifications
The Konica Minolta Dimage X20 was an innovative compact digital camera released in the early 2000s, known for its blend of style and functionality. Designed for both amateur photographers and seasoned enthusiasts, the X20 stood out in the crowded camera market due to its sleek design and impressive specifications.One of the main features of the Dimage X20 was its compact size. Measuring just 3.5 x 4.0 x 1.4 inches and weighing around 7.4 ounces, it was easy to carry, making it an ideal choice for travel and daily use. The camera boasted a 2.0-inch TFT LCD screen that provided clear and bright images, allowing users to frame shots easily.
At the heart of the Dimage X20 was a 2.0-megapixel CCD sensor, capable of capturing high-quality photographs with a maximum resolution of 1600 x 1200 pixels. This level of detail was impressive for its time, providing users with the ability to print photos up to 8 x 10 inches in size. The camera came equipped with a 3x optical zoom lens, offering a focal length equivalent to 35-105mm in 35mm film terms. This feature allowed photographers to capture both wide-angle images and distant subjects without sacrificing image quality.
The Dimage X20 also implemented advanced autofocus technology, including a Multi-Point AF system that ensured sharp focus on subjects across different shooting scenarios. Night shooting was made easier with the inclusion of a built-in flash, and the camera offered various shooting modes, including portrait, sports, and landscape, providing flexibility for different photographic styles.
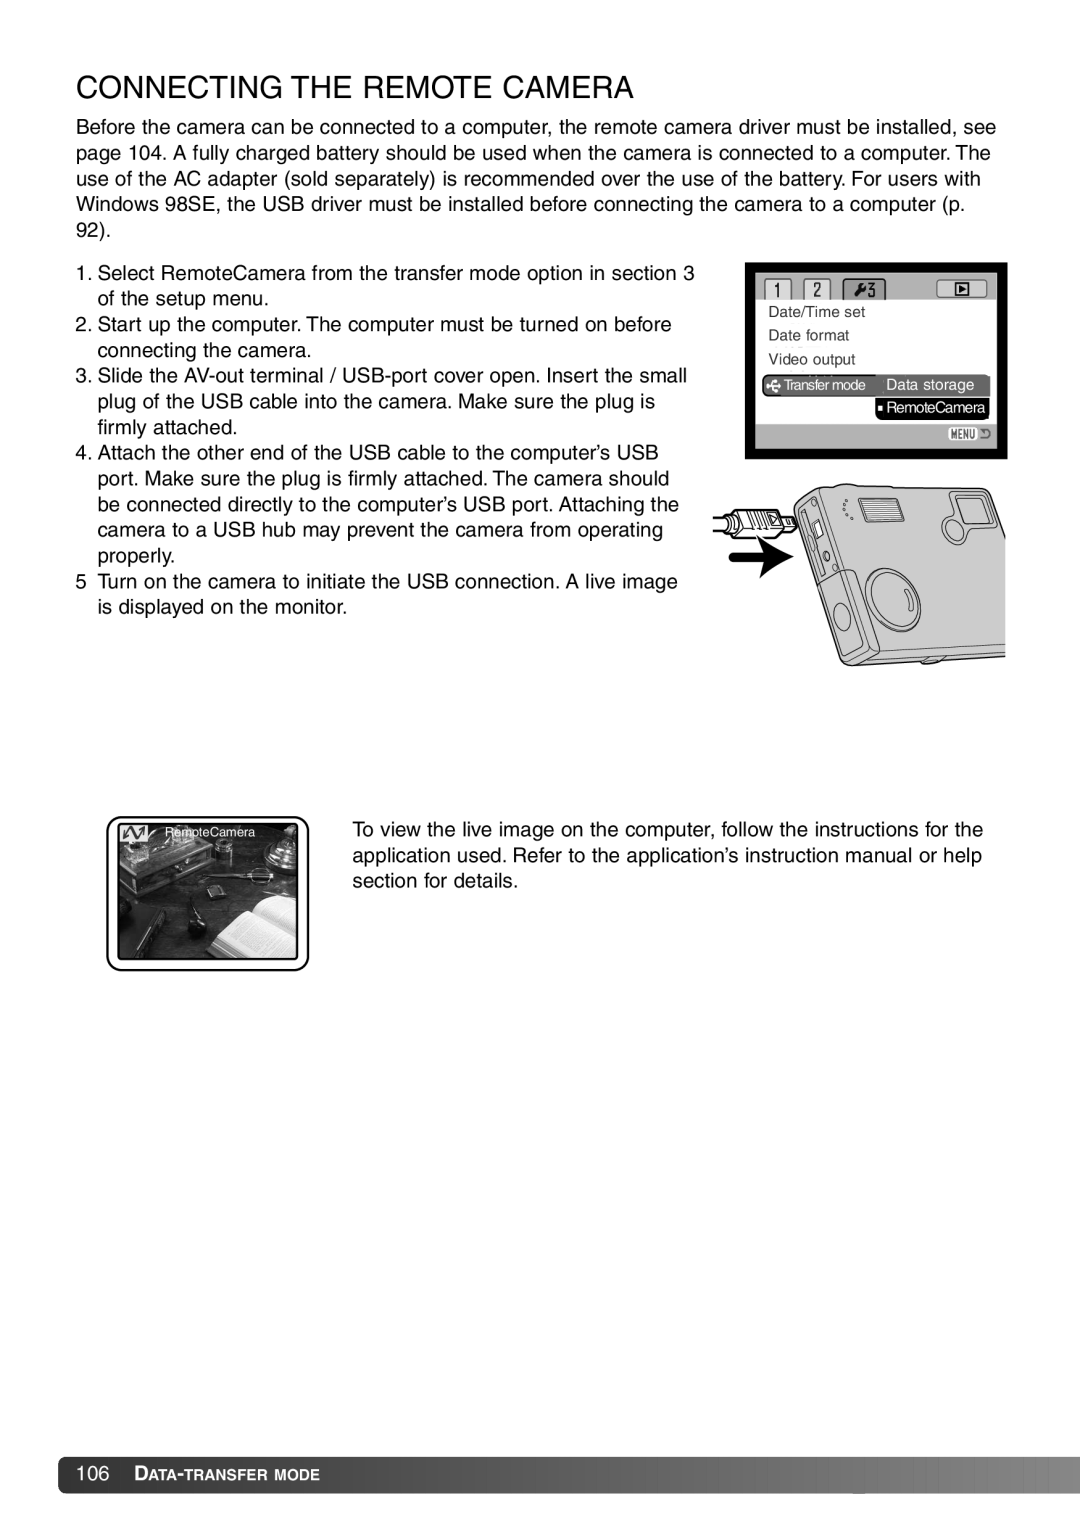
In terms of connectivity, the Dimage X20 featured USB 1.1 for easy data transfer to computers, and it supported SD memory cards for storage. The camera's battery life was also commendable, with the ability to capture several hundred images on a single charge, making it convenient for day-long excursions.
Overall, the Konica Minolta Dimage X20 was a noteworthy device in the evolution of digital photography, delivering a combination of portability, functionality, and image quality that resonated with users of its time. Its luxurious design and practical features continue to be appreciated by enthusiasts of vintage digital cameras, marking it as a classic in the realm of photography.

