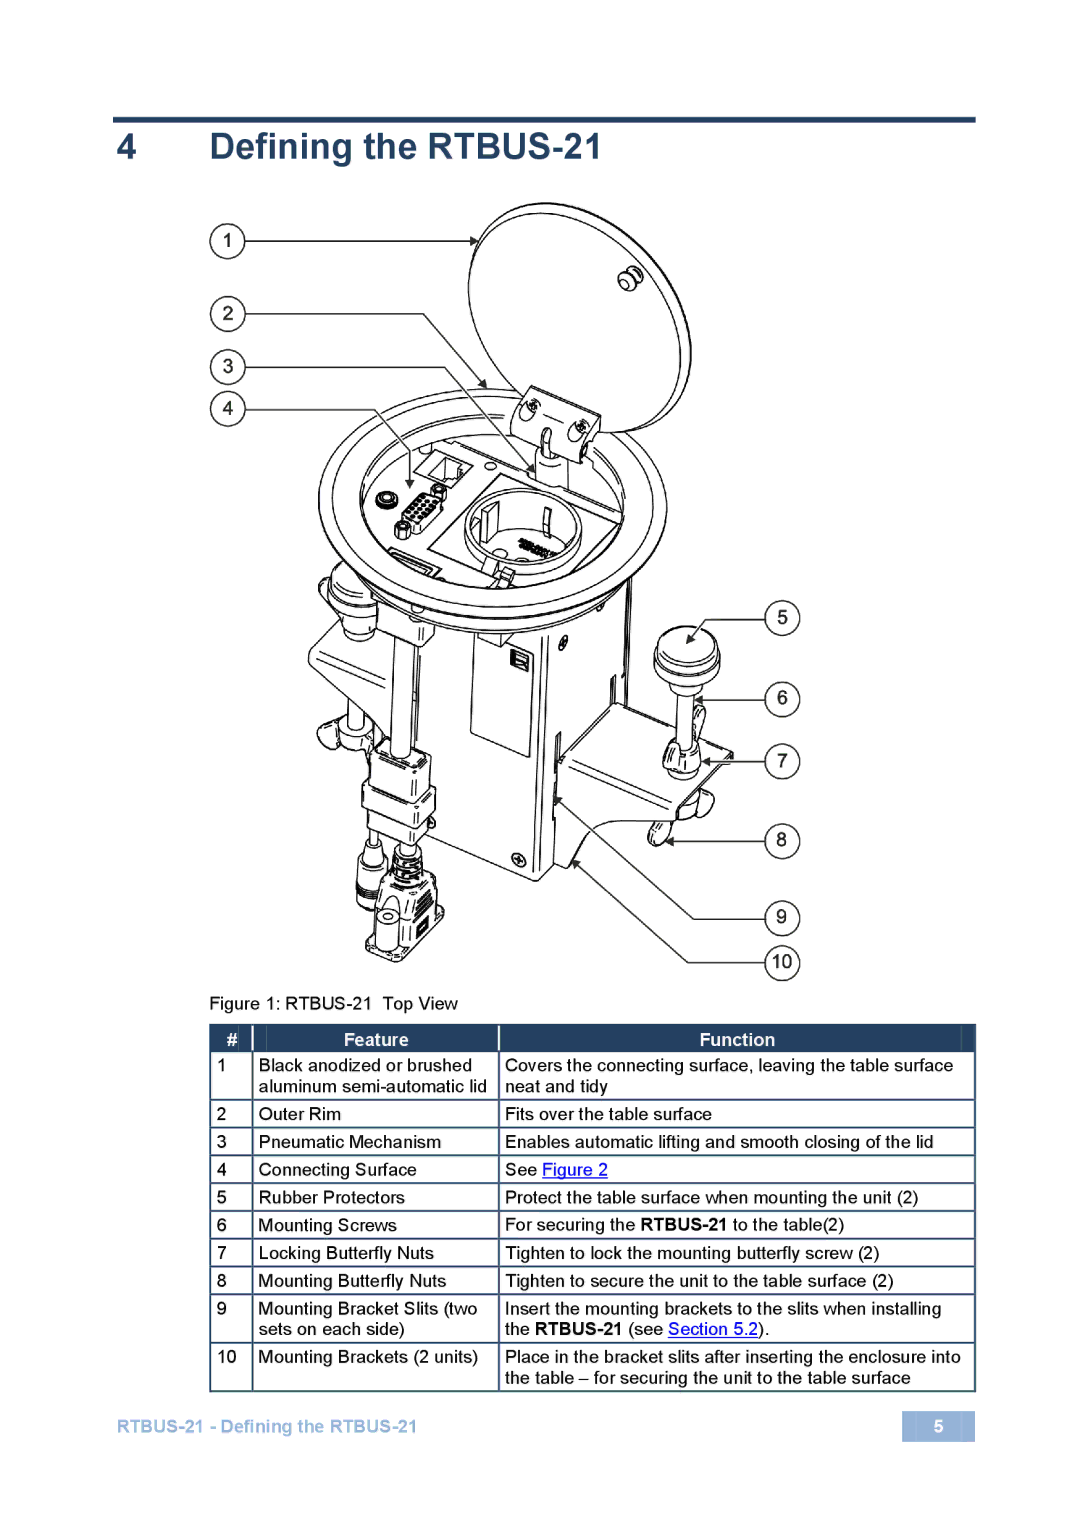
RTBUS-21 specifications
Kramer Electronics RTBUS-21 is a high-performance signal routing device designed for professional audio and video applications. This robust device serves as a critical component in diverse environments, including corporate boardrooms, educational institutions, and large venue installations. Its main function is to facilitate the seamless switching and distribution of audio and video signals, ensuring high-quality performance and reliability.One of the standout features of the RTBUS-21 is its ability to support a wide range of input and output formats. It can handle various video resolutions, including 4K, making it an ideal choice for modern AV systems that require high-definition content delivery. The device includes numerous HDMI and VGA inputs, allowing for flexible connectivity options to accommodate different devices, such as laptops, projectors, and displays.
The RTBUS-21 employs advanced technologies, such as EDID (Extended Display Identification Data) management and HDCP (High-bandwidth Digital Content Protection), which streamline the connection process between devices and ensure compatibility. The incorporation of these technologies enhances user experience by automatically configuring the necessary parameters, thus minimizing setup time and potential technical issues.
An essential characteristic of the RTBUS-21 is its user-friendly interface. It features an intuitive control panel that provides straightforward navigation for selecting sources and configuring settings. For enhanced flexibility, the device can also be controlled remotely through various options, including RS-232 and Ethernet, allowing for integration into larger control systems and enabling automation.
Additionally, the RTBUS-21 is built with high-quality components designed to ensure durability and longevity. The robust construction makes it suitable for continuous operation in demanding environments, while its thermal management system prevents overheating, extending the lifespan of the device.
The overall design of the RTBUS-21 emphasizes ease of installation and integration. It can be rack-mounted and fits into standard 19-inch racks, making it an easy addition to existing AV setups. The comprehensive documentation and support provided by Kramer Electronics further simplify the integration process for technicians.
In summary, Kramer Electronics RTBUS-21 is a versatile video and audio signal routing device equipped with cutting-edge technologies and features that cater to the needs of professional environments, ensuring high-quality performance and reliability.

