Manuals
/
Kustom
/
Home Audio
/
Stereo Amplifier
Kustom
none
manual
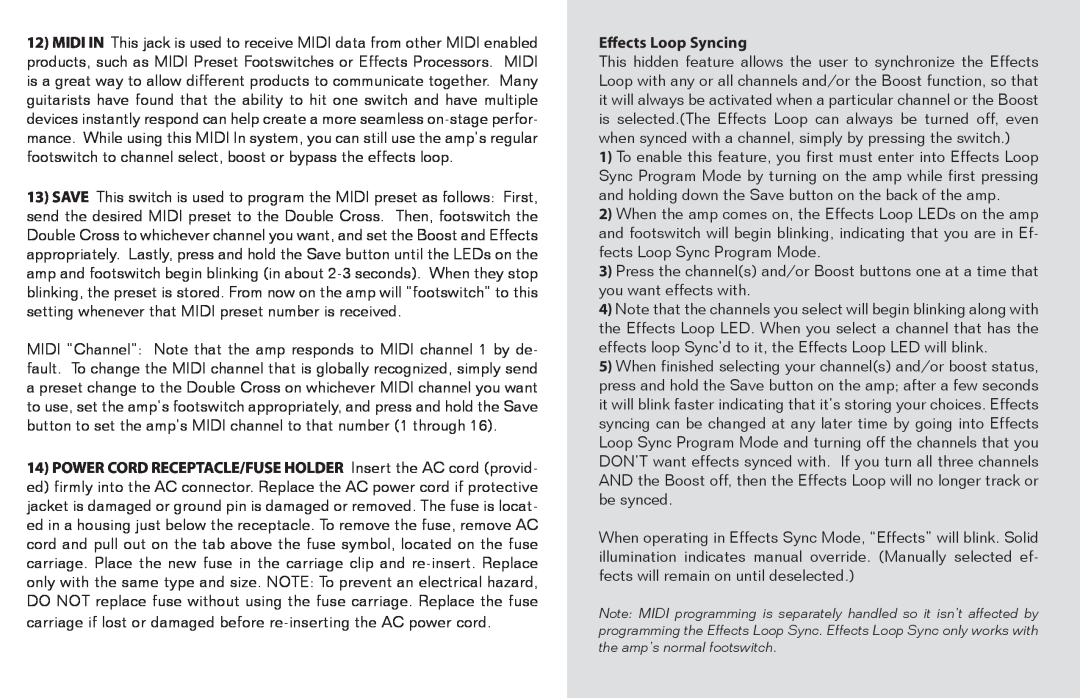
Effects Loop Syncing
Models:
none
1
22
26
26
Download
26 pages
53.27 Kb
19
20
21
22
23
24
25
26
Page 22
Image 22
Page 21
Page 23
Page 22
Image 22
Page 21
Page 23
Contents
Page
Table of Contents
FCC Statements
Page
S a f e t y I n f o r m a t i o n
S a f e t y I n f o r m a t i o n
S a f e t y I n f o r m a t i o n
S a f e t y I n f o r m a t i o n
Front Control Panel
8BOOST INDICATOR When lit, this indicates that the Boost func- tion is active
Rhythm Channel
Rhythm Channel Settings
American Clean Classic Chime Black Angus
Lead I Channel
Lead I Channel Settings
Thick Modern Cranked Vintage Heavy Dynamic
Lead II Channel
Lead II Channel Settings
Tight Aggression Fluid Legato Unleashed Monster
Bright + Tight
Bright
Bright + Gain
THE CROSS
Tight + Thick
4 Bright + Thick
5 Bright + Thick + Tight
Bright + Gain +
Rear Control Panel
Vintage 30-loaded Straight-front4x12 speaker cabinet. When the switch is OUT, it emulates the same speakers in a Slant- front 412 cabinet. Kustom went to great lengths to make sure that this signal sounded like the actual amp head and speaker cabinet combinations. This was accomplished in a studio envi- ronment using condenser microphones to analyze the tonality of the Double Cross when heard at “head level” versus “close mic’d” directly in front of the speaker. The result is a signal that reflects the true characteristics of these cabinets as heard by a player. If you haven’t tried the Double Cross’ Direct Out yet, we urge you to experiment with it for both live and studio ap- plications
0 dBV 1v Rack Effects Optimal
10dBV 0.3v Pedal Effects Optimal
Effects Loop Syncing
System Gain
Amp Specifications
Nominal Signal to Noise
Effects Loop
Signal Flow Diagram
Top
Page
Image
Contents