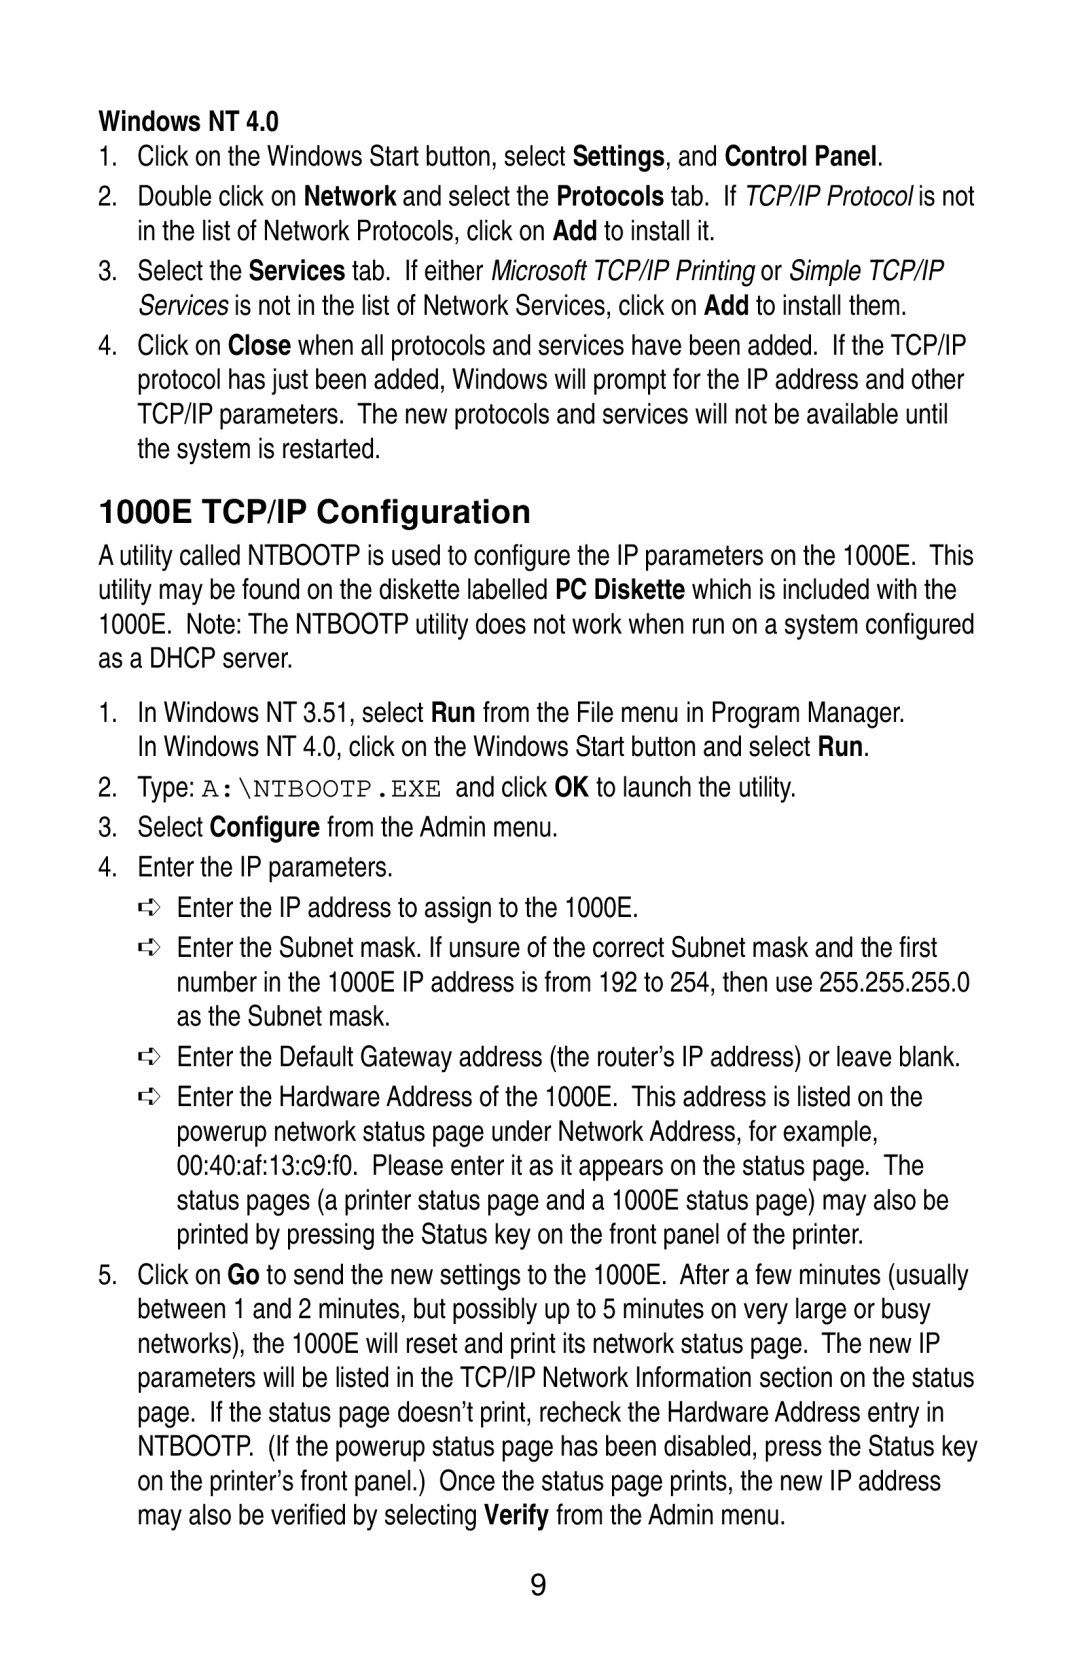
1000E specifications
The Kyocera 1000E is a notable entry in the realm of compact multifunctional devices that epitomizes the convergence of advanced technology, efficiency, and user-friendly design. This model is particularly celebrated for its high-quality output and versatility, making it an ideal choice for various business environments.One of the standout features of the Kyocera 1000E is its excellent printing capabilities. The device utilizes Kyocera's proprietary ECOSYS technology, which ensures long-lasting components and minimal environmental impact. The ECOSYS design contributes to lower cost-per-page rates, thereby enhancing operational efficiency for businesses of any size. This model supports print speeds of up to 30 pages per minute, providing quick and reliable output that meets the demands of busy office settings.
The 1000E's versatility extends beyond printing; it incorporates scanning, copying, and faxing functionalities into a single compact device. This multifunctional approach streamlines workflow, allowing users to perform multiple tasks without the need for separate machines. With a standard resolution of 600 x 600 dpi, the printer delivers sharp images and clear text, ensuring professional-quality documents every time.
In terms of user interface, the Kyocera 1000E features an intuitive control panel that simplifies operation. Users can easily navigate through functions such as print, scan, copy, and fax with just a few clicks. Additionally, the machine is equipped with an automatic document feeder (ADF) that accommodates multi-page documents, enhancing productivity further.
Connectivity is another vital aspect of the Kyocera 1000E. It supports various connectivity options, including USB, Ethernet, and wireless networking. This flexibility allows users to connect the printer to a range of different devices, such as computers and mobile devices, facilitating seamless printing directly from smartphones or tablets.
The Kyocera 1000E also prioritizes sustainability. Its energy-efficient design and use of long-life consumables reduce waste and lower overall environmental impact. This makes it an appealing option for organizations committed to green initiatives.
Overall, the Kyocera 1000E combines robust performance with innovative features, making it a worthy consideration for businesses seeking a reliable and efficient multifunction printer. Its blend of quality, speed, and eco-friendliness positions it as a strong contender in the competitive landscape of office solutions.
