Version 1.1 - 11/25/2008
Wireless Outdoor Sensor Installation Options
IMPORTANT: YOU MUST INSERT THE BATTERIES INTO THE OUTDOOR SENSOR WHILE THE DISPLAY READS “UPDATE” . If the batteries are inserted at any other time, the Outdoor Sensor will not sync to the Display. To force the Display to Update, Press and Hold the SNOOZE Key on the Display for two seconds until it beeps & the LCD reads “UPDATE”. Insert the batteries into the Outdoor Sensor WHILE it reads “UPDATE”.
NOTE: Move the Wireless Outdoor Sensor into its intended location and wait for 10 minutes to make sure the outdoor temperature is still being received by the Wireless Display. Press the “SNOOZE” Key on your Wireless Display to show the outdoor temperature. If the display shows -
DO NOT mount the Wireless Outdoor Sensor in a permanent fashion until you are sure the signal is being received by the Wireless Display.
To Surface Mount the Outdoor Sensor:
We have provided a mounting plate that you can attach to a surface with the supplied screws. The Sensor can be positioned on a flat surface by securing the stand to the bottom by gently pushing the bottom of the Sensor onto the holding pegs of the stand until they click into place in the grooves on the Sensor.
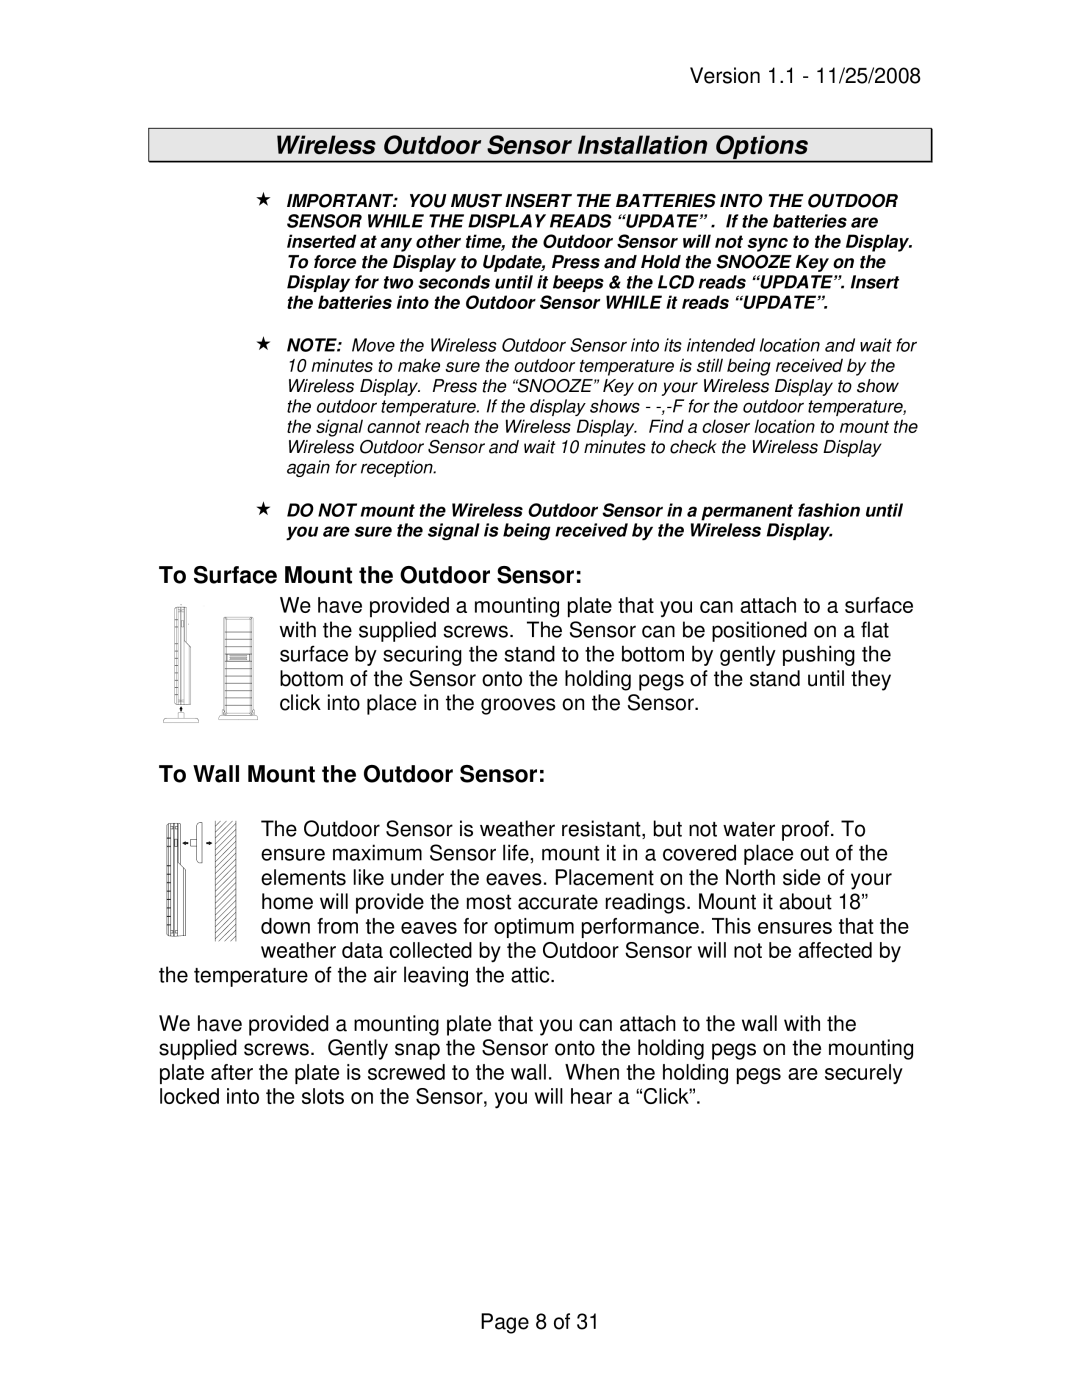
To Wall Mount the Outdoor Sensor:
The Outdoor Sensor is weather resistant, but not water proof. To ensure maximum Sensor life, mount it in a covered place out of the elements like under the eaves. Placement on the North side of your home will provide the most accurate readings. Mount it about 18”
down from the eaves for optimum performance. This ensures that the
![]() weather data collected by the Outdoor Sensor will not be affected by the temperature of the air leaving the attic.
weather data collected by the Outdoor Sensor will not be affected by the temperature of the air leaving the attic.
We have provided a mounting plate that you can attach to the wall with the supplied screws. Gently snap the Sensor onto the holding pegs on the mounting plate after the plate is screwed to the wall. When the holding pegs are securely locked into the slots on the Sensor, you will hear a “Click”.
Page 8 of 31