Version 1.3 - 11/13/2008
bottom of the Sensor onto the holding pegs of the stand until they click into place in the grooves on the Sensor.
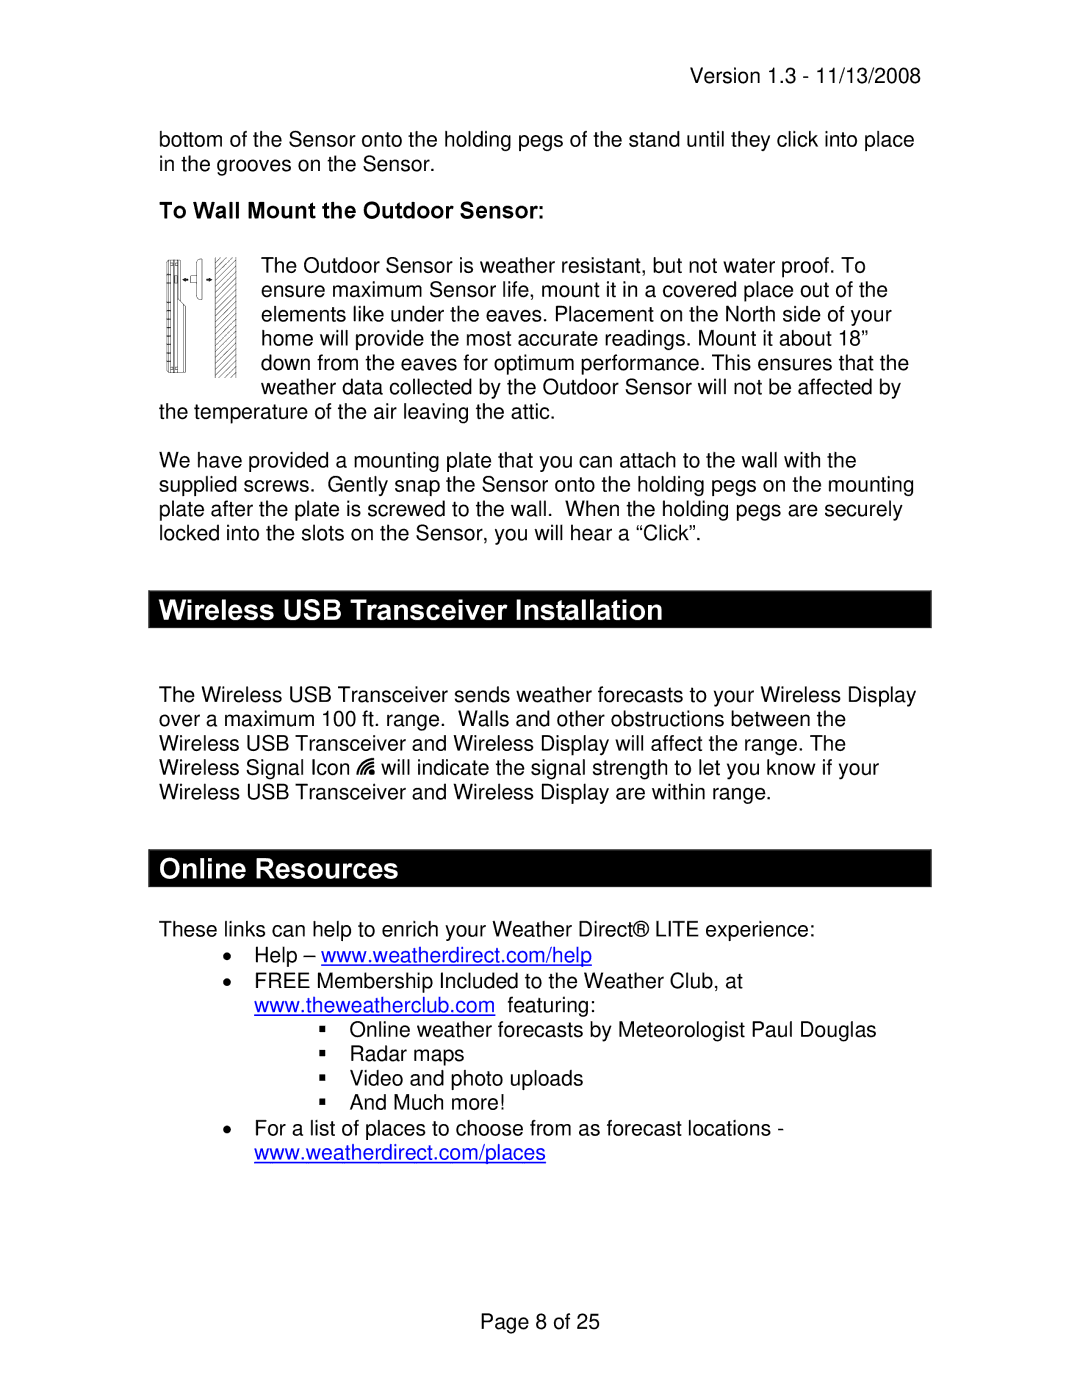
To Wall Mount the Outdoor Sensor:
The Outdoor Sensor is weather resistant, but not water proof. To ensure maximum Sensor life, mount it in a covered place out of the elements like under the eaves. Placement on the North side of your
home will provide the most accurate readings. Mount it about 18” down from the eaves for optimum performance. This ensures that the
![]() weather data collected by the Outdoor Sensor will not be affected by the temperature of the air leaving the attic.
weather data collected by the Outdoor Sensor will not be affected by the temperature of the air leaving the attic.
We have provided a mounting plate that you can attach to the wall with the supplied screws. Gently snap the Sensor onto the holding pegs on the mounting plate after the plate is screwed to the wall. When the holding pegs are securely locked into the slots on the Sensor, you will hear a “Click”.
Wireless USB Transceiver Installation
The Wireless USB Transceiver sends weather forecasts to your Wireless Display over a maximum 100 ft. range. Walls and other obstructions between the Wireless USB Transceiver and Wireless Display will affect the range. The Wireless Signal Icon ![]() will indicate the signal strength to let you know if your Wireless USB Transceiver and Wireless Display are within range.
will indicate the signal strength to let you know if your Wireless USB Transceiver and Wireless Display are within range.
Online Resources
These links can help to enrich your Weather Direct® LITE experience:
•Help – www.weatherdirect.com/help
•FREE Membership Included to the Weather Club, at www.theweatherclub.com featuring:
Online weather forecasts by Meteorologist Paul Douglas
Radar maps
Video and photo uploads
And Much more!
•For a list of places to choose from as forecast locations - www.weatherdirect.com/places
Page 8 of 25