3.Now the minute digits will start flashing.
4.Set the desired minutes by pressing and releasing the + key. If the + key is held, the units will increase by 5.
5.Press and release the SET key to move to the “Year Setting”.
Note: The unit will still try to receive the signal every day despite it being manually set. When it does receive the signal, it will change the manually set time into the received time. During reception attempts the WWVB tower icon will flash. If reception has been unsuccessful, then the WWVB tower icon will not appear but reception will still be attempted the following hour.
WWVB time reception takes place from 12:00 am through 6:00 am each day (attempts WWVB reception every full hour within this time frame). When the time signal is received for example at 1:00 am, the
YEAR
The year can be selected sequentially from 2001 to 2029 and will then start over again (default setting 2006). The year will only appear in the manual setting mode.
1.The year digits will start flashing on LCD2. Select the desired year by use of the + key.
2.Press and release the SET key to switch to the “Month Setting”.
MONTH
1.The month digits on LCD2 will start flashing. Set the desired month by use of the + key.
2.Press and release the SET key to move to the mode “Date Setting”.
DATE
1.The digits for the date will start flashing on LCD2 (Default setting 1). Set the desired date by use of the + key.
Note: The date can only be set in conjunction with the selected month. For example, it is not possible to set the date 30 if the month of February is selected.
2.Press and release the SET key to move to “Weekday”.
WEEKDAY
1.The weekday symbols will be displayed on LCD2 in the
9
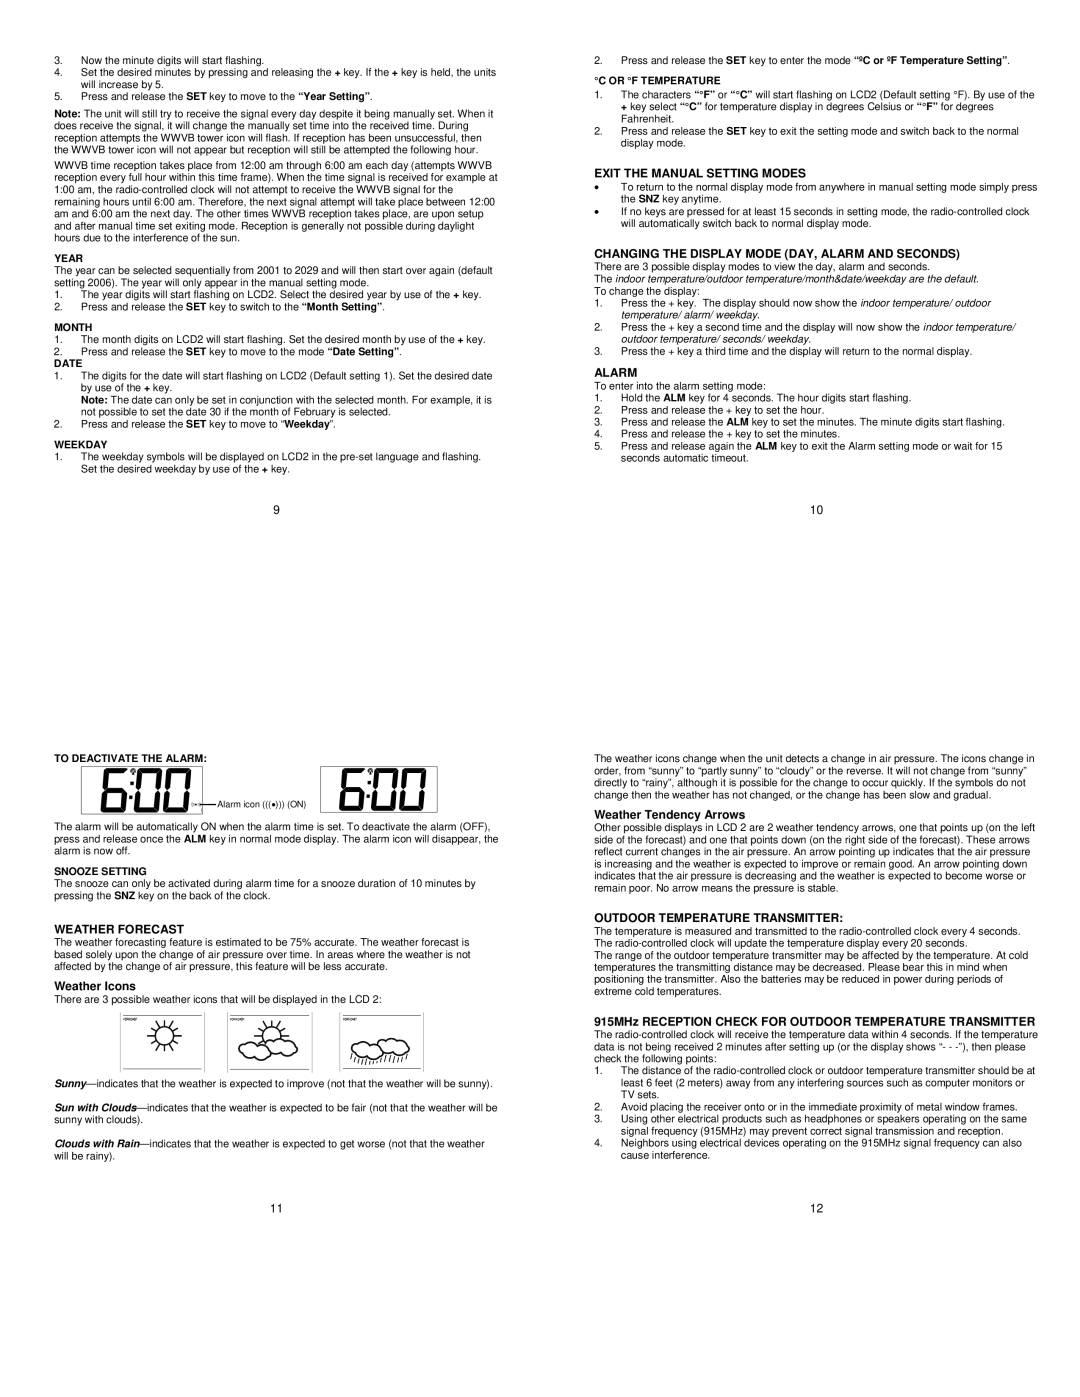
TO DEACTIVATE THE ALARM:
![]()
![]()
![]()
![]() Alarm icon (((∙))) (ON)
Alarm icon (((∙))) (ON)
The alarm will be automatically ON when the alarm time is set. To deactivate the alarm (OFF), press and release once the ALM key in normal mode display. The alarm icon will disappear, the alarm is now off.
SNOOZE SETTING
The snooze can only be activated during alarm time for a snooze duration of 10 minutes by pressing the SNZ key on the back of the clock.
WEATHER FORECAST
The weather forecasting feature is estimated to be 75% accurate. The weather forecast is based solely upon the change of air pressure over time. In areas where the weather is not affected by the change of air pressure, this feature will be less accurate.
Weather Icons
There are 3 possible weather icons that will be displayed in the LCD 2:
Sun with
Clouds with
11
2.Press and release the SET key to enter the mode “ºC or ºF Temperature Setting”.
°C OR °F TEMPERATURE
1.The characters “°F” or “°C” will start flashing on LCD2 (Default setting °F). By use of the + key select “°C” for temperature display in degrees Celsius or “°F” for degrees Fahrenheit.
2.Press and release the SET key to exit the setting mode and switch back to the normal display mode.
EXIT THE MANUAL SETTING MODES
∙To return to the normal display mode from anywhere in manual setting mode simply press the SNZ key anytime.
∙If no keys are pressed for at least 15 seconds in setting mode, the
CHANGING THE DISPLAY MODE (DAY, ALARM AND SECONDS)
There are 3 possible display modes to view the day, alarm and seconds.
The indoor temperature/outdoor temperature/month&date/weekday are the default. To change the display:
1.Press the + key. The display should now show the indoor temperature/ outdoor temperature/ alarm/ weekday.
2.Press the + key a second time and the display will now show the indoor temperature/ outdoor temperature/ seconds/ weekday.
3.Press the + key a third time and the display will return to the normal display.
ALARM
To enter into the alarm setting mode:
1.Hold the ALM key for 4 seconds. The hour digits start flashing.
2.Press and release the + key to set the hour.
3.Press and release the ALM key to set the minutes. The minute digits start flashing.
4.Press and release the + key to set the minutes.
5.Press and release again the ALM key to exit the Alarm setting mode or wait for 15 seconds automatic timeout.
10
The weather icons change when the unit detects a change in air pressure. The icons change in order, from “sunny” to “partly sunny” to “cloudy” or the reverse. It will not change from “sunny” directly to “rainy”, although it is possible for the change to occur quickly. If the symbols do not change then the weather has not changed, or the change has been slow and gradual.
Weather Tendency Arrows
Other possible displays in LCD 2 are 2 weather tendency arrows, one that points up (on the left side of the forecast) and one that points down (on the right side of the forecast). These arrows reflect current changes in the air pressure. An arrow pointing up indicates that the air pressure is increasing and the weather is expected to improve or remain good. An arrow pointing down indicates that the air pressure is decreasing and the weather is expected to become worse or remain poor. No arrow means the pressure is stable.
OUTDOOR TEMPERATURE TRANSMITTER:
The temperature is measured and transmitted to the
The range of the outdoor temperature transmitter may be affected by the temperature. At cold temperatures the transmitting distance may be decreased. Please bear this in mind when positioning the transmitter. Also the batteries may be reduced in power during periods of extreme cold temperatures.
915MHz RECEPTION CHECK FOR OUTDOOR TEMPERATURE TRANSMITTER
The
1.The distance of the
2.Avoid placing the receiver onto or in the immediate proximity of metal window frames.
3.Using other electrical products such as headphones or speakers operating on the same signal frequency (915MHz) may prevent correct signal transmission and reception.
4.Neighbors using electrical devices operating on the 915MHz signal frequency can also cause interference.
12