NOTE: The thermometer will automatically time out and return to the normal display mode after approximately 30 seconds.
Installation:
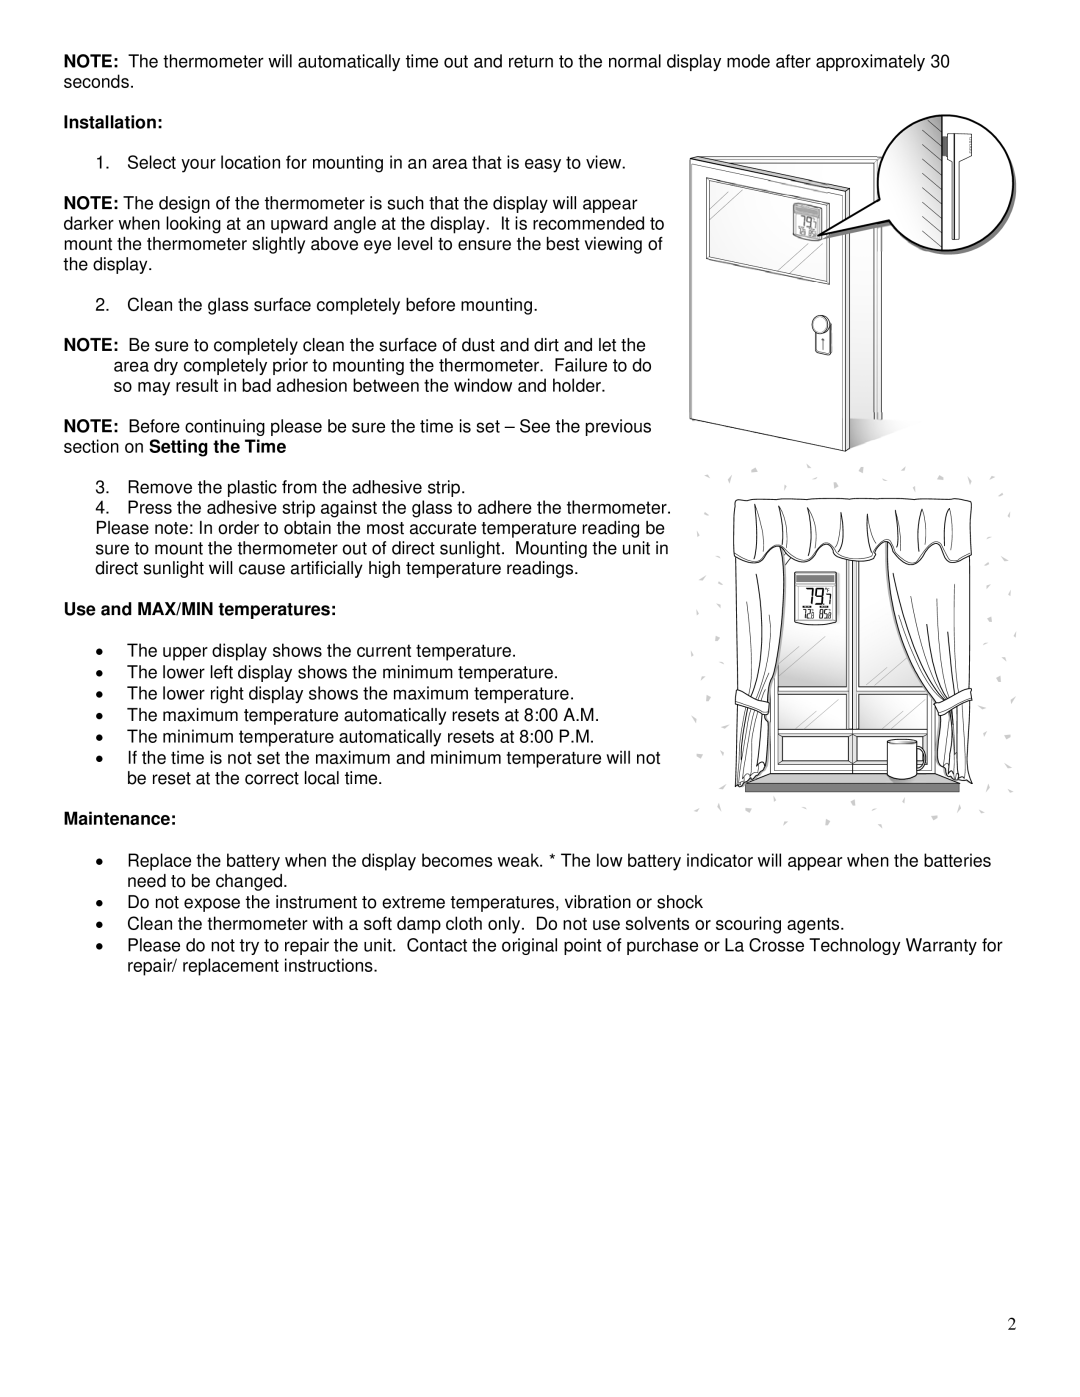
1. Select your location for mounting in an area that is easy to view.
NOTE: The design of the thermometer is such that the display will appear darker when looking at an upward angle at the display. It is recommended to mount the thermometer slightly above eye level to ensure the best viewing of the display.
2. Clean the glass surface completely before mounting.
NOTE: Be sure to completely clean the surface of dust and dirt and let the area dry completely prior to mounting the thermometer. Failure to do so may result in bad adhesion between the window and holder.
NOTE: Before continuing please be sure the time is set – See the previous section on Setting the Time
3. Remove the plastic from the adhesive strip.
4.Press the adhesive strip against the glass to adhere the thermometer. Please note: In order to obtain the most accurate temperature reading be sure to mount the thermometer out of direct sunlight. Mounting the unit in
direct sunlight will cause artificially high temperature readings.
Use and MAX/MIN temperatures:
• The upper display shows the current temperature.
•The lower left display shows the minimum temperature.
• The lower right display shows the maximum temperature.
• The maximum temperature automatically resets at 8:00 A.M.
• The minimum temperature automatically resets at 8:00 P.M.
• If the time is not set the maximum and minimum temperature will not be reset at the correct local time.
Maintenance:
•Replace the battery when the display becomes weak. * The low battery indicator will appear when the batteries need to be changed.
•Do not expose the instrument to extreme temperatures, vibration or shock
•Clean the thermometer with a soft damp cloth only. Do not use solvents or scouring agents.
•Please do not try to repair the unit. Contact the original point of purchase or La Crosse Technology Warranty for repair/ replacement instructions.
2