1.Use the Fan only as described in this manual. Other use not recommended may cause fire, electric shock or injury.
2.This product is intended for household use ONLY and not for commercial, industrial, or outside use.
3.To protect against electrical shock, do not immerse unit, plug or cord in water. Do not spray the Fan with liquids.
4.Close supervision is necessary when any appliance is used by or near children.
5.Unplug the Fan from outlet when not in use, when moving Fan from one location to another, servicing parts, and before cleaning.
6.Avoid contact with moving parts.
7.Do not operate in the presence of explosive and/or flammable fumes.
8.Do not place Fan or any parts near an open flame, cooking or other heating appliance.
9.Do not operate Fan with a damaged cord, plug, after a malfunction or if dropped or damaged in any manner.
10.The use of attachments not recommended or sold by LASKO may be hazardous.
11.To disconnect, grip plug and pull from wall outlet. Never yank on cord.
12.Always use on a dry level surface.
13.Do not hang or mount Fan on a wall or ceiling.
14.Do not operate without Fan grills properly in place.
15.This Fan is rated for use as a Window Fan, however, we recommend that during rain, this Fan be removed from the window.
16.This Fan is equipped with a polarized alternating current line plug (a plug having one blade wider than the other). This plug will fit into the power outlet only one way. THIS IS A SAFETY FEATURE. If you are unable to insert the plug fully into the outlet, try reversing the plug. If the plug should still fail to fit, contact an electrician to replace the obsolete outlet. DO NOT defeat the purpose of the polarized plug.
Model 2138
FOR VERTICAL,
CASEMENT WINDOWS:
•Lift Handle and snap Window Grabber into Slots under Handle.
•We recommend keeping window screen in place.
•Position the Fan in the window with the Switch facing the center of the opening.
•Fan must fit securely against the inside edge of the window opening.
•Slide the sliding window to meet the edge of the Fan. The side edge of the window must fit securely behind the lip of the Fan Housing.
•For windows larger than 38", build a plywood panel to fit the open area and secure to Fan and window frame.
•On casement windows wider than 12" it will be necessary to build plywood frame around Fan and then secure frame to Fan and window frame.
OPERATING INSTRUCTIONS
• Make sure the Power Switch is in the OFF position. | POWER SWITCH | |
• Plug into 120V AC outlet. |
| |
• Set Reversing Switches to desired position. |
| |
INTAKE- to bring fresh air in. |
| |
EXHAUST- to take stale air out | comfort watch | |
To use as air exchanger set one Reversing Switch on | ||
| ||
INTAKE and one on EXHAUST. |
|
WARNING: To reduce the risk of fire or electrical shock,
DO NOT USE THIS FAN with any SOLID STATE Speed Control Device.
INSTALLATION FOR DOUBLE HUNG WINDOW
•Lift Handle and snap Window Grabber into Slots under Handle.
•We recommend keeping window screen in place.
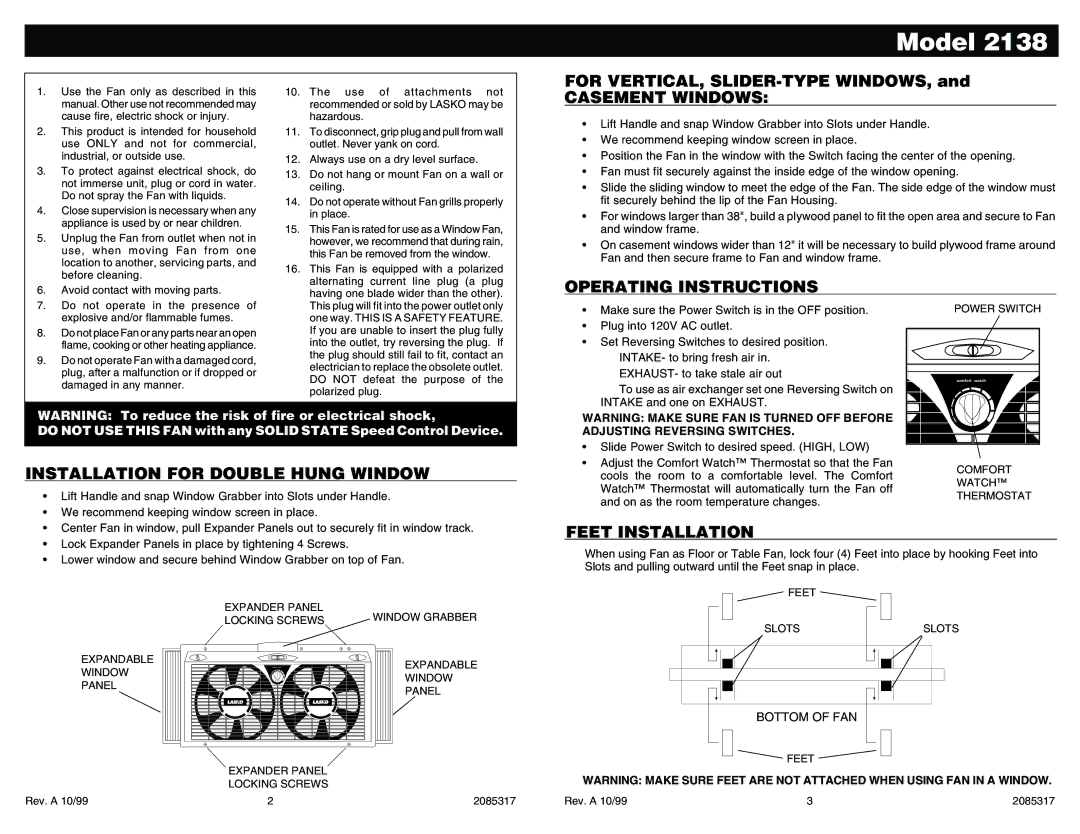
•Center Fan in window, pull Expander Panels out to securely fit in window track.
•Lock Expander Panels in place by tightening 4 Screws.
•Lower window and secure behind Window Grabber on top of Fan.
WARNING: MAKE SURE FAN IS TURNED OFF BEFORE |
| |
ADJUSTING REVERSING SWITCHES. |
| |
• Slide Power Switch to desired speed. (HIGH, LOW) |
| |
• Adjust the Comfort Watch™ Thermostat so that the Fan | COMFORT | |
cools the room to a comfortable level. The Comfort | ||
WATCH™ | ||
Watch™ Thermostat will automatically turn the Fan off | ||
THERMOSTAT | ||
and on as the room temperature changes. | ||
|
FEET INSTALLATION
When using Fan as Floor or Table Fan, lock four (4) Feet into place by hooking Feet into Slots and pulling outward until the Feet snap in place.
![]()
![]() FEET
FEET
EXPANDABLE
WINDOW
PANEL
Rev. A 10/99
EXPANDER PANEL | WINDOW GRABBER | |
LOCKING SCREWS | ||
|
EXPANDABLE
WINDOW
PANEL
EXPANDER PANEL
LOCKING SCREWS
2 | 2085317 |
SLOTS | SLOTS |
BOTTOM OF FAN
FEET
WARNING: MAKE SURE FEET ARE NOT ATTACHED WHEN USING FAN IN A WINDOW.
Rev. A 10/99 | 3 | 2085317 |
