Manuals
/
LevelOne
/
Computer Equipment
/
Switch
LevelOne
GSW-2453
manual
Rear Panel, Desktop Installation, Rack-mounted Installation
Models:
Gigabit Chassis switch
GSW-2453
1
10
16
16
Download
16 pages
43.65 Kb
7
8
9
10
11
12
13
14
Troubleshooting
Specs
Install
LED Indicators
Power On
Features
Page 10
Image 10
Page 9
Page 11
Page 10
Image 10
Page 9
Page 11
Contents
GSW-2453 Gigabit Chassis switch
User Guide
Page
5. TECHNICAL SPECIFICATION
Contents
4. TROUBLESHOOTING
1. INTRODUCTION
Page
Features
1. Introduction
Ethernet Switching Technology
Package Contents
„ Power Cord „ Four Rubber Feet „ Rack-mounted kit „ User Guide
transmissions
2. Hardware Description
Physical Dimension
LED Indicators
Front Panel
„ System
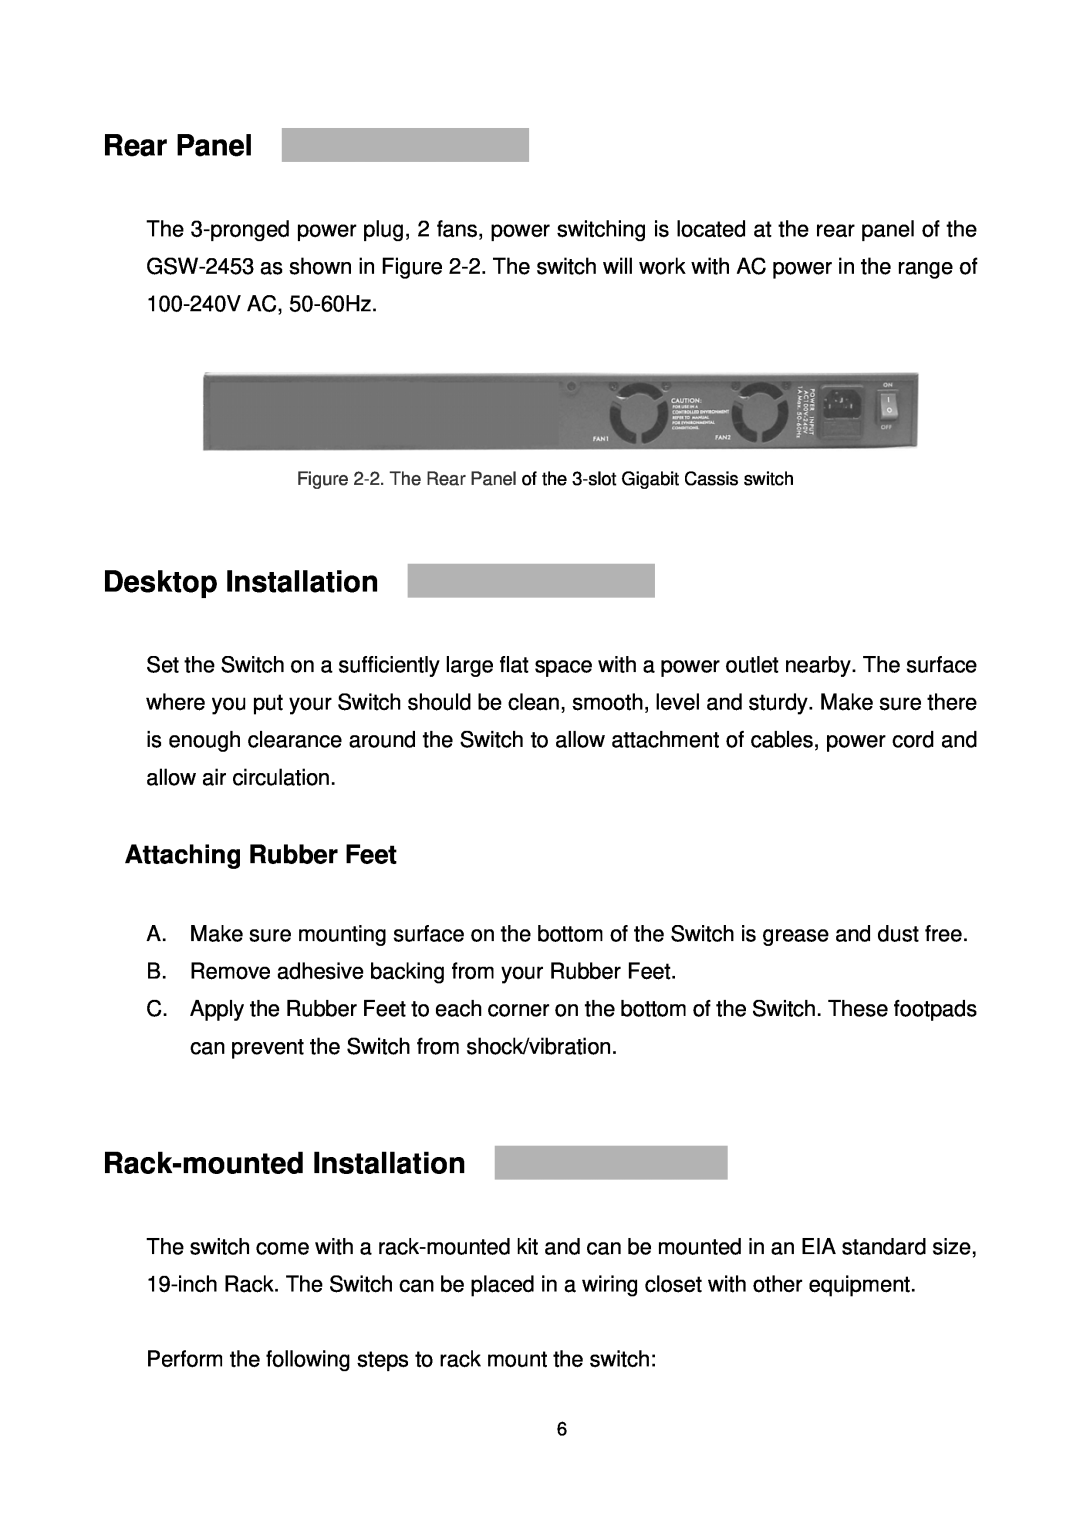
Rear Panel
Desktop Installation
Rack-mounted Installation
Attaching Rubber Feet
Power On
3. Network Application
Incorrect connections
4. Troubleshooting
„ Faulty or loose cables
„ Non-standard cables
Diagnosing LED Indicators
Cabling
LED Indicators
5. Technical Specification
Switch architecture
Connector
Expansion module
Top
Page
Image
Contents