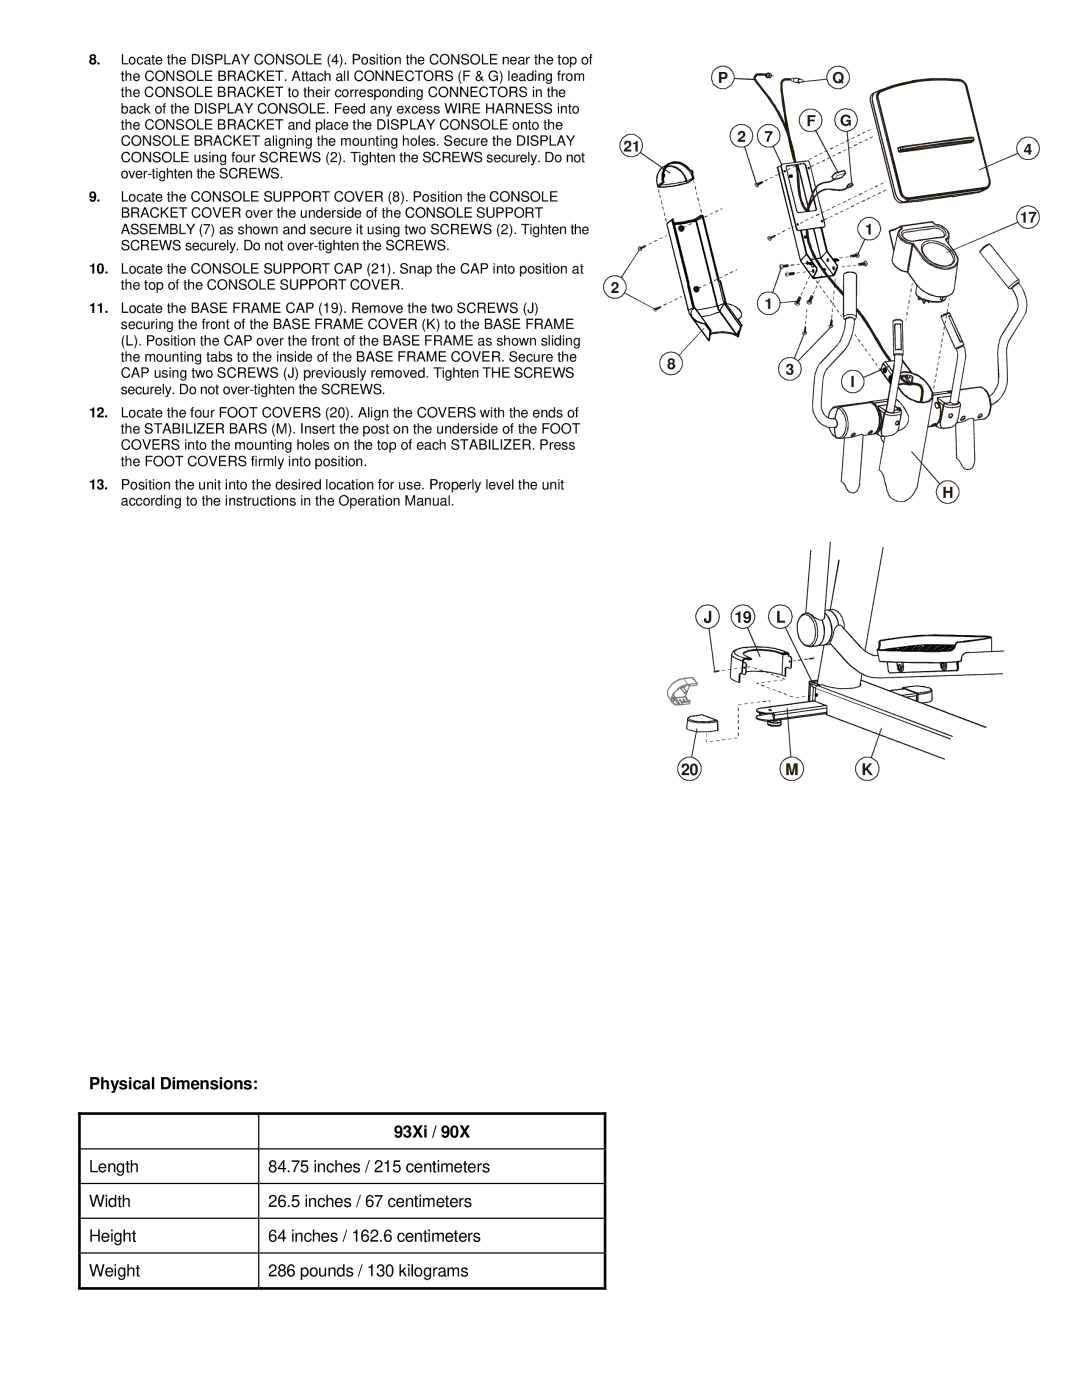
90X, 93Xi specifications
The Life Fitness 93Xi and 90X are two of the most recognized upright bikes in the fitness industry, designed to meet the needs of both casual exercisers and dedicated athletes. Combining innovation, durability, and user-friendly features, these models set the standard for cardiovascular fitness equipment.The Life Fitness 93Xi is equipped with advanced technology that enhances the workout experience. Its ergonomic design promotes proper posture, reducing strain on the back and joints. The seat is adjustable, allowing users to find the perfect fit for optimal comfort during workouts. With an impressive range of resistance levels, users can easily customize their exercise intensity to suit their fitness goals, from gentle cycling to intense cardio sessions.
Another noteworthy feature of the 93Xi is its advanced console, which provides users with a wealth of information. The large LCD display offers real-time feedback on key metrics such as heart rate, speed, distance, and calories burned. Users can track their progress easily, motivating them to push their limits and achieve their fitness aspirations. Additionally, the 93Xi is equipped with heart rate monitoring capabilities, offering both contact sensors and wireless options to ensure accurate readings.
On the other hand, the Life Fitness 90X serves as an excellent entry-level option for fitness enthusiasts. It retains many essential features while being more accessible for beginners. Its simplified console still provides essential workout data, promoting engagement without overwhelming new users. The 90X also features a comfortable, adjustable seat and varying resistance levels, allowing users to gradually increase their workout intensity as they become more confident in their cycling abilities.
Both models prioritize user experience, featuring smooth and quiet operation thanks to Life Fitness's premium engineering. They are constructed with sturdy materials suitable for heavy use, ensuring longevity and reliability in both home and commercial gym environments.
In summary, the Life Fitness 93Xi and 90X approach fitness with innovative technology and thoughtful design. By focusing on user comfort, progress tracking, and adjustable resistance, these models exemplify the quality and commitment to performance that Life Fitness is renowned for, making them ideal choices for anyone looking to elevate their cycling workouts.

