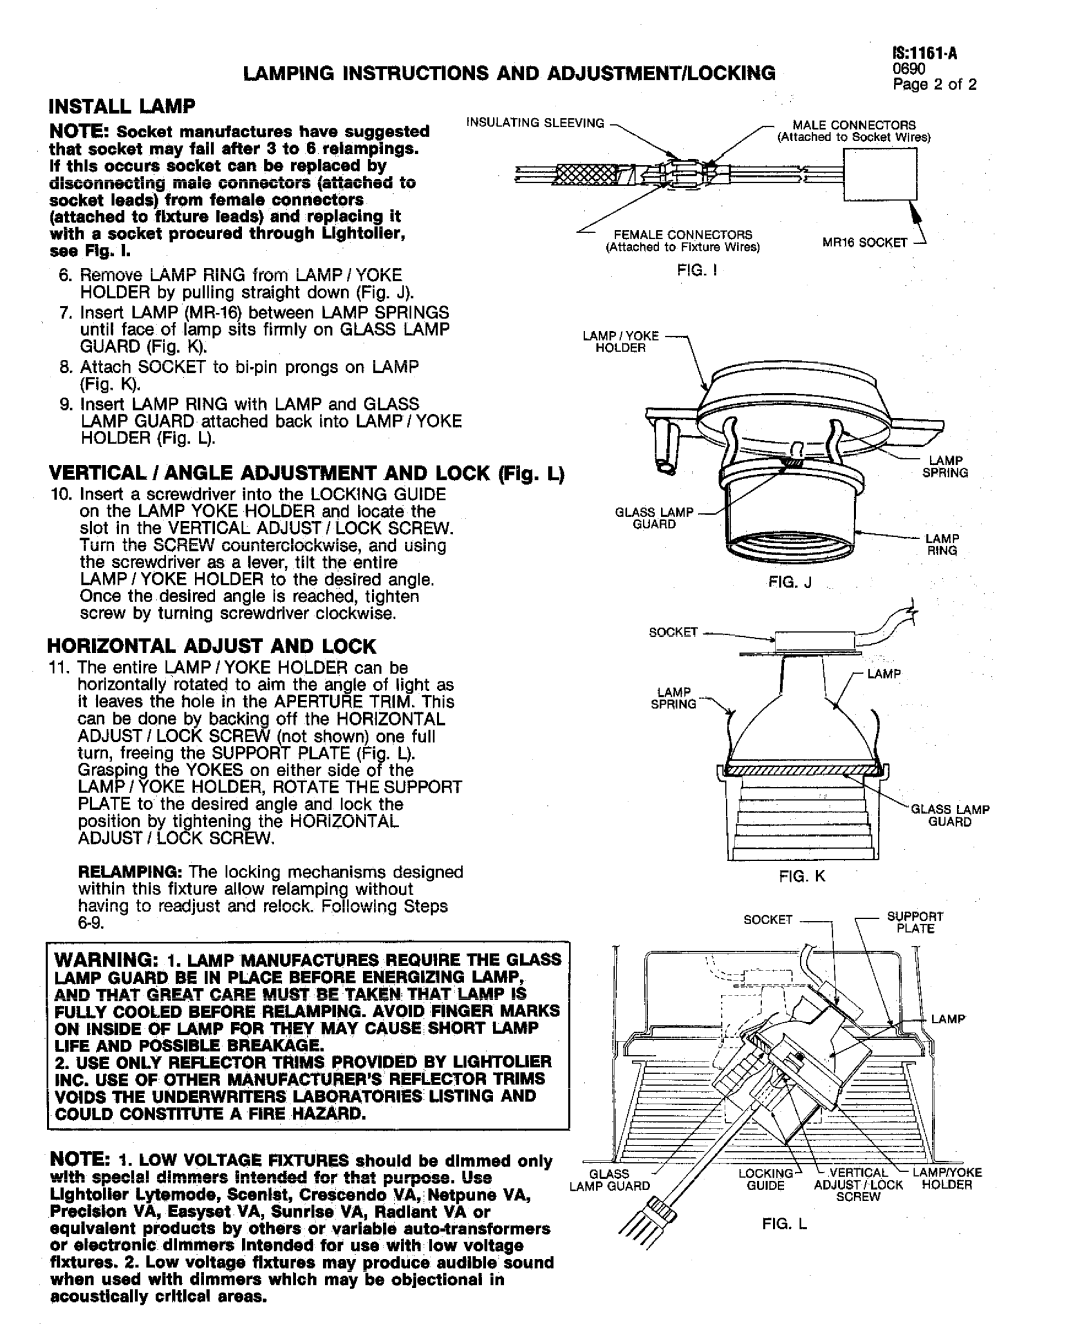
IS:1161-A specifications
The Lightolier IS:1161-A is an exemplary model in the realm of architectural lighting solutions, combining aesthetic appeal with innovative technologies. This luminaire is designed to enhance both residential and commercial spaces, ensuring superior lighting performance while maintaining energy efficiency.One of the main features of the IS:1161-A is its sleek and modern design, which seamlessly integrates into any environment. The fixture is available in various finishes and colors, allowing it to complement a wide range of interior decor styles. Its minimalist appearance adds elegance without overwhelming the overall design of a room.
The IS:1161-A utilizes advanced LED technology to deliver impressive illumination. These LEDs are not only energy-efficient but also provide a long lifespan, significantly reducing maintenance costs. The fixture emits a warm white light that closely resembles natural daylight, creating an inviting atmosphere in any space. With a color temperature of around 3000K, the light enhances color rendering and visibility, making it suitable for both work and leisure areas.
In terms of versatility, the Lightolier IS:1161-A is equipped with dimming capabilities, allowing users to adjust the light intensity according to their preferences and needs. This feature is particularly beneficial in settings where lighting requirements fluctuate, such as dining areas or conference rooms. The dimming function can be easily controlled via compatible dimmer switches, providing a user-friendly experience.
Another significant characteristic of the IS:1161-A is its efficient heat management system. The fixture is designed with built-in thermal controls that dissipate heat away from the LED components, ensuring optimal performance and longevity. This design not only protects the LEDs but also contributes to maintaining the overall ambient temperature of the space.
Furthermore, the Lightolier IS:1161-A is engineered with sustainability in mind. Its manufacturing involves eco-friendly materials, and its energy-efficient operation helps reduce overall carbon footprints. The luminaire is also compatible with various smart home systems, allowing for seamless integration and remote control functionalities.
In summary, the Lightolier IS:1161-A represents a pinnacle of modern lighting design, combining elegance with cutting-edge technology. Its features, including energy-efficient LEDs, dimming capabilities, and sustainable construction, make it an ideal choice for those seeking to enhance their spaces with high-quality lighting.

