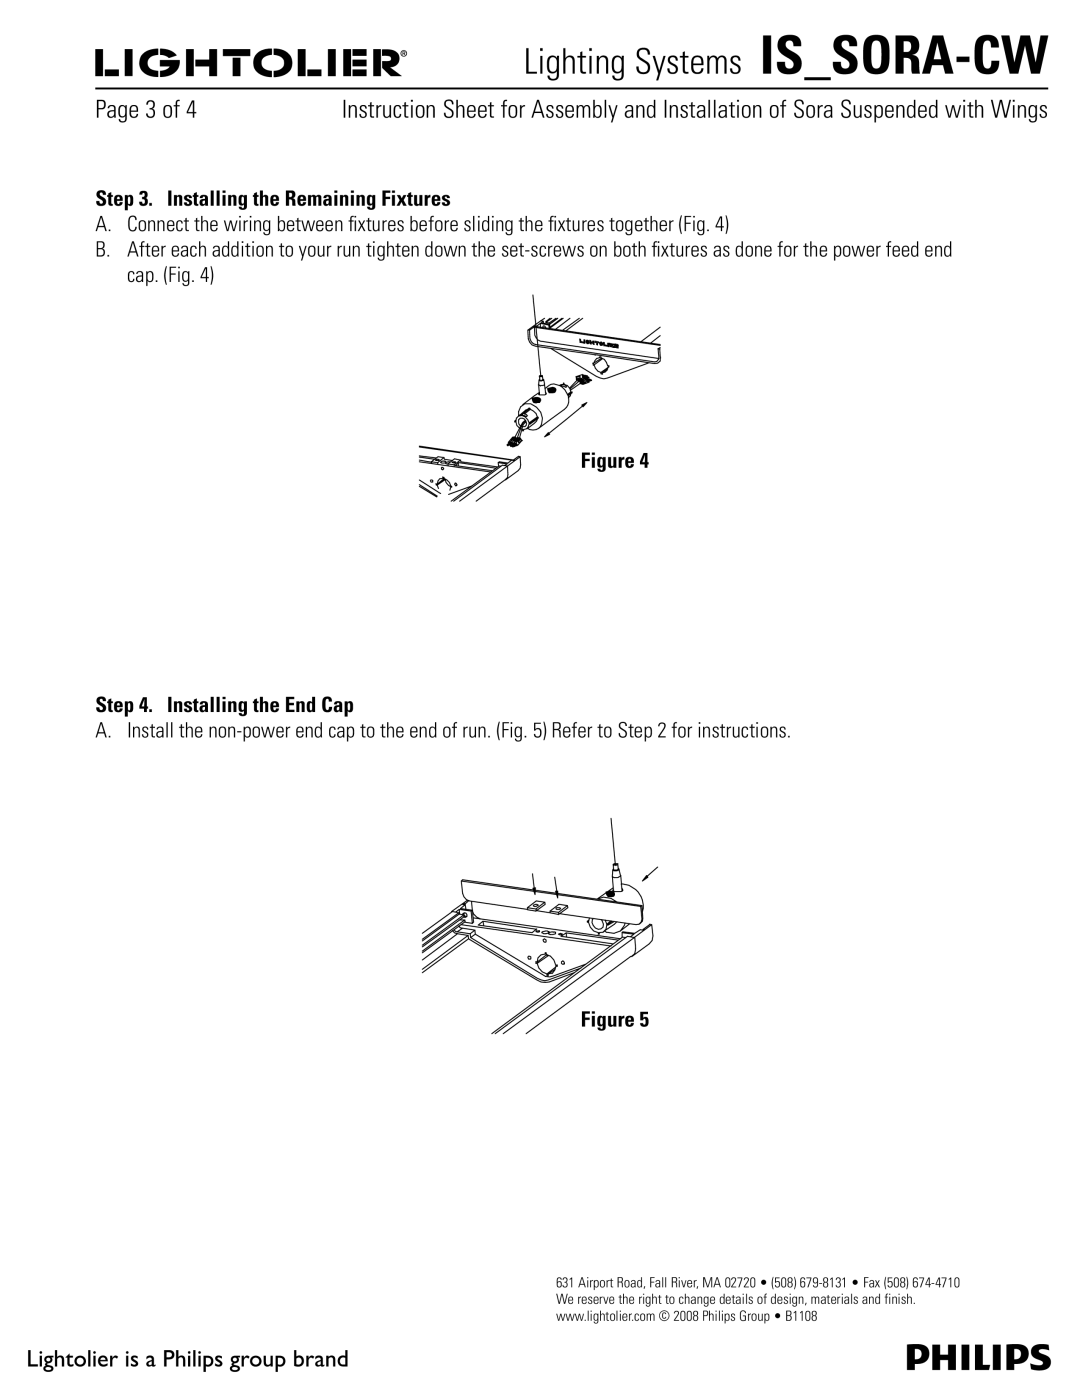
IS_SORA-CW specifications
The Lightolier IS_SORA-CW is a sophisticated and innovative lighting solution designed to cater to the varied needs of modern spaces. This fixture stands out for its versatility and advanced features, making it an excellent choice for both residential and commercial applications.One of the primary features of the IS_SORA-CW is its sleek and minimalist design, which seamlessly integrates into various environments. The fixture's low-profile architecture helps to maintain a clean aesthetic while providing optimal illumination. This makes it an ideal choice for contemporary settings where design is as important as functionality.
The IS_SORA-CW utilizes high-performance LED technology, ensuring energy efficiency without compromising on brightness. This fixture boasts impressive lumen output, providing ample light for any setting while also reducing energy consumption compared to traditional lighting options. The use of LEDs contributes to a longer lifespan, minimizing maintenance costs and the frequency of replacements.
A key characteristic of the Lightolier IS_SORA-CW is its tunable white feature, allowing users to adjust the color temperature of the light. This adaptability offers the flexibility to create different atmospheres, whether a warm, inviting glow for relaxation or a cooler, more energizing light for work environments. This feature is particularly valuable in spaces that serve multiple functions, enhancing the usability and comfort of the environment.
The IS_SORA-CW also comes equipped with smart technology options, allowing users to control the lighting through mobile apps and voice commands. This integration with smart home systems enhances the convenience of managing lighting settings and creates opportunities for automation, improving energy management and user experience.
Moreover, the fixture includes advanced optics that provide even light distribution, reducing harsh shadows and maximizing visual comfort. This attention to detail ensures that the lighting is not only functional but also enhances the overall ambiance of the space.
In summary, the Lightolier IS_SORA-CW is a forward-thinking lighting solution characterized by its sleek design, energy-efficient LED technology, tunable white capabilities, smart control options, and sophisticated optics. Whether for a home, office, or commercial space, this fixture offers a reliable, adaptable, and aesthetically pleasing lighting option that meets the demands of modern living.

