| USB to 4 Port |
| Serial Converter |
Installation Guide | English |
Benutzerhandbuch | Deutsch |
LINDY No. 42858
www.lindy.com
© LINDY ELECTRONICS LIMITED &
Introduction
Thank you for purchasing the LINDY USB to 4 Port Serial Converter. This device provides multiple external
The unit’s compact size makes it ideal for use with notebooks or as an alternative to installing an internal serial card in your desktop PC. It supports most standard
Installation is easy with no changes to IRQ, I/O Address or DMA settings needed. In most instances, when the converter is connected to a PCs USB port or to a
Features
USB 1.1 interface, USB 2.0 Full Speed compatible
Provides 4 separate
Reset button for device detection
Powered from the USB bus
Chipset: FTDI
Package Contents
USB to 4 Port Serial Converter
USB Type A to B Cable
Driver CD
This manual
System Requirements
PC with available USB port
OS: Windows 98SE/ME/2000/XP, Linux*
* For a Linux driver, please visit this website: www.ftdichip.com
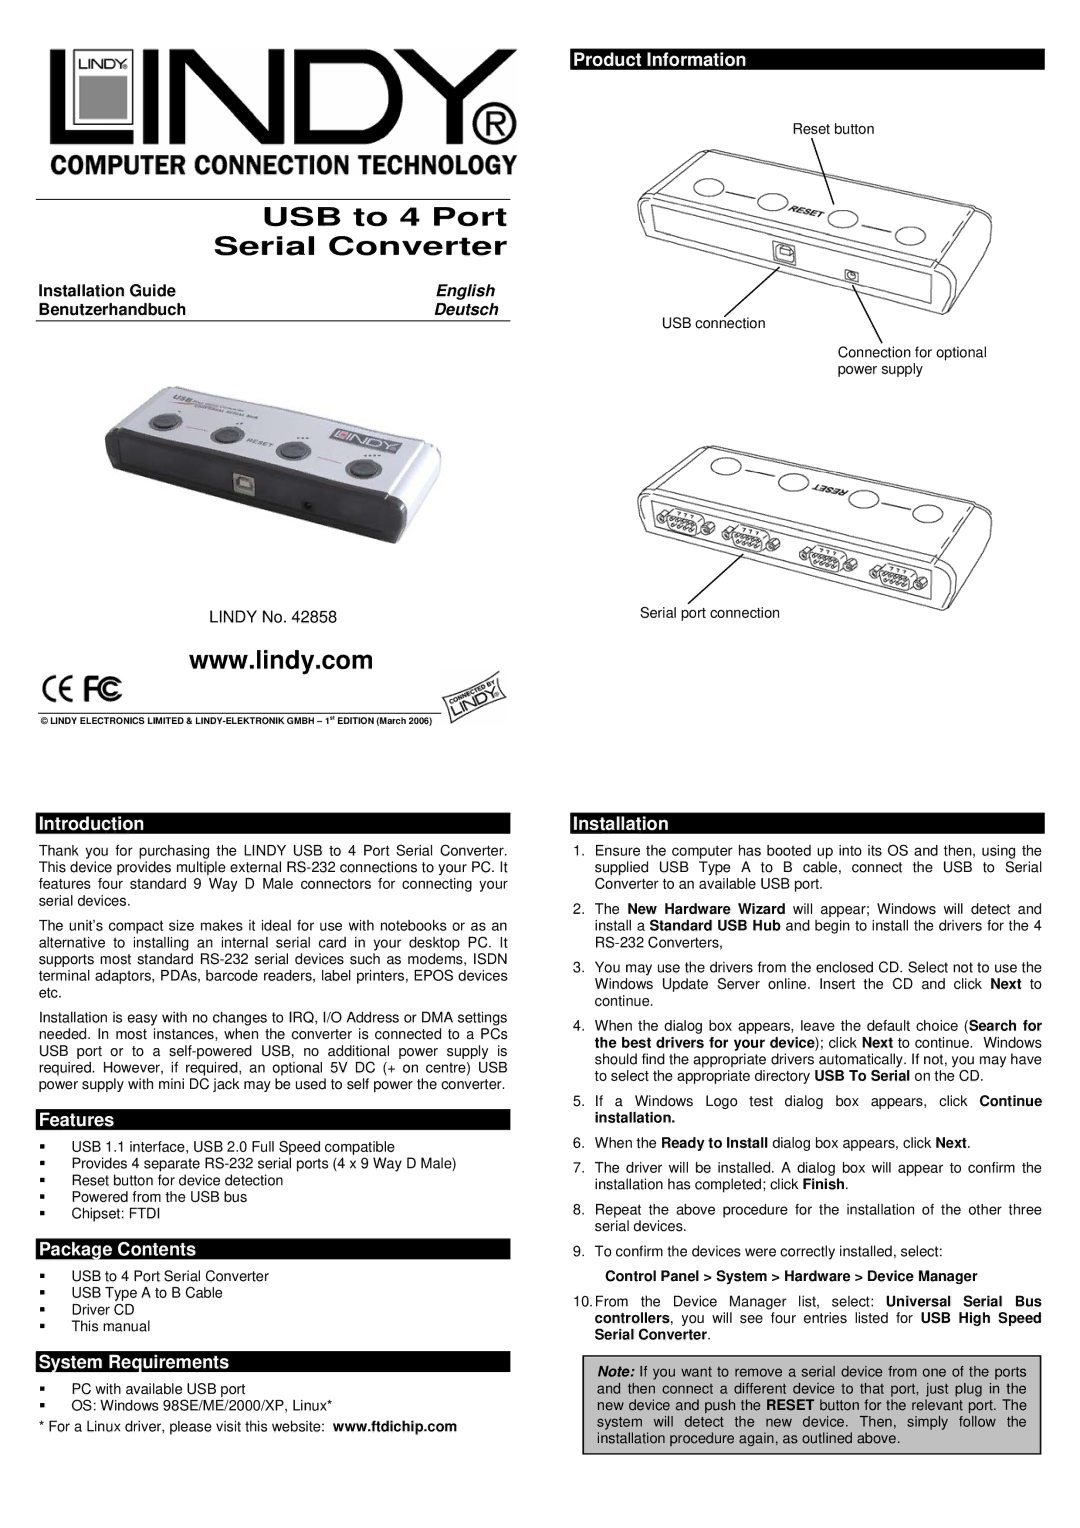
Product Information
Reset button
USB connection
Connection for optional power supply
Serial port connection
Installation
1.Ensure the computer has booted up into its OS and then, using the supplied USB Type A to B cable, connect the USB to Serial Converter to an available USB port.
2.The New Hardware Wizard will appear; Windows will detect and install a Standard USB Hub and begin to install the drivers for the 4
3.You may use the drivers from the enclosed CD. Select not to use the Windows Update Server online. Insert the CD and click Next to continue.
4.When the dialog box appears, leave the default choice (Search for the best drivers for your device); click Next to continue. Windows should find the appropriate drivers automatically. If not, you may have to select the appropriate directory USB To Serial on the CD.
5.If a Windows Logo test dialog box appears, click Continue installation.
6.When the Ready to Install dialog box appears, click Next.
7.The driver will be installed. A dialog box will appear to confirm the installation has completed; click Finish.
8.Repeat the above procedure for the installation of the other three serial devices.
9.To confirm the devices were correctly installed, select:
Control Panel > System > Hardware > Device Manager
10.From the Device Manager list, select: Universal Serial Bus controllers, you will see four entries listed for USB High Speed Serial Converter.
Note: If you want to remove a serial device from one of the ports and then connect a different device to that port, just plug in the new device and push the RESET button for the relevant port. The system will detect the new device. Then, simply follow the installation procedure again, as outlined above.