RTL8139D 10/100M LAN Card
Chapter 2 Installation
2.1 Installing the LAN Card
1.Shut down the computer, unplug its power cord, and remove the chassis cover.
2.Insert the contact edge of theRTL8139D card into the connector of any available PCI Bus Master expansion slot. Press the card firmly into the connector such that the card contacts are fully seated in the connectors
3.Install the bracket screw that secures the card to the computer chassis.
4.Replace the computer chassis cover.
5.Connect one end of a
6.Plug the other end of the cable into one of your network’s hub or switch ports, DSL modem, cable modem, router, etc. (Category 3 and 5 link lengths are limited to 100 meters.)
7.Reconnect the computer power cord, and switch computer power on. If the BIOS section of your computer boot program is
2.2 Software Installation
The following instruction set up the LAN card in the computer running windows XP.
1.Start and log on your Windows XP.
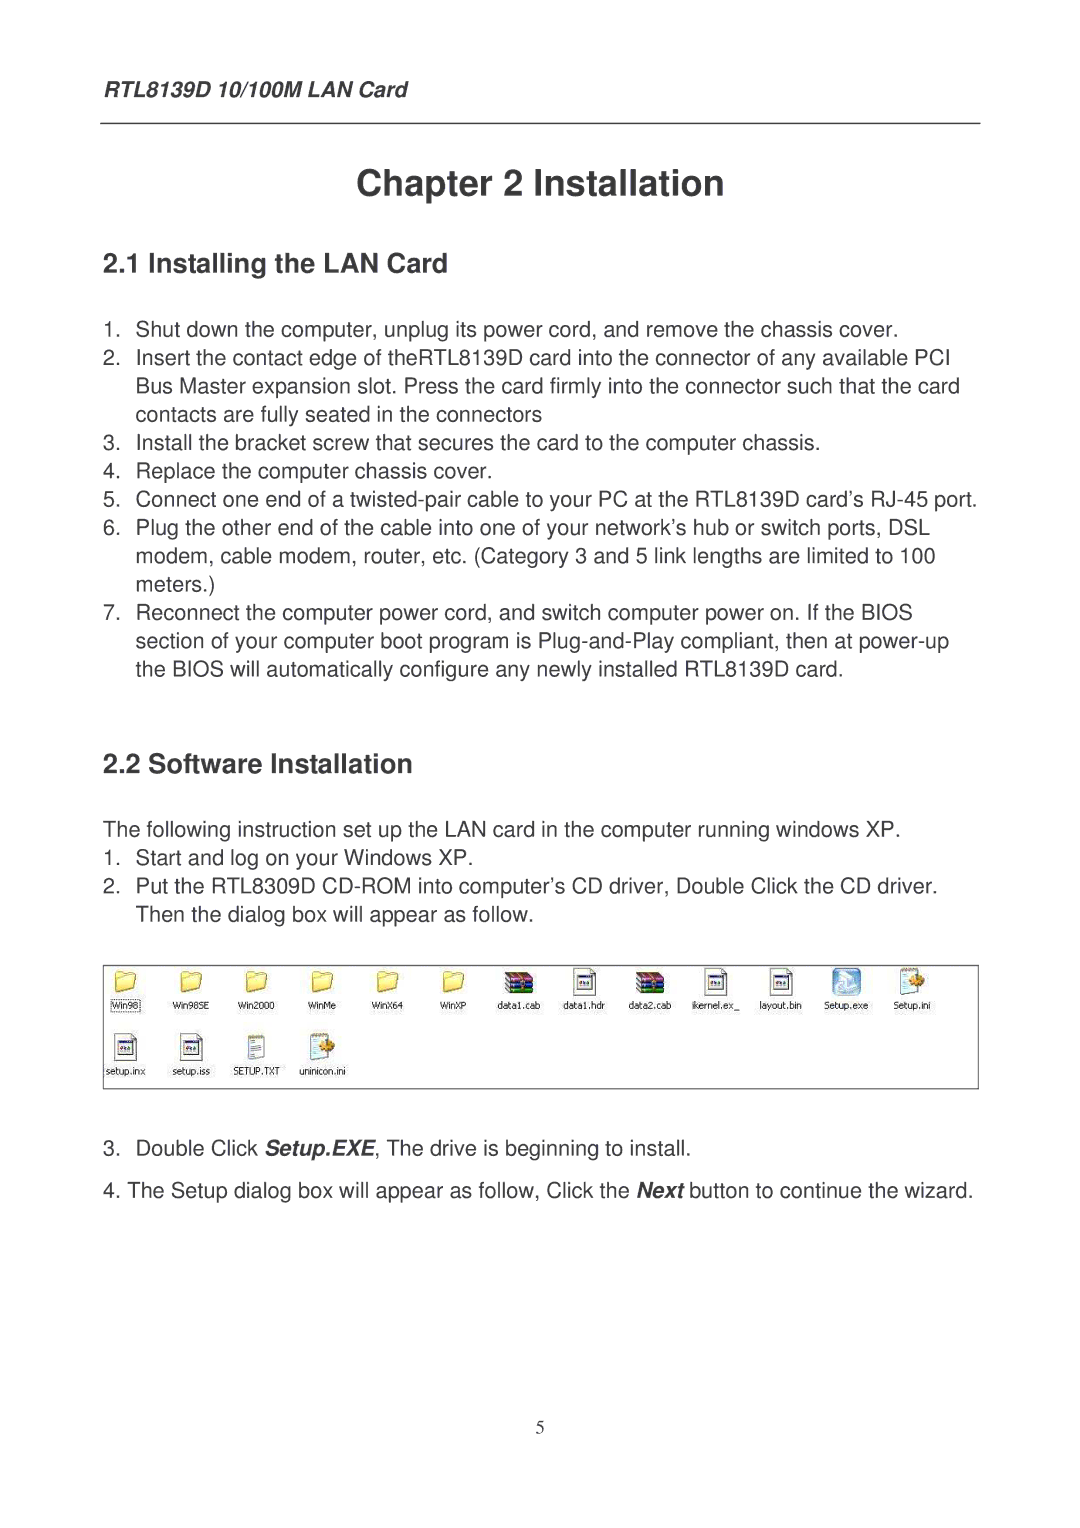
2.Put the RTL8309D
3.Double Click Setup.EXE, The drive is beginning to install.
4.The Setup dialog box will appear as follow, Click the Next button to continue the wizard.
5