USB MiniCam
User Manual | English |
Benutzerhandbuch | Deutsch |
|
|
LINDY Art.No. 32887
www.LINDY.com
© LINDY ELECTRONICS LIMITED &
English Manual
Introduction:
The LINDY USB MiniCam is a
Technical Specifications |
|
Sensor | 1/7” CMOS |
Max. Resolution: | 640 x 480 |
Supp. Resolutions: | 640 x 480; 352 x 288; 176 x 144 |
| and 160 x 120 |
Frame rate: | Up to 30 @ 352 288, 35 @ 176 x 144 |
Capture Resolution: | Up to 640 x 480 |
Focus Distance: | 3cm - ∞ |
Lens angle: | 56 degree |
Colour Format: | 24 bit RGB |
Power Consumption: 160mW |
|
Supported OS: | Windows 98/2000/ME/XP |
Interface: | USB 1.1 Full Speed |
Driver Installation
You must install the USB MiniCam drivers before you connect the MiniCam to your computers USB port.
1.Insert the driver CD – the driver installation menu will be displayed automatically.
2.Select ‘Driver Install’, the computer will run the driver installation process.
3.The ‘Install Shield Wizard’ dialogue box will appear; click ‘Next’ and the installation will start.
4.Select the necessary language and select OK.
5.Follow the
6.Select ‘Finish’ when prompted to complete the installation.
7.Click ‘Exit’ on the ‘Software Installer’ screen
8.You MUST now reboot your computer.
9.When your machine has rebooted,
Note: If you are using Windows XP your system may display a ‘Driver Signature’ notification message, select ‘Continue Anyway’ to install the driver.
Adjusting the Picture Parameters
The LINDY USB MiniCam picture parameters may be adjusted depending on your environment, and your requirements.
1.From the Start menu open ‘Programs’ – ‘Qcam’ – ’AMCAP’
2.In the ‘options’ menu select ‘Video Capture Filter’ to enter the properties settings of the camera. You may adjust the following values:
•Auto Exposure value
•
•Video output: Mirroring or vertical flip
•Contrast, saturation and gamma correction
•Sharpening, quality and brightness
3.Click ‘Apply’
4.Select ‘Option’ and choose ‘Video Capture Pin’ to adjust the frame rate or colour mode.
English Manual
Recording and capturing pictures
For live recording:
1.Under ‘Amcap’ click ‘File’, select ‘Set capture File’, give a filename and save. The file will be stored as
2.If you click ‘Capture’ and select Capture Audio’, then sound picked up by the cameras microphone will also be recorded.
3.Click ‘Set Frame Rate’ to change the frame rate. Select ’Use Frame Rate’ and click ‘OK’ to save the setting.
4.Under ‘Set Time Limit’ you may adjust the time period you want to record by setting the period in seconds, selecting ‘Use Time Limit ‘.
5.Click ‘Capture’ – ‘Start Capture’ to start recording and confirm by clicking ‘OK’ when the recording is finished.
Capture one or several pictures
2.Under the ‘Start’ menu – ‘Programs’ - ‘Qcam’ select ‘VidCap’ to get the capture software.
3.To get the live camera picture, you have to click on this Button: ![]()
4.For a single frame, click on the ![]() - Button, then click ‘File’ and select ‘Save Single Frame’ to name and store your picture file.
- Button, then click ‘File’ and select ‘Save Single Frame’ to name and store your picture file.
5.If you want to capture several images subsequently, click on
the ![]() - Button
- Button
6.By clicking this Button: ![]() , you may also capture a video sequence with the software. Preselect the compression mode and the frame rate and then click ‘OK’ to start the recording.
, you may also capture a video sequence with the software. Preselect the compression mode and the frame rate and then click ‘OK’ to start the recording.
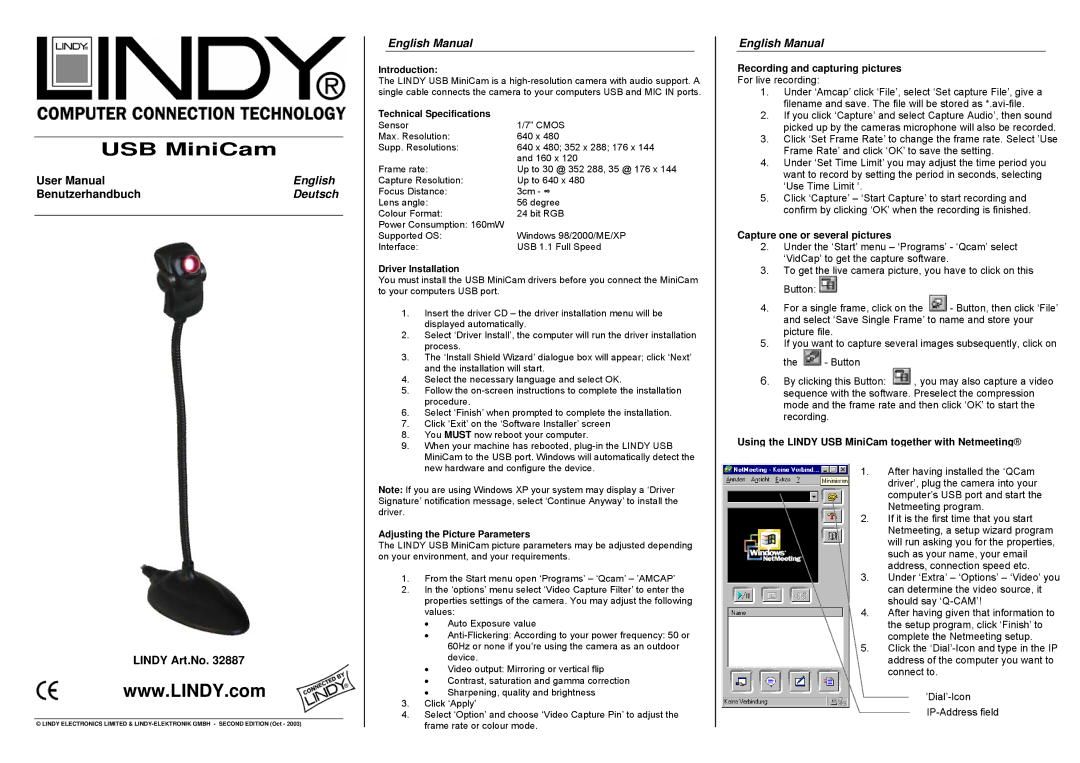
Using the LINDY USB MiniCam together with Netmeeting®
1.After having installed the ‘QCam driver’, plug the camera into your computer’s USB port and start the Netmeeting program.
2.If it is the first time that you start Netmeeting, a setup wizard program will run asking you for the properties, such as your name, your email address, connection speed etc.
3.Under ‘Extra’ – ‘Options’ – ‘Video’ you can determine the video source, it should say
4.After having given that information to the setup program, click ‘Finish’ to complete the Netmeeting setup.
5.Click the