
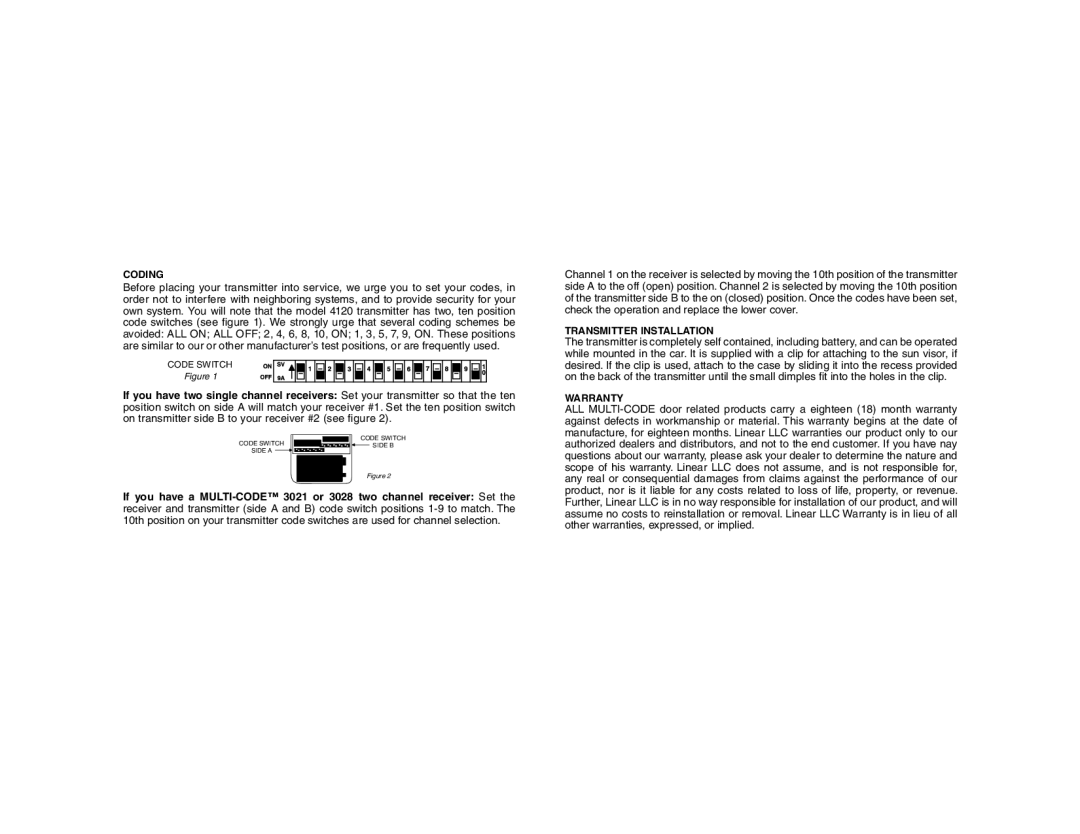
4120 specifications
The Linear 4120 is a cutting-edge device that exemplifies versatility and modern technology in a compact package. This product is designed for efficiency and reliability, making it a great choice for both commercial and residential applications.At the core of the Linear 4120 is its robust construction, which is engineered to withstand varying conditions while maintaining optimal performance. It features a durable casing that protects the internal components from environmental factors, ensuring longevity and reduced maintenance costs. The sleek design not only enhances the aesthetic appeal but also facilitates easy installation in diverse settings.
One of the standout characteristics of the Linear 4120 is its advanced communication technology. Equipped with a state-of-the-art wireless connectivity option, this device allows seamless integration with smart home systems. This compatibility enables users to control and monitor their devices remotely through a smartphone application, providing convenience and flexibility.
The Linear 4120 is powered by a high-efficiency motor that delivers consistent performance, ensuring prompt operation with minimal power consumption. This feature is not only beneficial for environmental conservation but also translates to cost savings for the user. Additionally, the device includes a built-in energy-saving mode, which automatically adjusts power usage based on demand.
Safety is a paramount concern with the Linear 4120, and it incorporates several features to protect users and their property. The device is equipped with advanced sensors that detect obstructions and automatically reverse the operation to prevent accidents. Furthermore, it includes a manual override option to ensure functionality even in the event of a power failure.
The Linear 4120 also offers customizable settings, allowing users to tailor its performance according to their specific needs. With adjustable speed and sensitivity settings, users can optimize the operation based on their preferences. This flexibility enhances the overall experience, making it suitable for a wide range of applications.
In summary, the Linear 4120 is a remarkable device that combines durability, efficiency, and advanced technology. Its unique features cater to modern demands, making it ideal for users who seek a reliable solution without compromising on performance. Whether installed in a residential setting or as part of a commercial project, the Linear 4120 stands out as a leading choice in its category.