RMT2-IR INSTALLATION
1.Remove battery cover from the back of the
2.Verify that dip switches 1 & 2 are in the down (OFF) position. (See page 6)
3.Insert the battery, hold the battery so that you can see the positive side facing up. The side that is not marked must be facing down.
4.Test the
WARNING: Do not press multiple buttons simultaneously and do NOT press buttons rapidly. These actions will cause the remote to reset and steps
Note: The
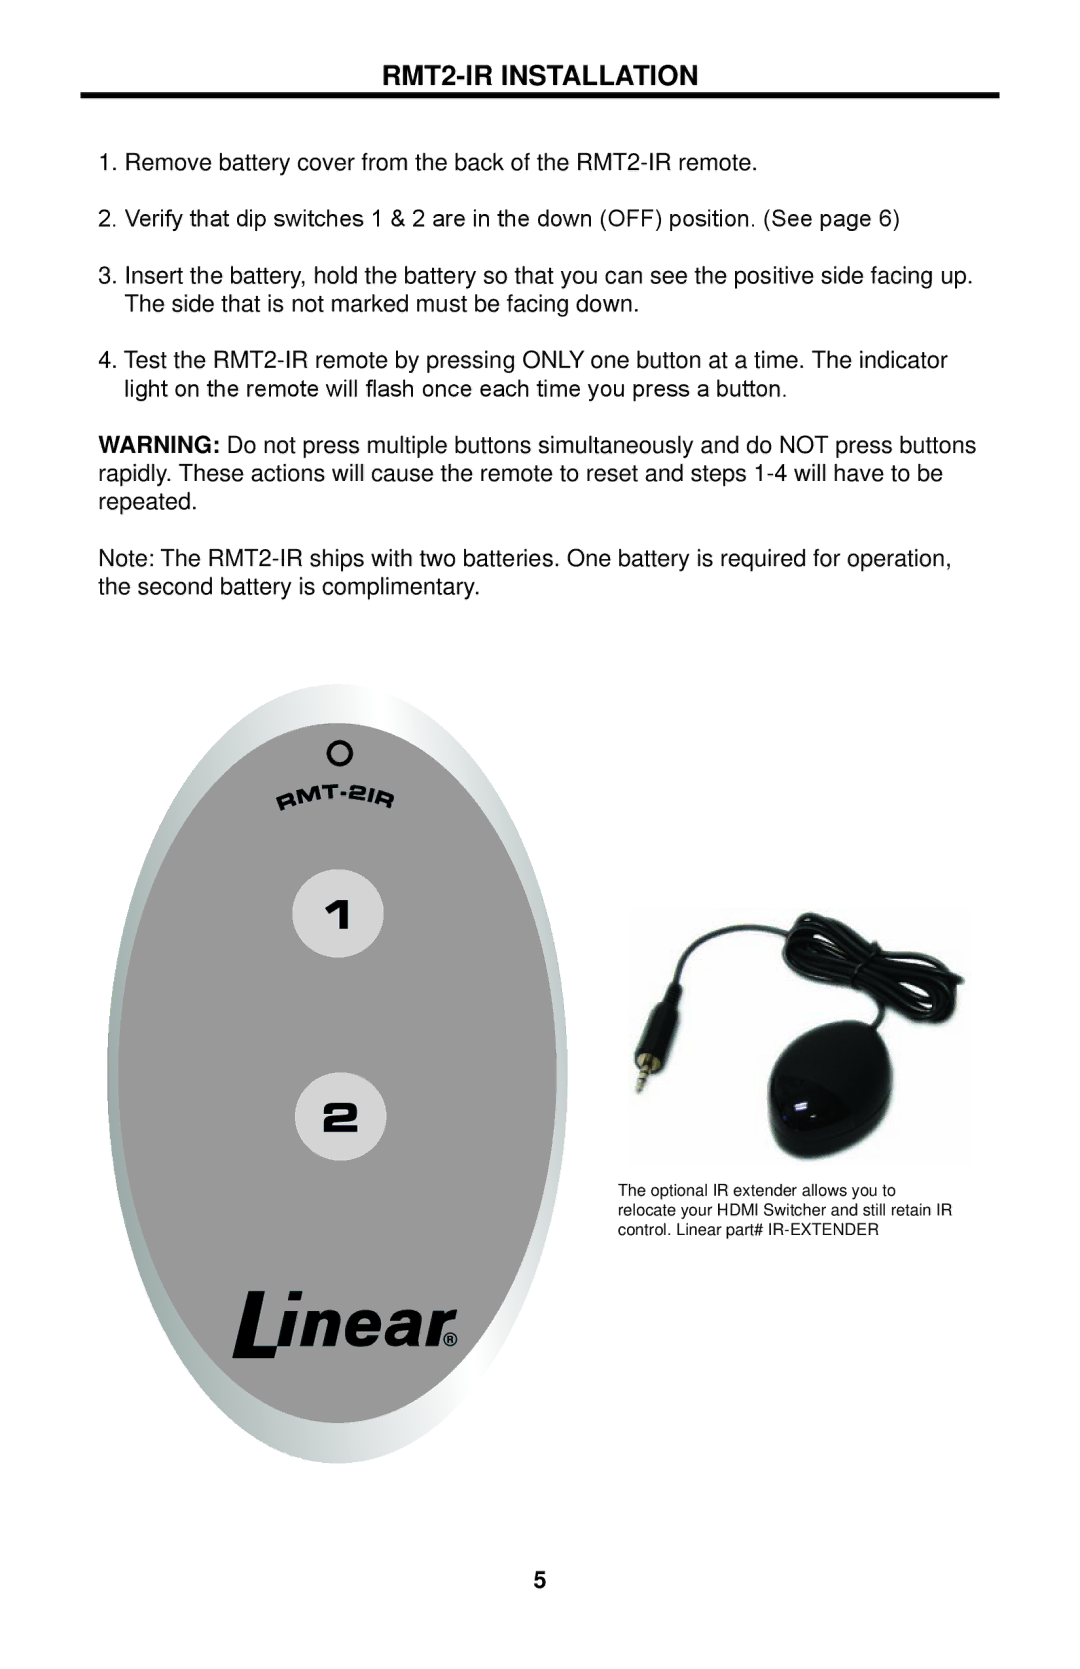
The optional IR extender allows you to relocate your HDMI Switcher and still retain IR control. Linear part#
5
