SG7555RB Series specifications
The LOREX Technology SG7555RB Series is an advanced surveillance solution designed to enhance security for both residential and commercial properties. This series is part of LOREX's commitment to providing high-quality, reliable security camera systems that cater to a diverse range of monitoring needs.One of the standout features of the SG7555RB Series is its 4K Ultra HD resolution. This ensures that users can capture clear and detailed images, which are essential for identifying faces, license plates, and other important details in surveillance footage. With a resolution of 8MP, the cameras deliver crisp video, allowing users to monitor their properties with complete confidence.
The series also boasts advanced Night Vision capabilities, thanks to its Color Night Vision technology. This feature allows the cameras to provide full-color video even in low-light conditions, ensuring that critical monitoring continues round the clock. Integrated IR LEDs also enhance the night vision abilities, enabling the cameras to capture clear black-and-white images when complete darkness sets in.
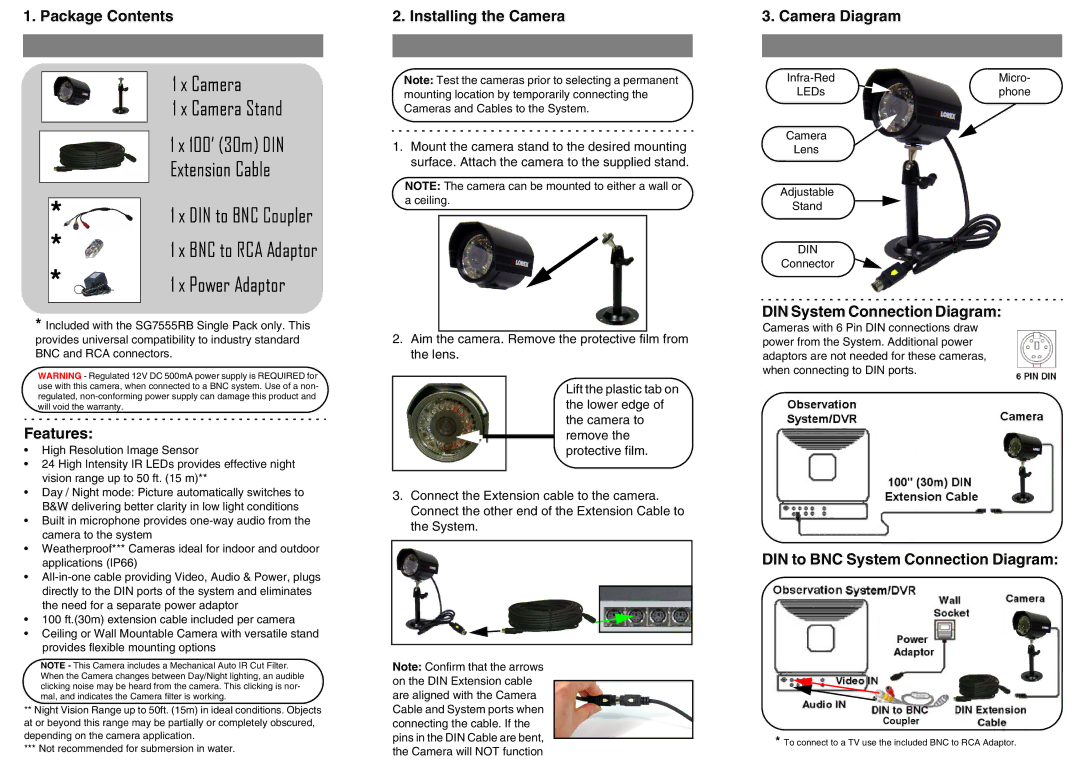
Another key characteristic of the SG7555RB Series is its weatherproof design, rated IP66. This means the cameras are built to withstand various environmental conditions, including rain, dust, and extreme temperatures. This durability makes them suitable for both indoor and outdoor use, keeping your property protected regardless of the weather.
The system is equipped with smart motion detection capabilities. By utilizing advanced algorithms, the cameras can differentiate between people, vehicles, and other moving objects, reducing the likelihood of false alarms triggered by non-threatening movements like pets or swaying branches. This feature allows users to receive timely notifications when genuine activity is detected, ensuring a swift response to potential security threats.
LOREX Technology also offers remote viewing capabilities through their mobile app, allowing users to access live and recorded video feeds at any time from their smartphones or tablets. This remote access enhances situational awareness, enabling property owners to monitor their spaces from anywhere in the world.
The SG7555RB Series is designed for ease of installation, with Power over Ethernet (PoE) technology simplifying cabling and reducing installation time. This innovation eliminates the need for separate power supplies for each camera, streamlining both the installation process and system management.
Overall, the LOREX Technology SG7555RB Series stands out for its superior resolution, advanced night vision, weatherproof construction, smart detection features, and convenient remote access. These qualities make it a robust choice for anyone seeking a comprehensive and reliable security solution.

